How to Resolve Epson XP-4100 Printer Not Printing Issue?

Your Epson XP-4100 printer may be in a "not printing" state for various reasons. Some primary reasons could be using the wrong papers, network problems, configuration issues, connectivity challenges, and more. Identifying and resolving the root cause of your issue is crucial to getting your printer working perfectly.
In addition, various common effective methods can also troubleshoot the problem efficiently. Understand the top 5 solutions and use them properly to get your Epson printer printing once again.
Method 1: Check Connection
These are the steps that will help you check that everything is good with the connection of your devices.
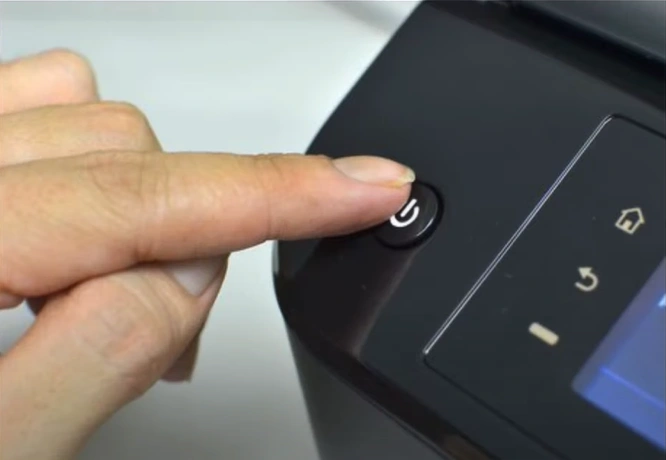
1. Make sure your printer is turned on.
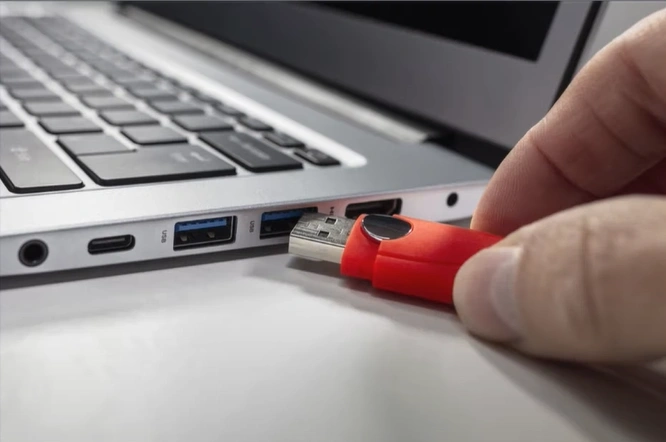
2. If you are using the USB cable, ensure it is connected properly to both ends.
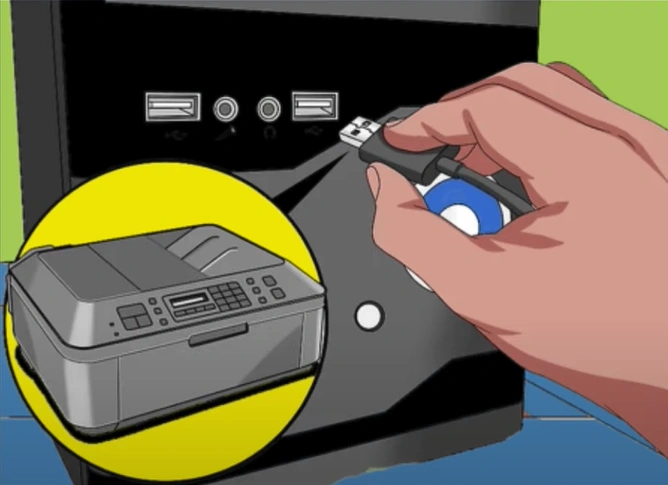
3. Plus, plug the USB cable into a different port.
Method 2: Clear Print Jobs in Queue
When the print jobs are stuck in a queue, you can face some issues when printing documents on your Epson printer. These are the easy steps that can help you clear the pending print jobs and fix printing issues.
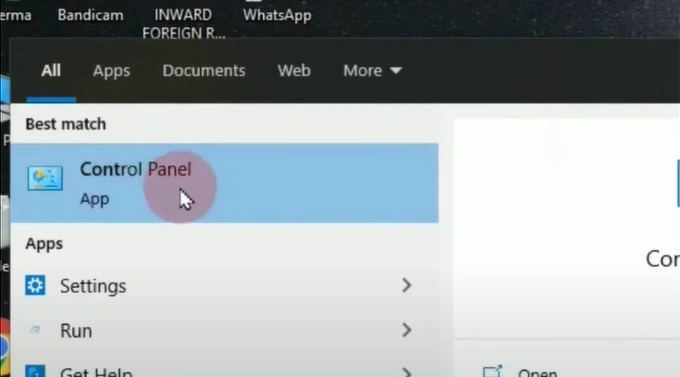
1. Go to your Windows and open your control panel.
2. Open Hardware and Sound.

3. Click on the Devices and Printers option.
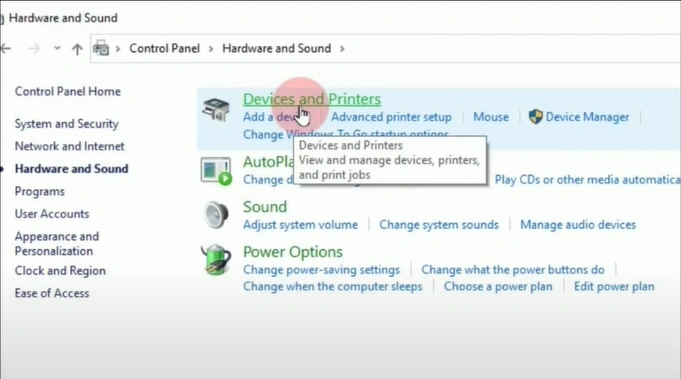
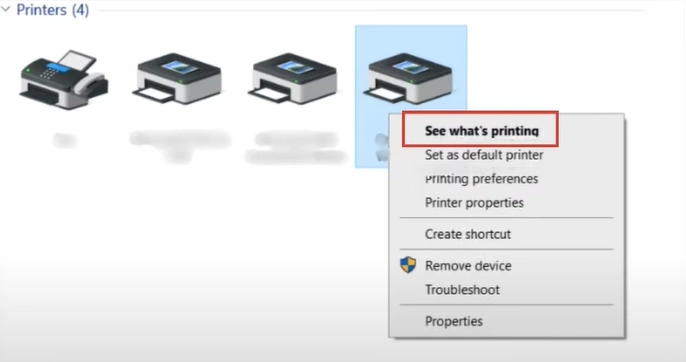
4. Click on your Epson printer and click on See what's printing.
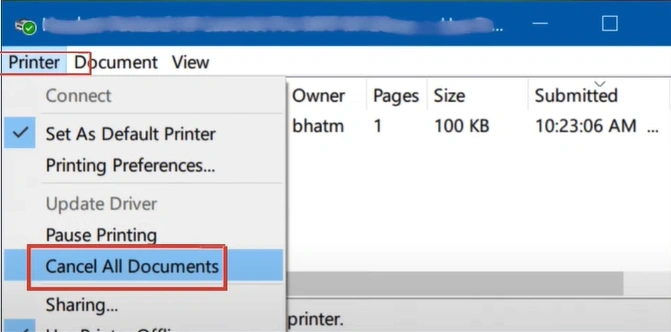
5. In the new window, click on Printer, then click on Cancel All Documents.
Method 3: Reinstall the Printer Driver
Reinstalling the printer driver for your Epson printer can also help resolve the printing issue. Here is how you properly reinstall the driver.
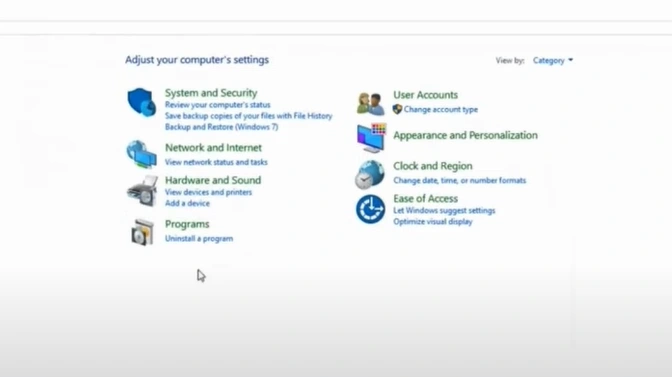
1. Go to the search bar on your PC and open the Control Panel.
2. Now, you should click on "Uninstall a program" under the Programs section.
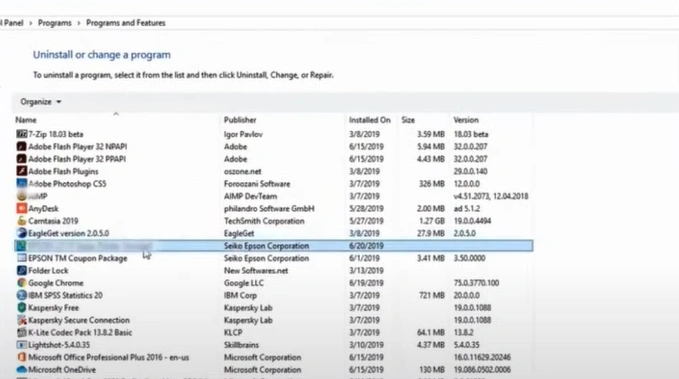
3. Find and select your printer, then click on the Uninstall/Change option.
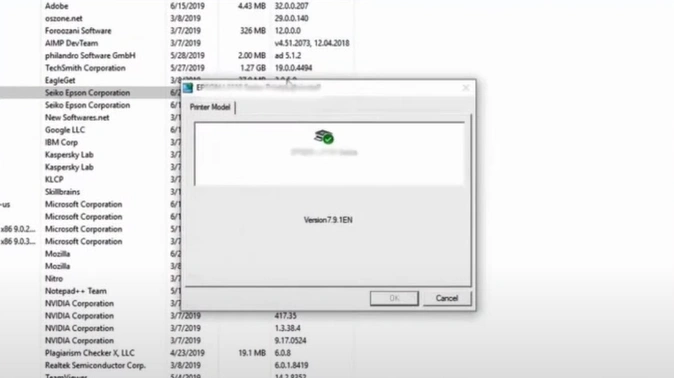
4. Select the printer and click OK option.
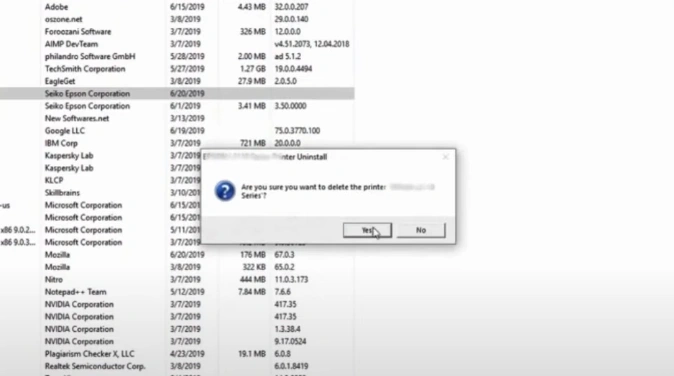
5. Click Yes to confirm uninstallation, then wait for the process to end.
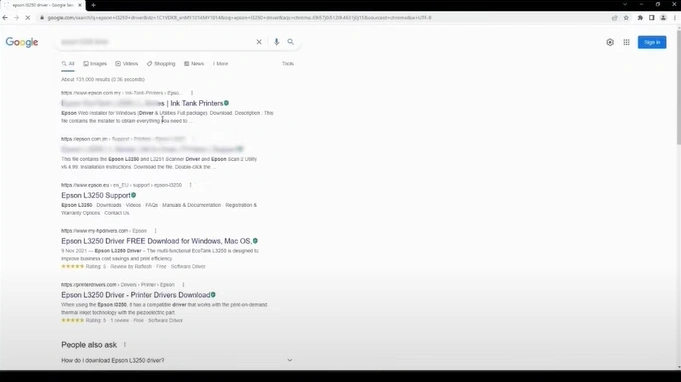
6. Open your web browser, search for the Epson printer XP-4100 driver, and then open the website.
Method 4: Clean the Clogged Printhead
Cleaning the clogged printhead of the printer can also resolve the printing error. Follow the steps to do that thoroughly.
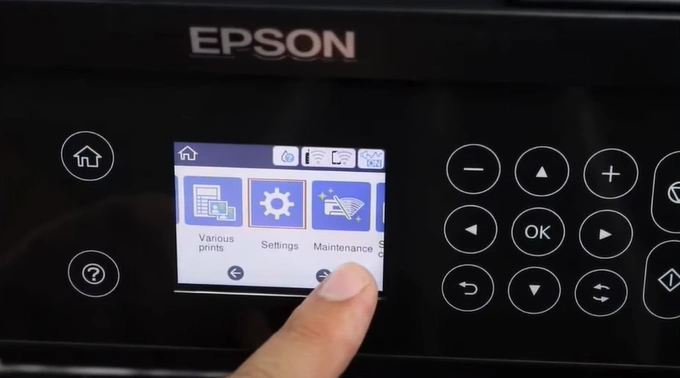
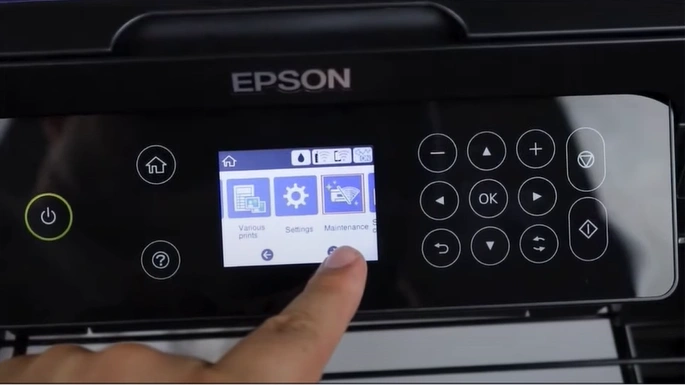
1. On the home screen, scroll to Maintenance and press OK.
2. Select the "Print Head Nozzle Check" option.
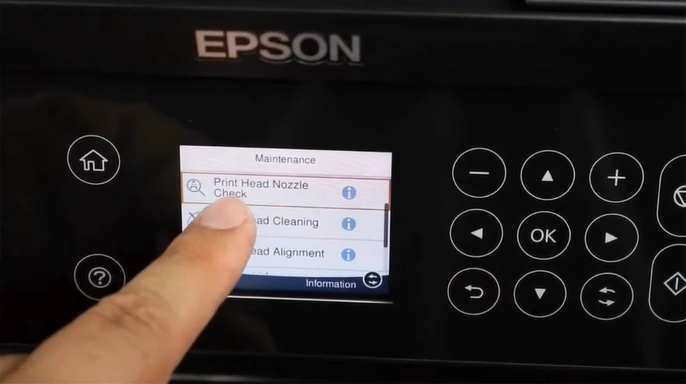
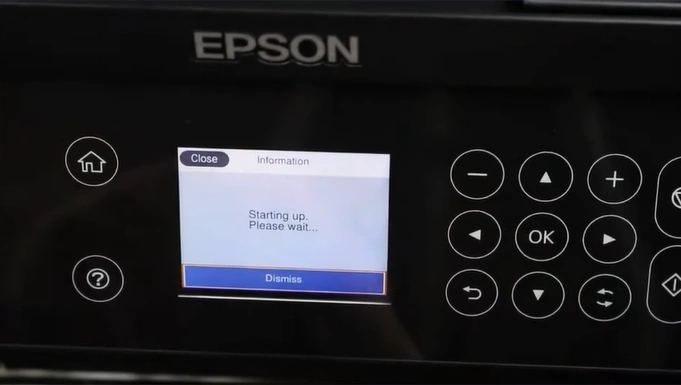
3. Follow the on-screen prompts, then select the "Print" option.
4. Go back to the home screen and open Maintenance again.
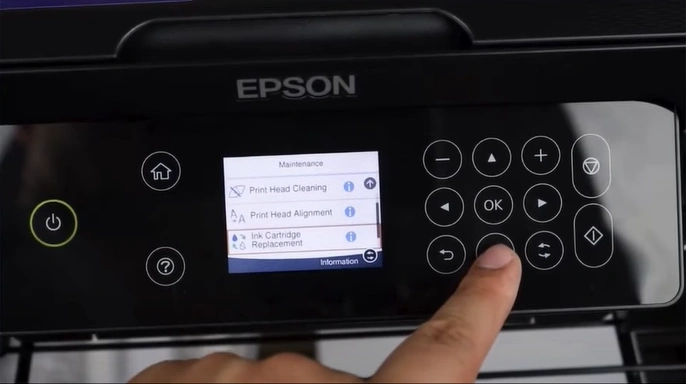
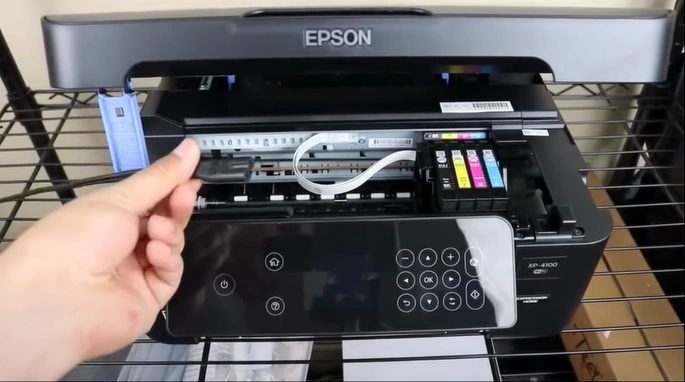
5. Scroll and select the "Ink Cartridge Replacement" to make the printhead move into the replacement position.
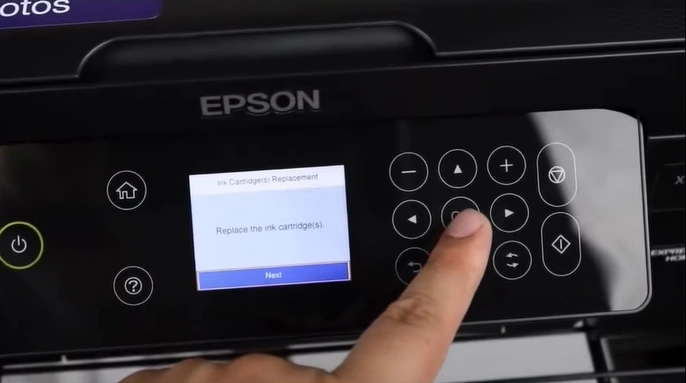
6. Press OK on Next, then choose Start.
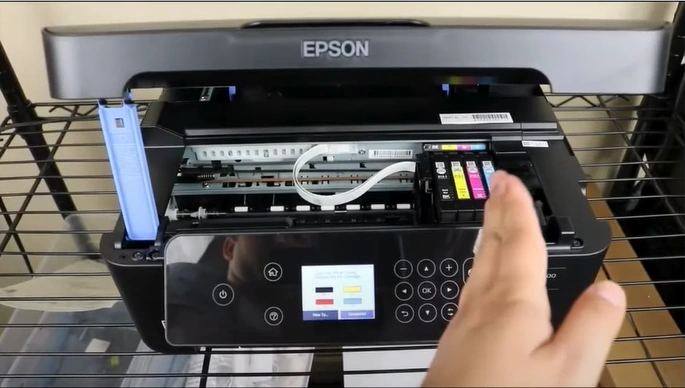
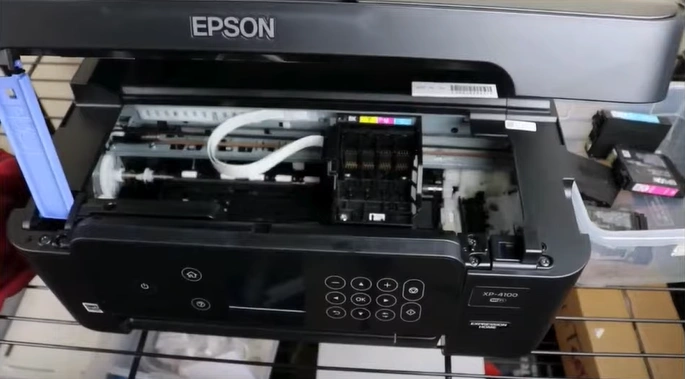
7. Open the Scanner unit.
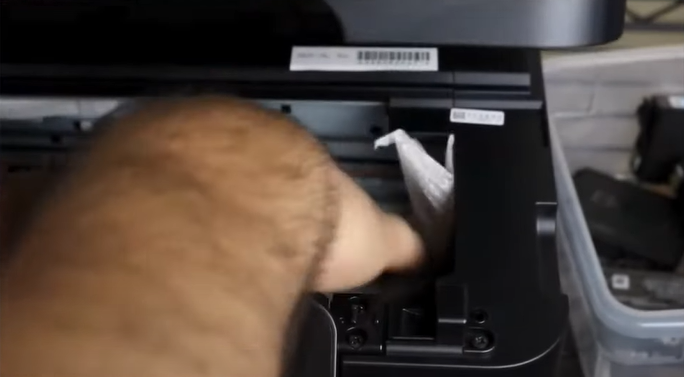
8. Unplug the power cord from the printer's back.
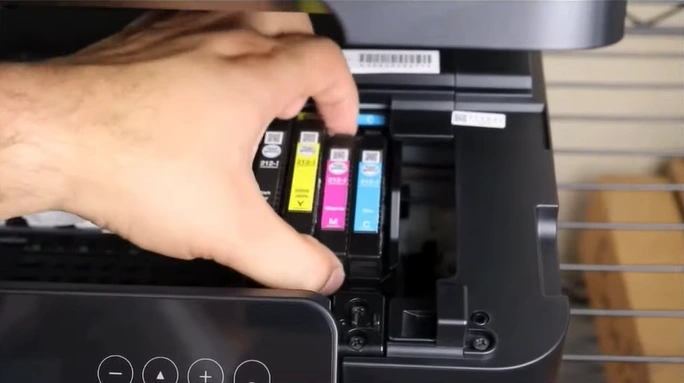
9. Remove the ink cartridges.
10. Place a dry paper towel under the printhead.
11. Grab a syringe with a plastic tube attached and head cleaning solution.
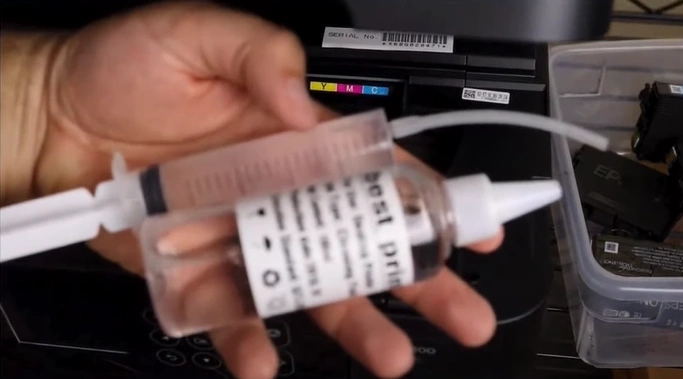
12. Fill the syringe with the cleaning solution.
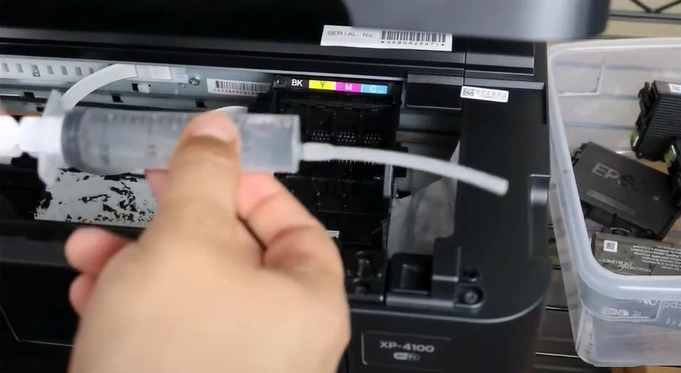
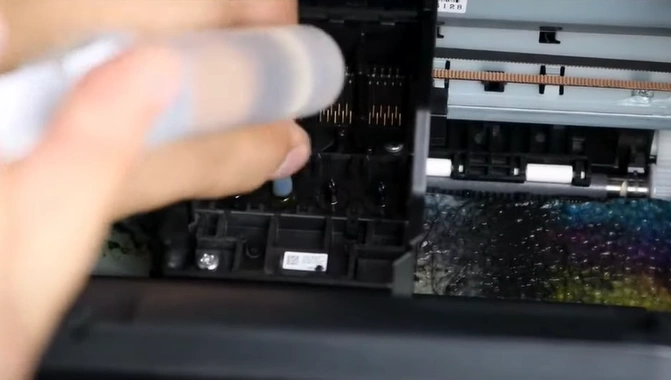
13. Insert the plastic tube into any clogged nozzle, then slowly push the solution into the nozzle head.
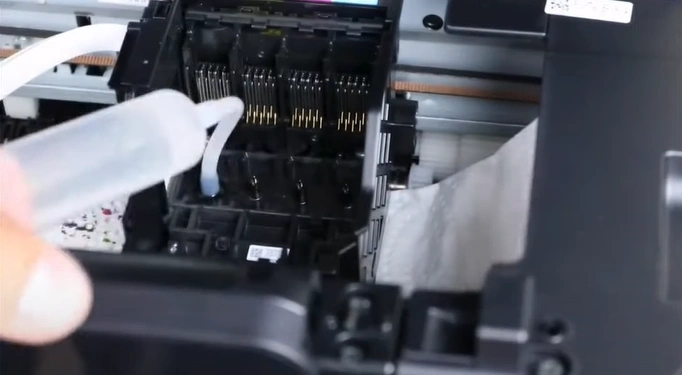
14. Clean the other clogged nozzle head while ensuring the paper towel protects the platform from getting wet.
15. Make sure the printhead and platform are completely dry before inserting the ink cartridge after cleaning.
Also Read:- How to Install the Epson Printer Driver?
Method 5: Check Printer Settings
Settings are another key factor in showing your Epson printer's error state. These are the steps you can use to check the printer settings and make changes in them if necessary.
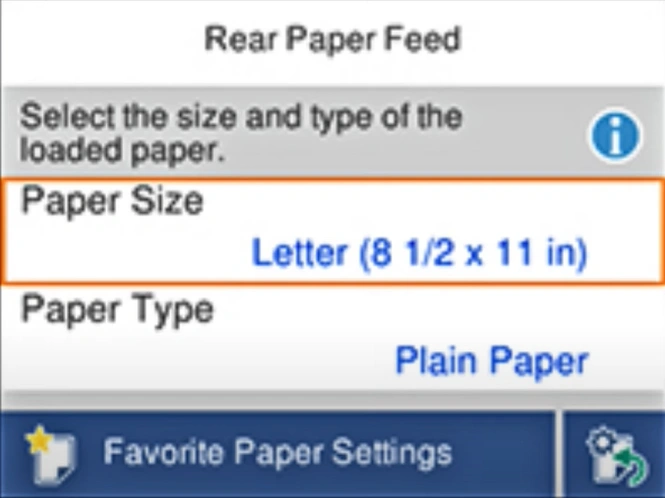
1. Ensure you are using Epson paper.
2. Press the Home button on your Epson printer.
3. Select Settings, open Printer Settings, and then go to Paper Source Settings.
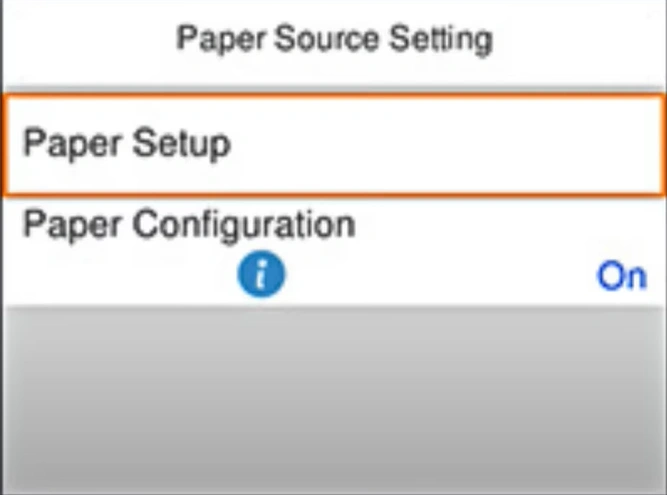
4. Open the paper setup settings and review the paper settings.
5. Now, check if your printer is still showing the "not printing" problem.
Final Words
We have shared all the top primary solutions with you to get your printer out of the non-printing state. Learn and use all these solutions properly to get started with your printing work once again. In addition, you should always look for more solutions if your Epson printer is still having printing issues.

