How to Connect Canon MX922 Printer to Wi-Fi?

Are you having a problem connecting the Canon MX922 printer to Wi-Fi? No doubt, It is challenging for many to connect a brand-new printer to Wi-Fi. This situation can arise due to some technical glitches or the lack of the setup process. If you are encountering this problem on your printer, then it could be the result of device incompatibility, software issues, outdated firmware problems, Wi-Fi router errors, and others. However, you don’t need to stress out, as we are going to help you out.
Here, you will learn about the Standard setup and WPS setup methods. With these methods, you will be able to connect the Canon MX922 printer to Wi-Fi seamlessly. So, continue reading to learn everything!
Method 1: Via WPS Method
The WPS method is one of the most suitable ways to complete the setup process of your Canon printer. Follow the full guide to learn every step.
1. Before you start connecting the printer to the wireless network, confirm that your wireless network is properly set up.
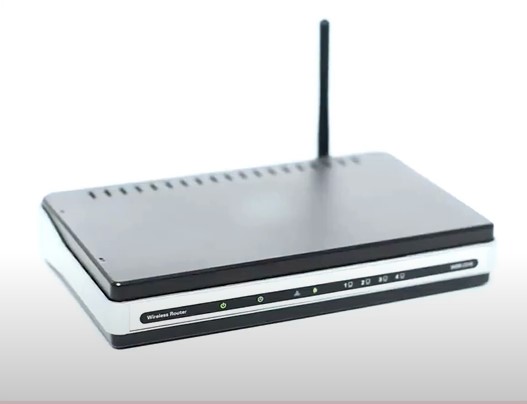
2. Next, make sure your printer is plugged in and powered on.
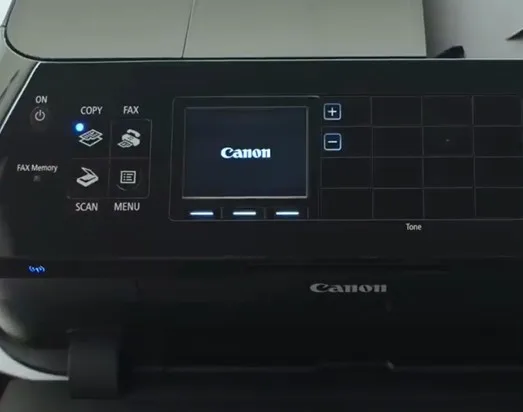
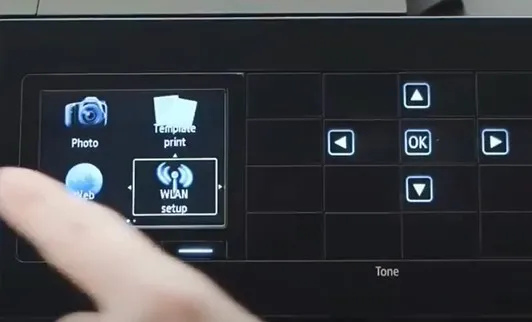
3. Now, press the Menu button, then use the arrow buttons to select WLAN Setup, and press OK.
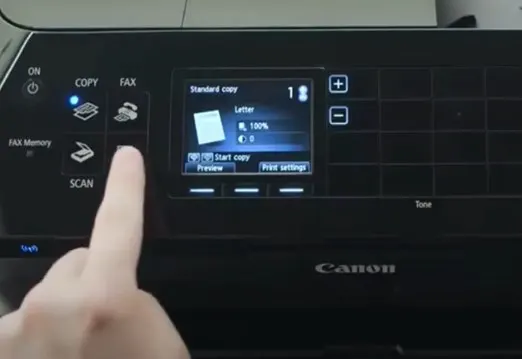
4. After that, it will start searching for an access point to connect to and will display a detected message once the printer has detected the access point.
_1724495510.webp)
5. When you get the message to press the WPS button, go to your router, then press and hold the WPS button within 2 minutes until it starts blinking.
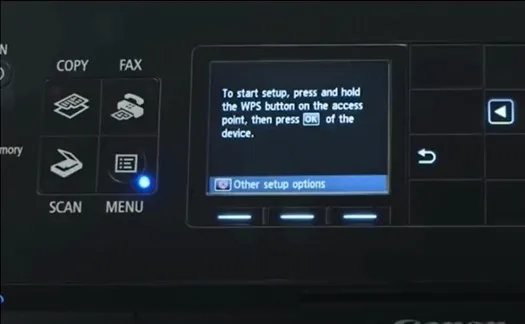
6. Then go to your printer and then press the OK button, and it will start connecting.
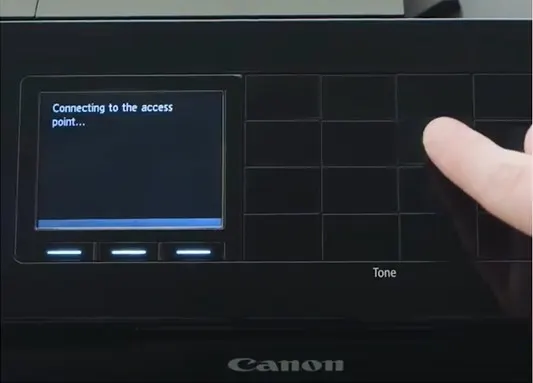
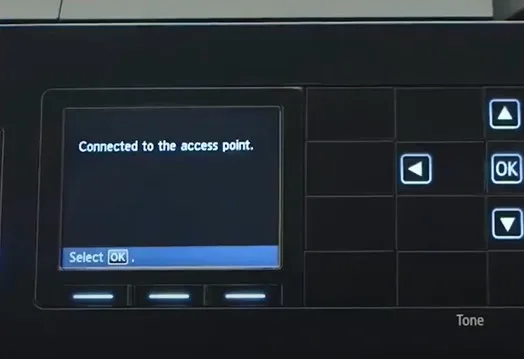
7. Once the printer is successfully connected to the wireless network, press OK.
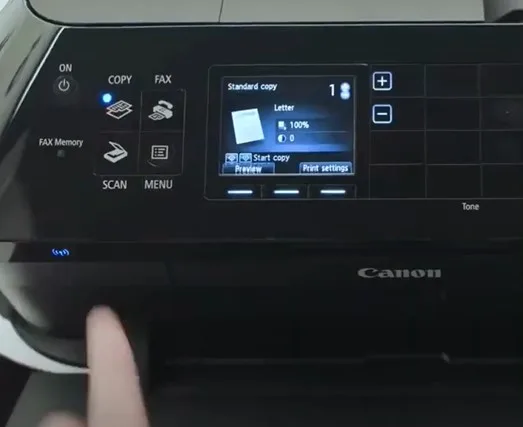
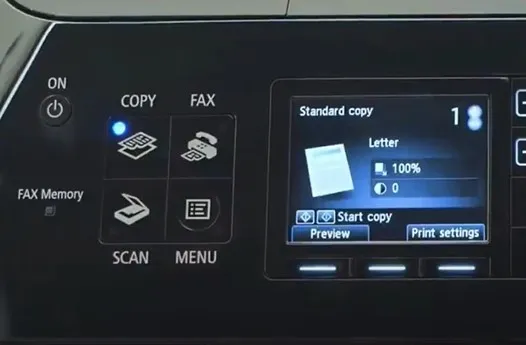
8. Press the Copy button to return to the main screen.
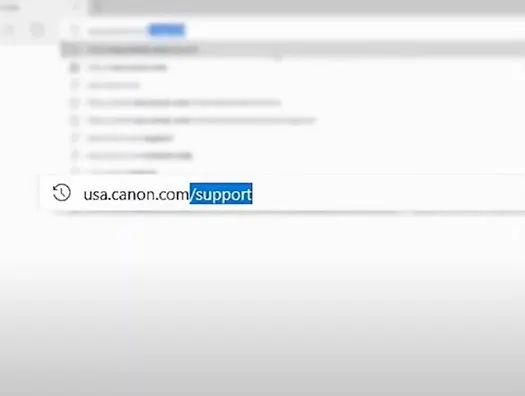
9. Visit the official website and download the printer driver.
Also Read:- How to do Canon PIXMA G3202 Wi-Fi Setup?
10. Open the downloading file on your computer and follow the on-screen setup instructions to begin the installation process.
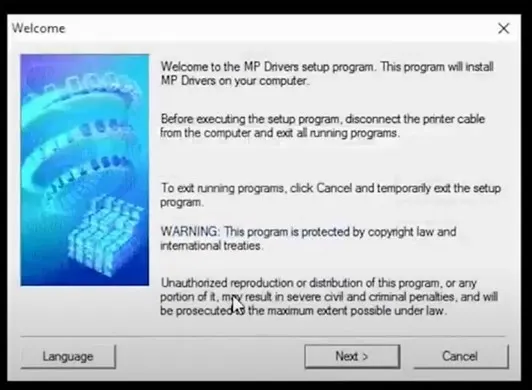
11. Finally, check if the Canon printer Wi-Fi connection process is complete.
Method 2: Via Standard Setup
The standard setup method is another option you can use to complete the Wi-Fi setup of your Canon MX922 printer easily.
1. First and foremost, connect your Canon imageCLASS printer to your wireless network and confirm that your wireless network is perfectly set up.
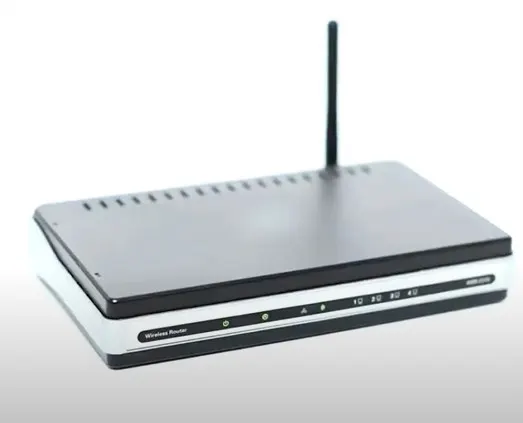
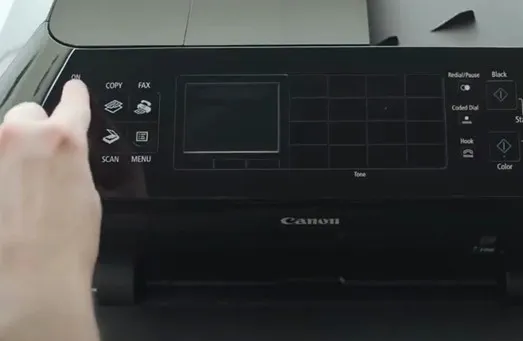
2. Next, make sure that your printer plug is switched on and connected to a power source.
3. Press the Menu button, then by using the arrow buttons to choose WLAN Setup, and click on OK.
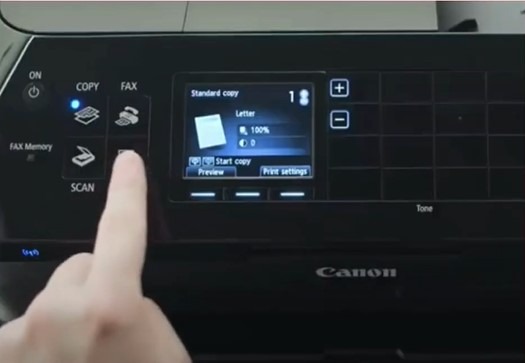
4. Afterward, it will start searching for an access point to connect to and will display a detected message once the printer has detected the access point.
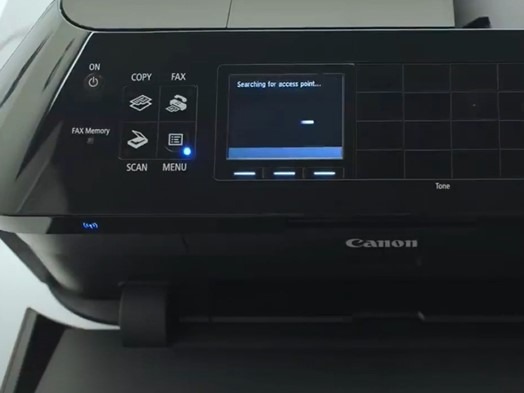
5. When you get the message to press the WPS button, press the Stop button.
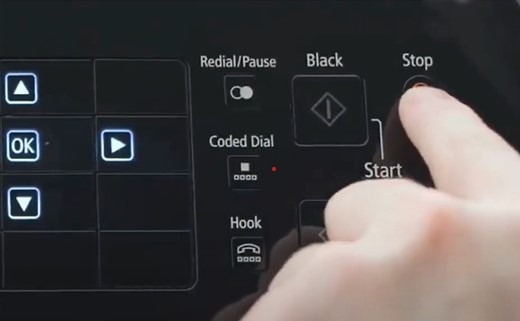
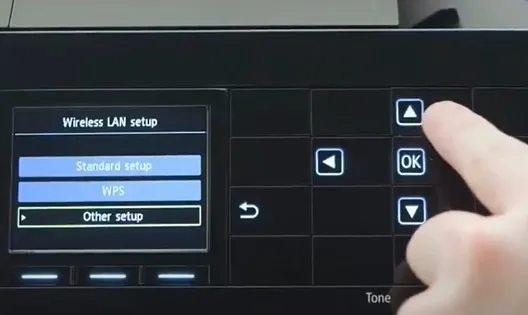
6. On the Wireless LAN Setup screen, select Standard Setup using the up and down arrow button, then select OK.
7. The printer will list the available network nearby; select your network name from the list and click on OK.
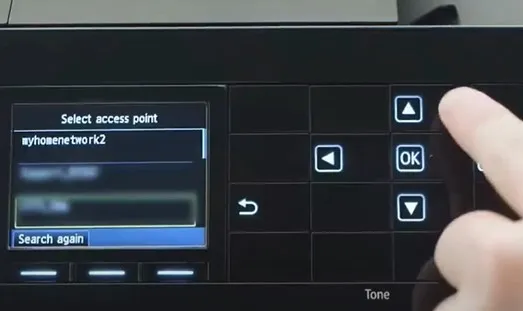
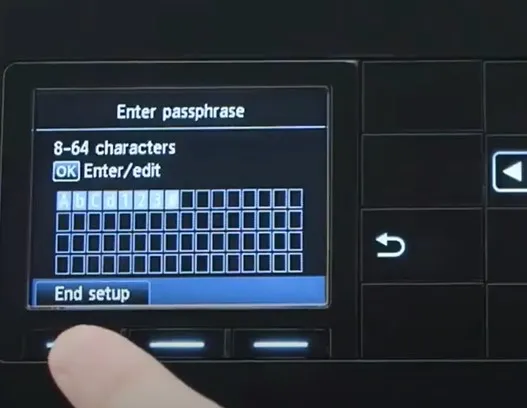
8. Press OK, enter the passphrase or password, and then tap on Done.
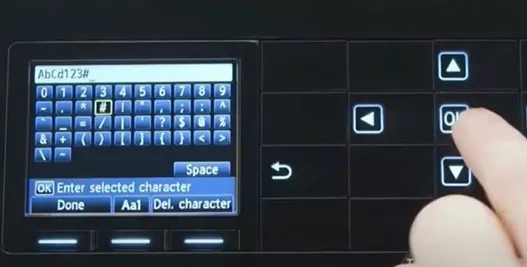
9. Once you are ready, press End Setup and the printer will start connecting to the available network.
10. Once it is connected successfully, press OK.
11. Then, you need to tap on the Copy button to return to the home screen.
12. Visit the official Canon web support page to download and install the compatible printer driver.

13. At last, the printer setup will be complete and ready to complete printing tasks.
Final Words
In this post, you got to learn about the causes and solutions of connecting Canon MX922 printer devices. You can take the help of these two methods are see if which one is successful in completing the connection. Plus, take a look at the system OS and device compatibility to avoid any complications during the process. However, if any more problem arises and the connection process fails to complete then it is always wise to seek further help.

