How to Do Canon G3260 WiFi Setup?
Are you looking forward to completing your Canon G3260 WiFi setup? This printer comes with an excellent WiFi connectivity feature that helps the users complete the setup wirelessly. However, if you are a new user and don’t know the whole procedure, then it is likely to show some issues. But you don’t need to stress! With the help of the right methods, you can quickly complete the wireless setup. So, take a look at the 3 best possible tutorials and attain in-depth information about each step.
Method 1: Manual Connect
You can connect your printer to your WiFi network by using the manual connect method. Follow the guide to complete the process easily.
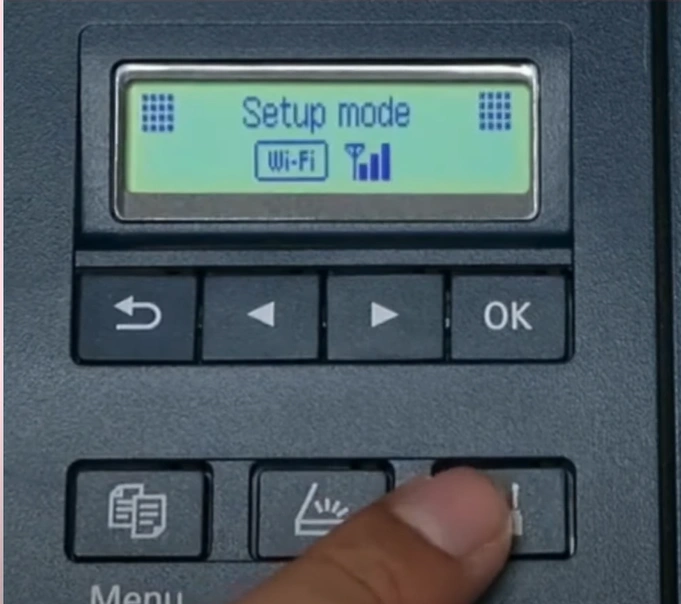
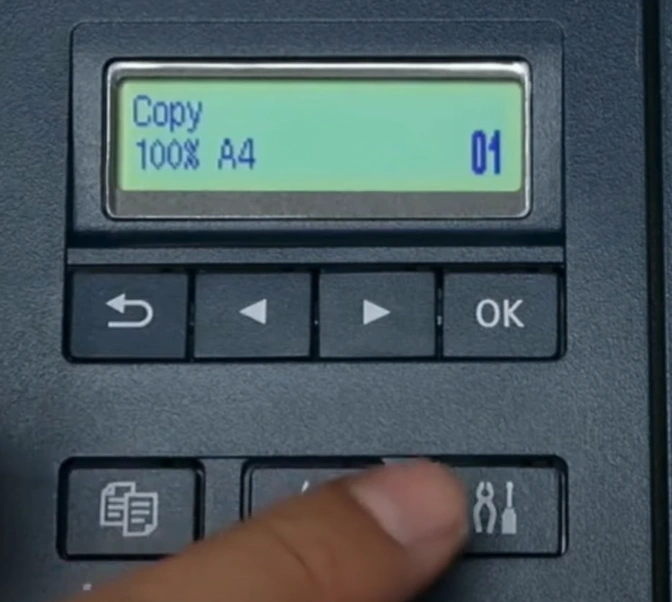
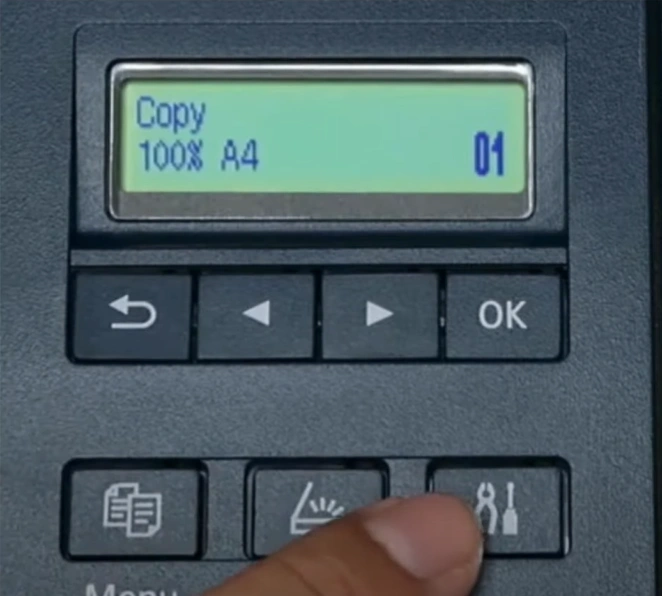
1. Move to the printer’s control panel and press the Settings button.
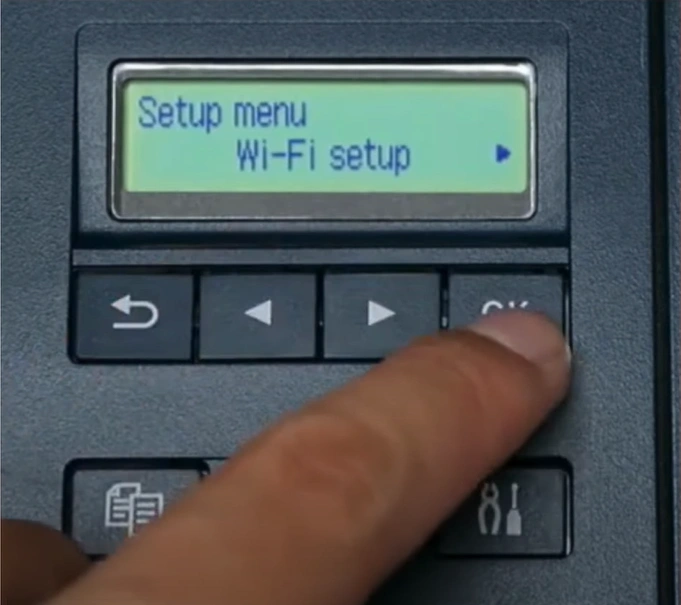
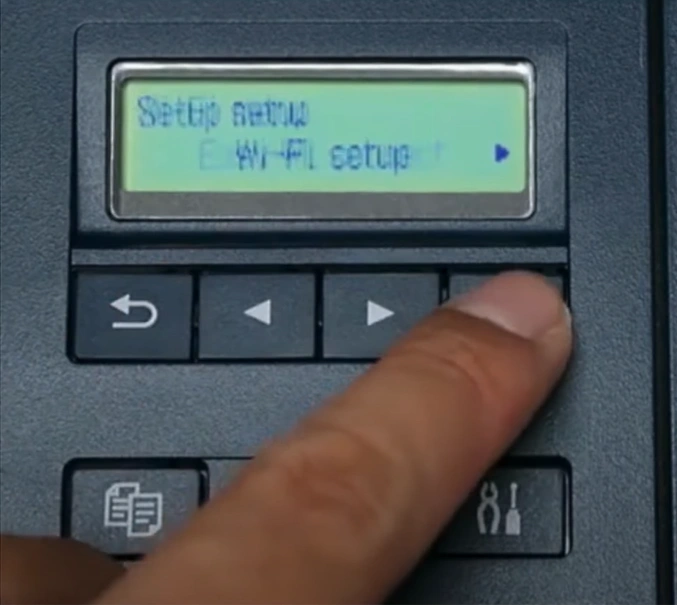
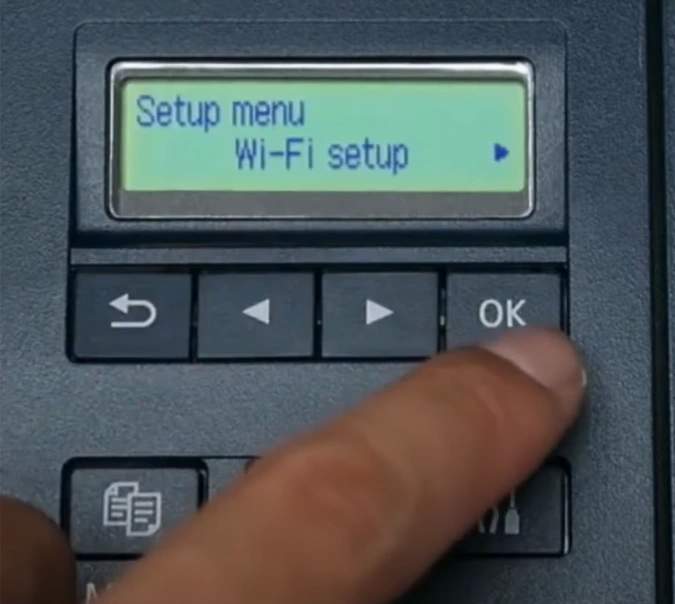
2. Press the OK button to choose WiFi Setup.
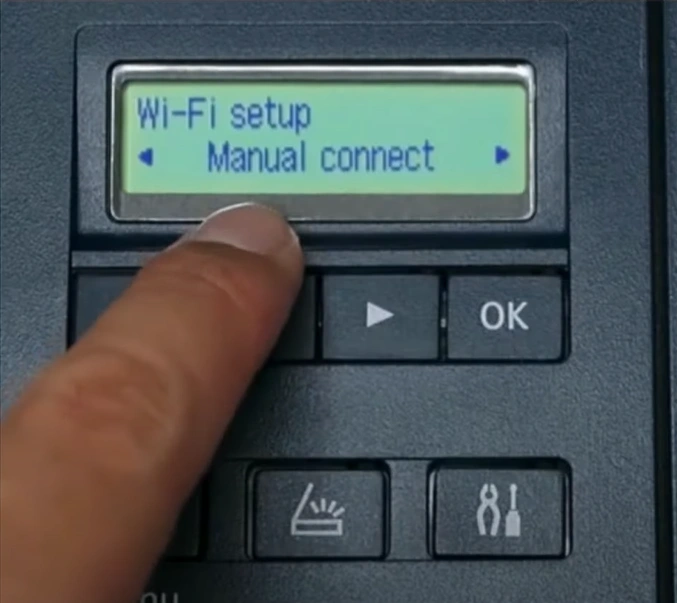
3. Scroll down, choose Manual Connect, and then select OK.
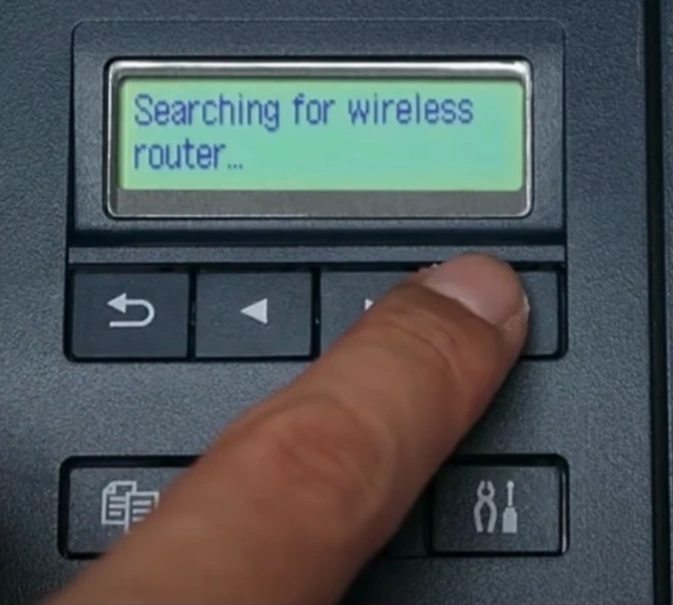
4. The printer will start looking for the wireless network in the nearby area.
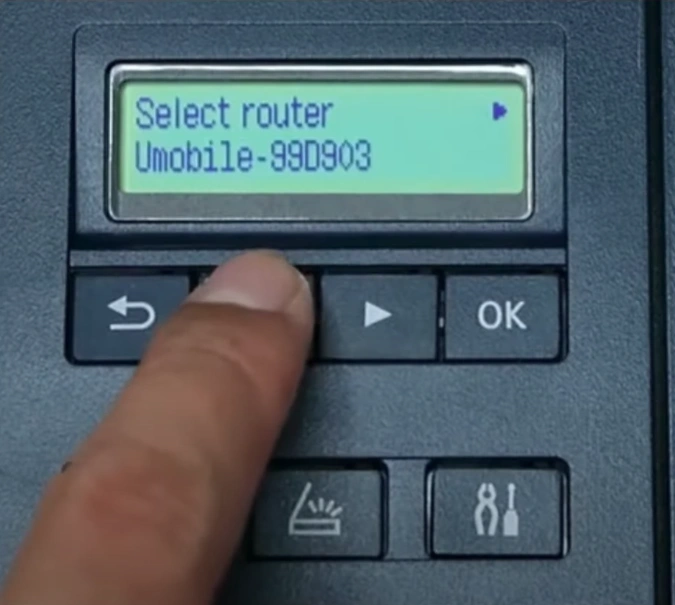
5. Choose the right Wireless Network you want to connect with and select OK.
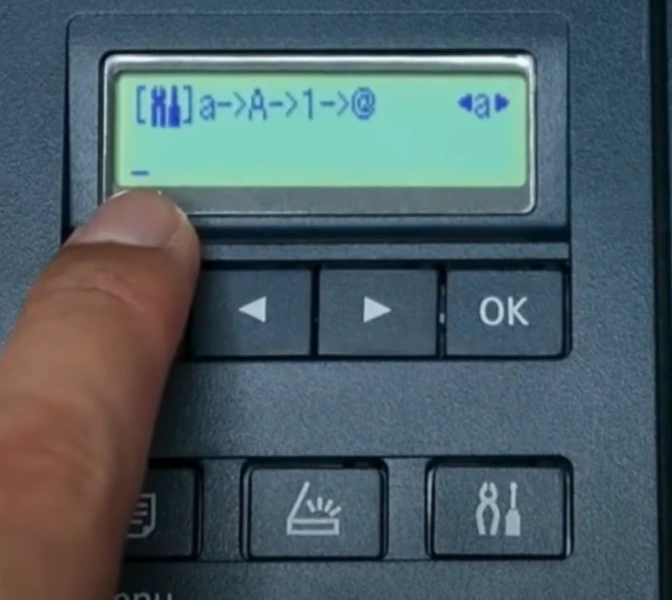
6. Enter the password using the control panel and then press OK.
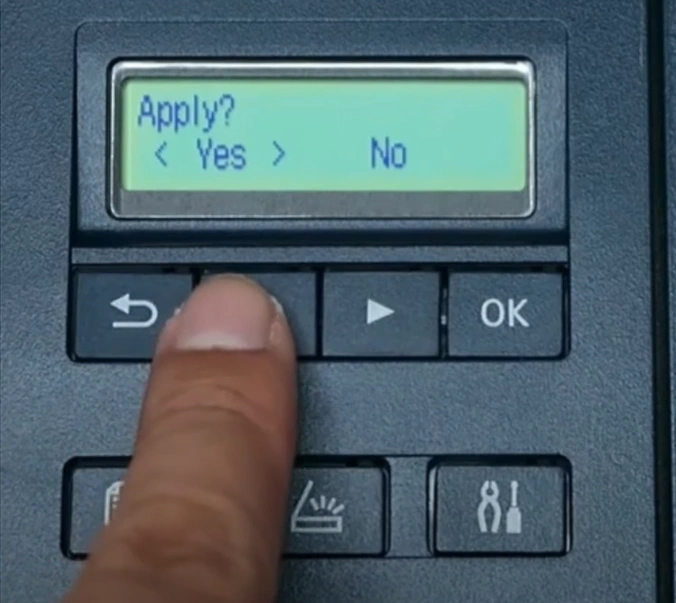
7. When it prompts you to apply, select Yes and press OK, and it will start connecting.
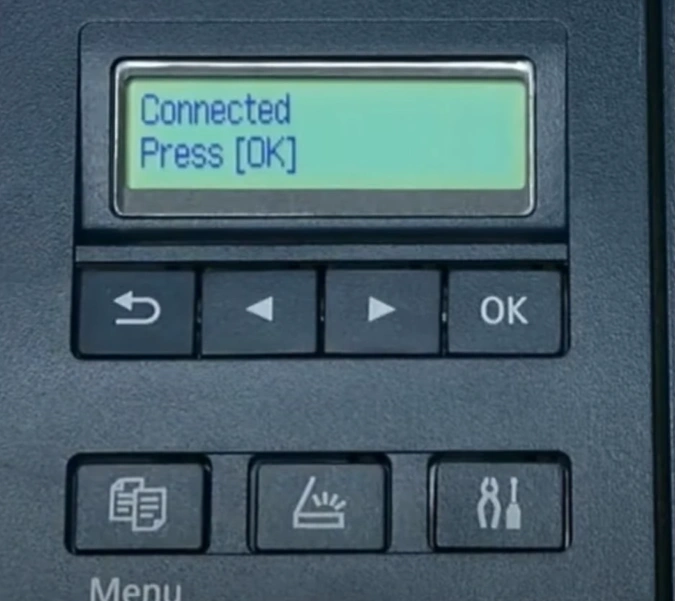
8. Once the connection is successfully established, choose OK.
Method 2: Easy Wireless Connect
Here are the steps you can take to complete the easy wireless connect method.
1. Firstly, move to your printer’s control panel and then press the Settings icon button.
2. In the Setup menu, press OK to select WiFi Setup.
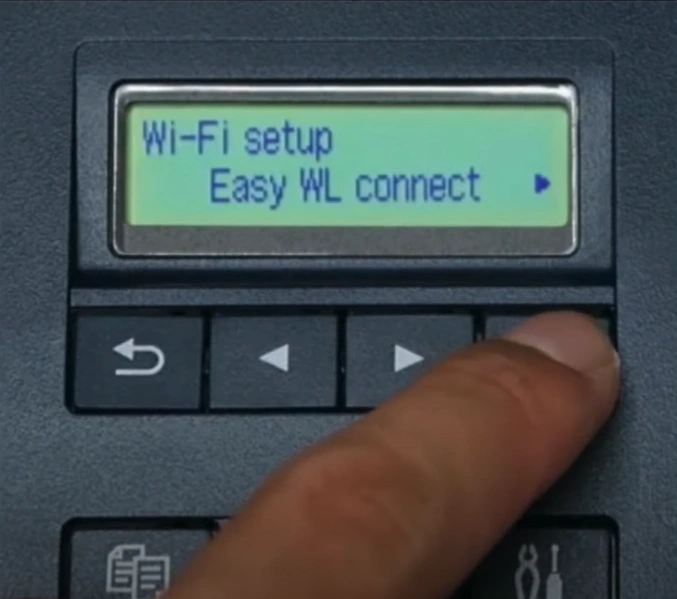
3. You are required to press the OK option once again to choose Easy WL Connect, and it will start processing.
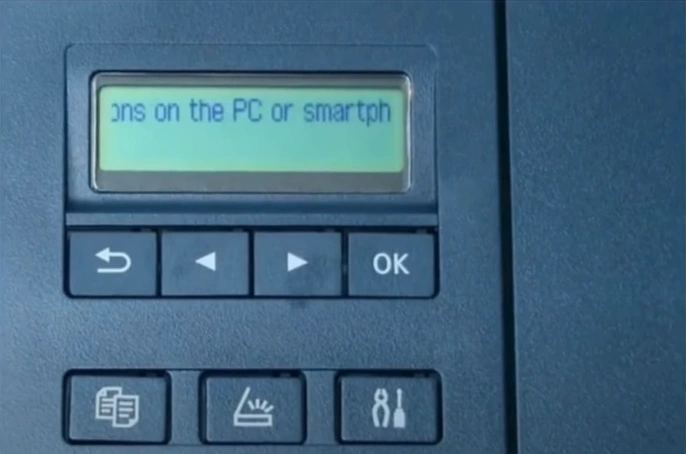
4. When the “follow the instructions on the PC or Smartphone” message shows up on the screen, download the setup file from the official Canon website.
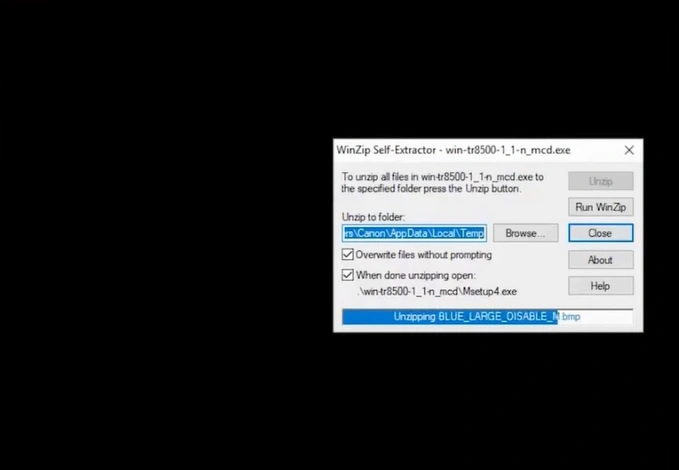
5. Open the downloaded file to get started with the further process.
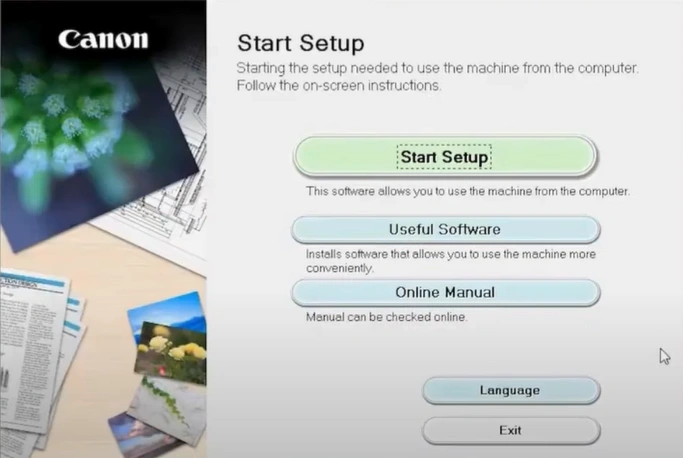
6. On the next page, click on Start Setup, and it will start looking for the latest driver and software, which can take several minutes.
7. Now, specify your country of residence and choose Next.

Also Read:- How to Resolve Canon Printer Error E02?
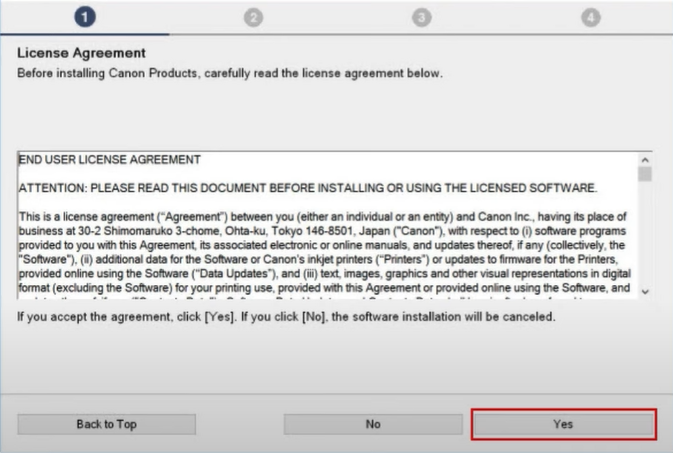
8. On the License Agreement page, select the Next button to proceed.
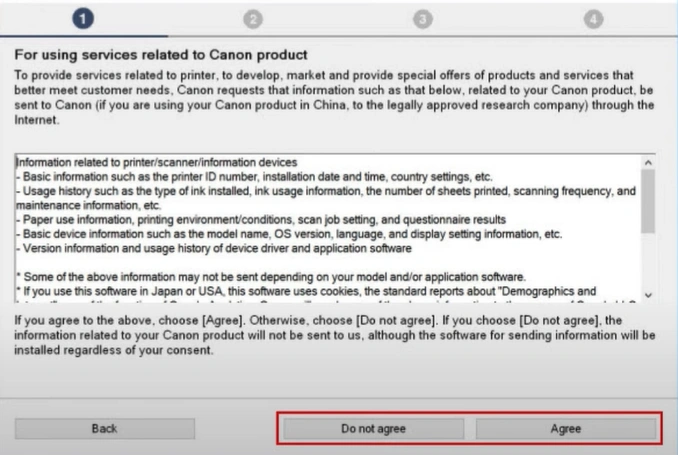
9. Select Agree or Do not Agree on the Extended Survey Program page.
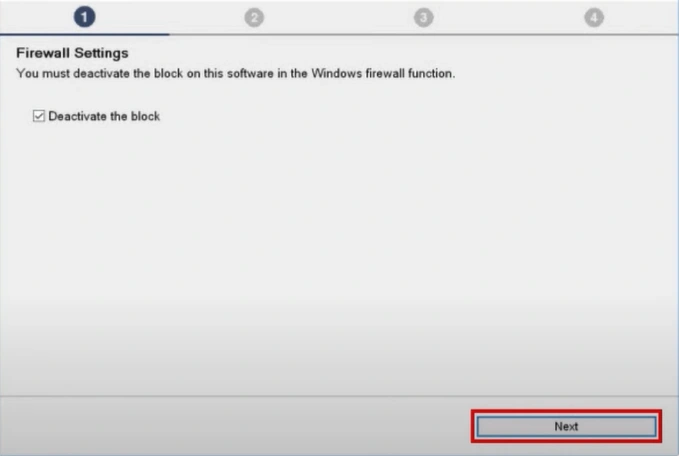
10. If you get the Firewall Settings screen, click on the “Deactivate the Block” checkbox and select Next.
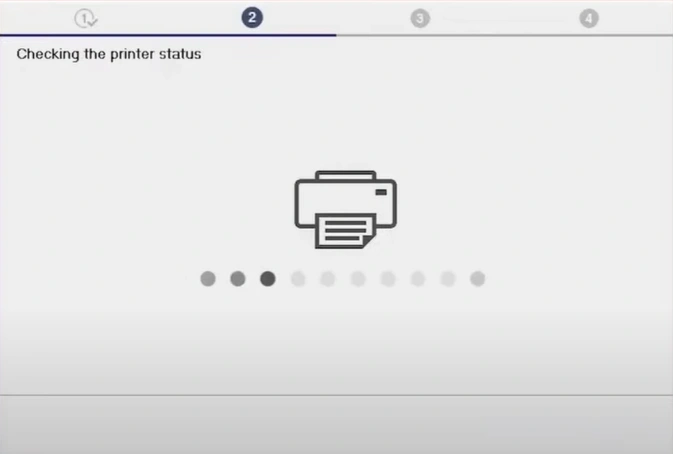
11. It will start checking the printer status.
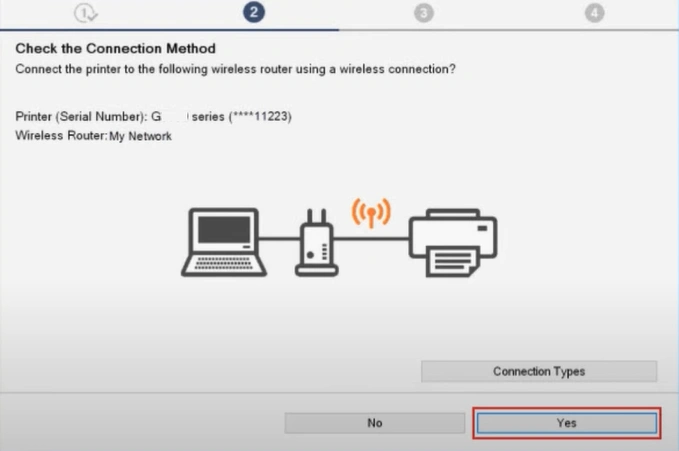
12. On the Check the Connection Method screen, select Yes, and it will start downloading the drivers.
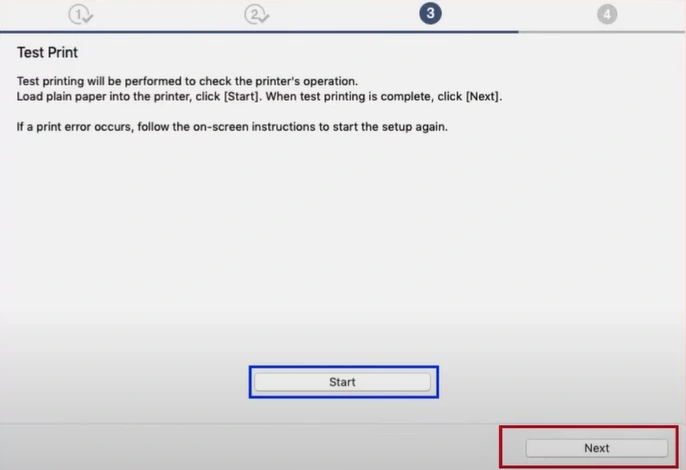
13. When the Test Print screen appears, click “Start” if you want to perform a test print.
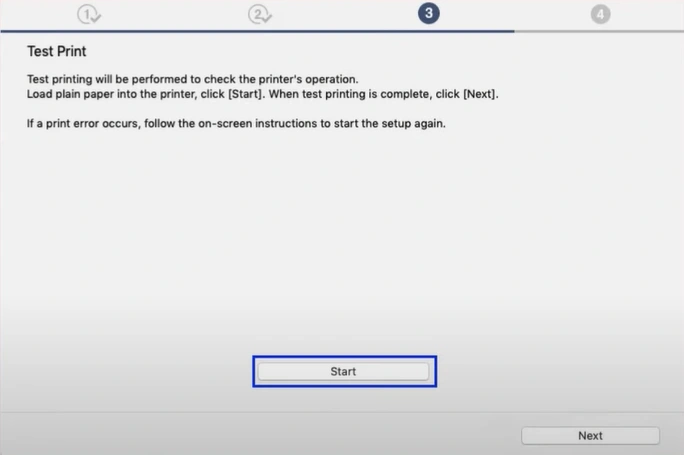
14. Or you can skip the Test Print by simply clicking Next.
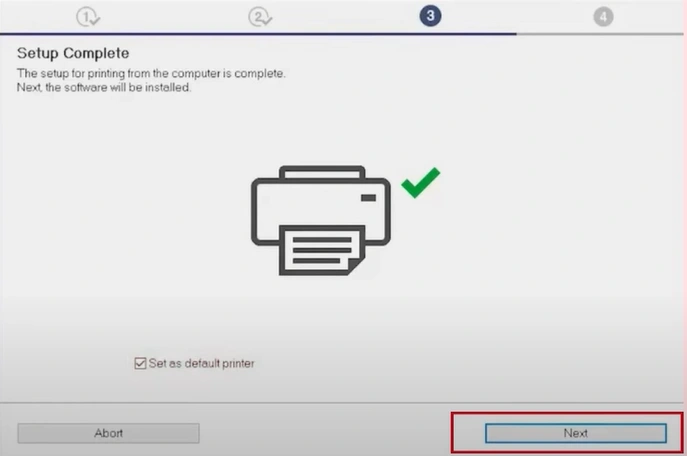
15. Once the printer is connected to the computer, you will get a Setup Complete screen.

16. Check the Set as Default Printer box, then select Next.
17. Choose the correct software you wish to install from the list and click Next.
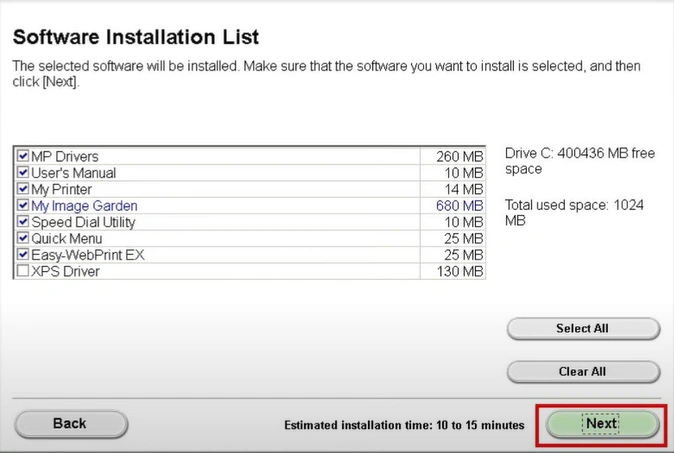
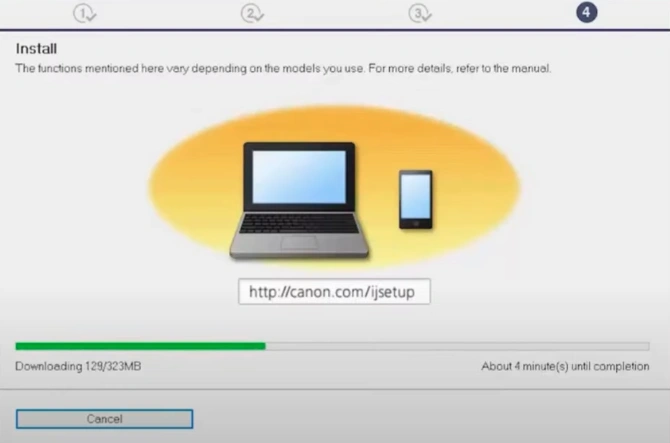
18. It will start downloading the software, which can take several minutes.
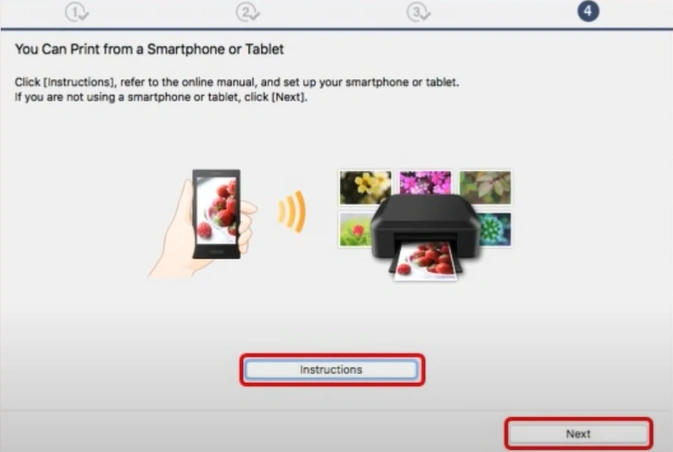
19. Click Next on the You Can Print a Smartphone or Tablet screen.
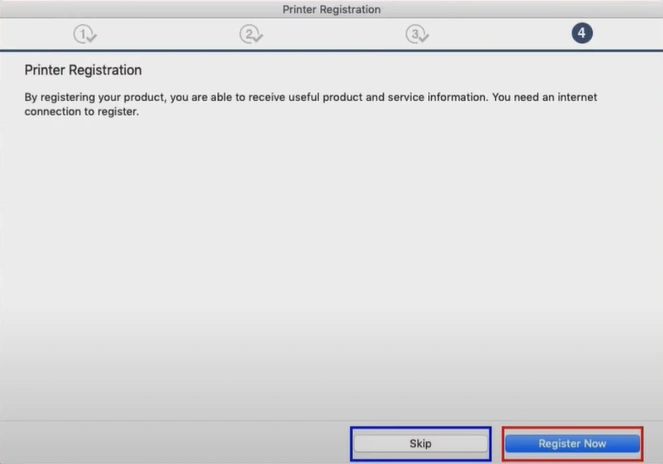
20. When you are prompted to register the printer, click Register or Skip and follow the on-screen instructions.
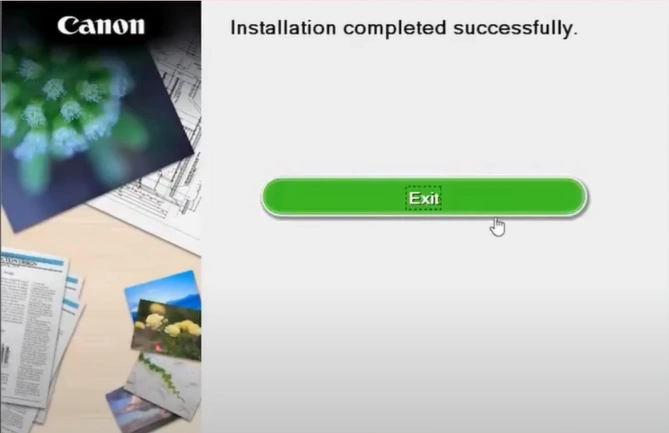
21. In the Installation Completed Successfully screen, click Exit.
Method 3: Via WPS
The WPS method is a great option that can help you wirelessly connect the printer to a WiFi router. These are steps you can follow to complete the procedure.
1. You need to press the Settings button on your printer control panel.
2. Click OK to choose WiFi Setup.
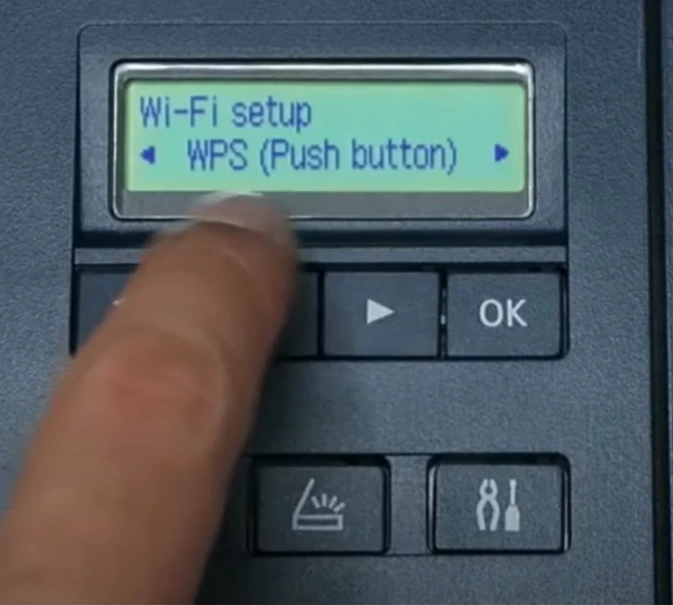
3. Scroll to select the “WPS (Push Button)” option and select OK.
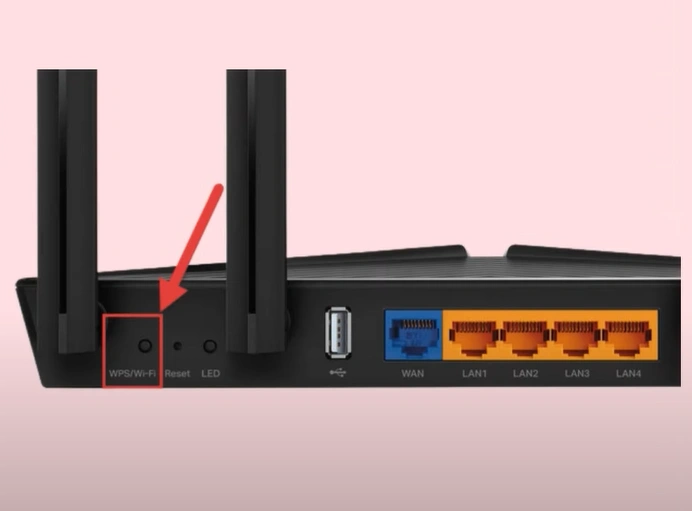
4. Go over to your router, then press and hold the WPS button/key for a few seconds.
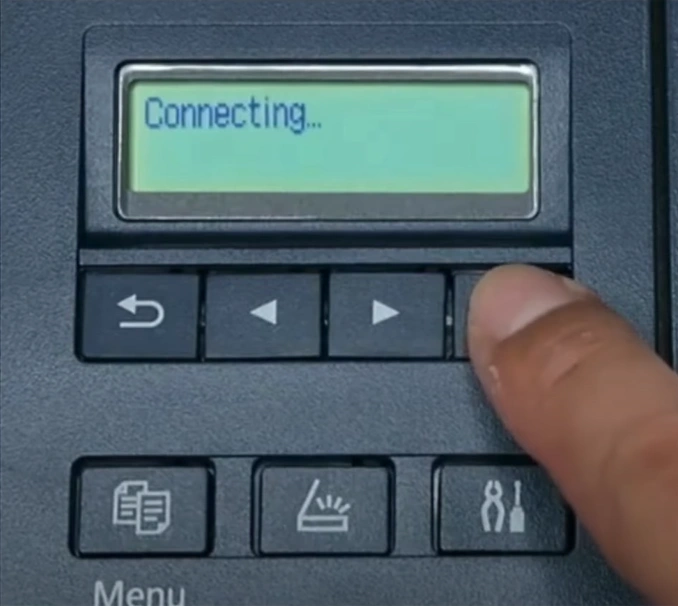
5. Press the OK button, and it will display Connecting on the display screen.
6. Once the connection is successfully established, press OK.
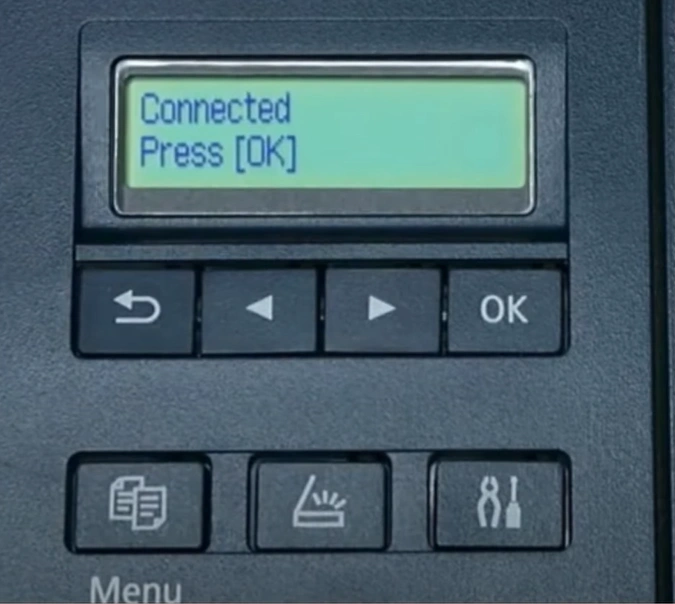
7. You can start using the Canon printer right away.
Wrap Up
Here, you have to learn about the top methods on “how to connect your Canon G3260 printer” easily. You can use any of these procedures to connect it to your WiFi, as you prefer. Also, you can try these methods one by one if any method does not work. Apart from that, you can look for more help and resources if the connection is still not complete.

