How to Connect Canon TR8620 to Computer?
To access the full functionality of the Canon TR8620 printer, it is necessary to complete the connection to a computer. The setup of the printer is quite straightforward, but it is not surprising when some problems pop up during the process. In addition, not knowing the correct procedure can also result in frustration when the connection is not successful.
If you are planning to connect your Canon TR8620 printer to Wi-Fi, then do not worry! Take a look at the well-tailored instructions to establish a reliable connection between the printer and the computer.
Steps to Connect Canon TR8620 to Computer
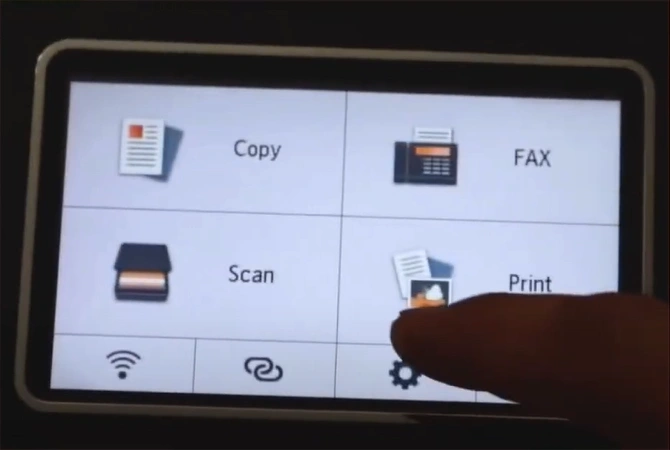
1. Initially, go to the printer control panel and click the settings icon.
2. Choose the Devices Settings and then select LAN Settings.
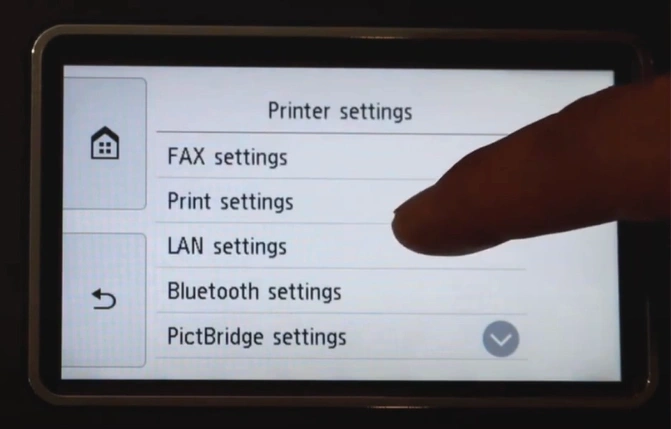
3. Tap on Wi-Fi and then tap on Wi-Fi Setup.
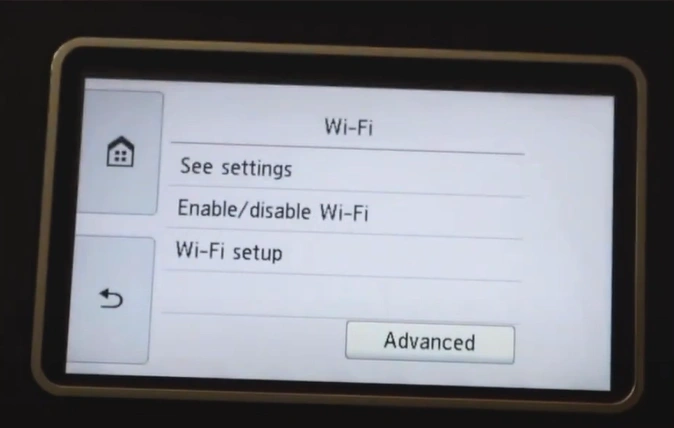
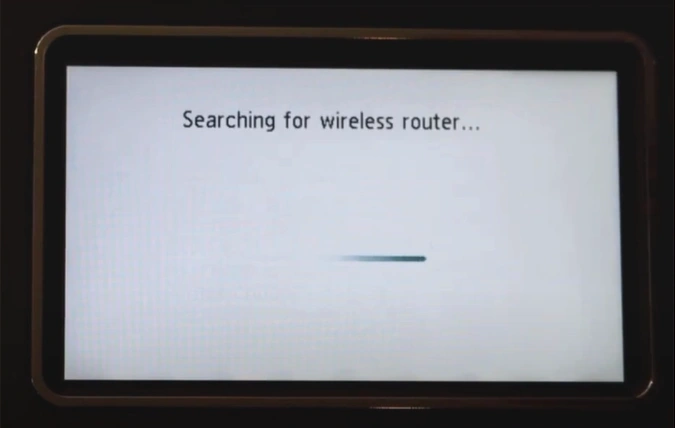
4. Select Manual Connect, and it will start searching for wireless routers in the area.
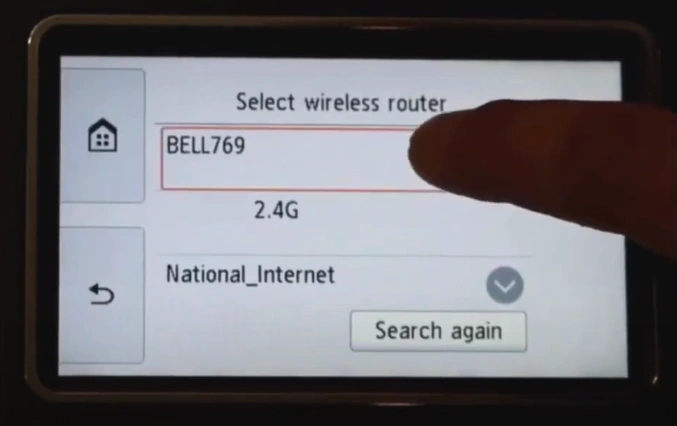
5. Move to your Wi-Fi network name and select it from the list.
6. Type the password, tap OK, and wait for the connection to set up.
_1741254093.webp)
7. Once the connection is established, click OK and press the Home button.

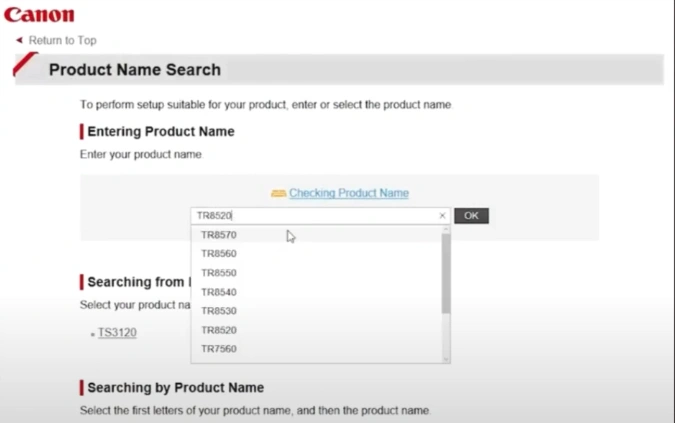
8. Furthermore, go to your computer and browse the official Canon setup page.

9. Click Set Up, search for the product name, and select OK.
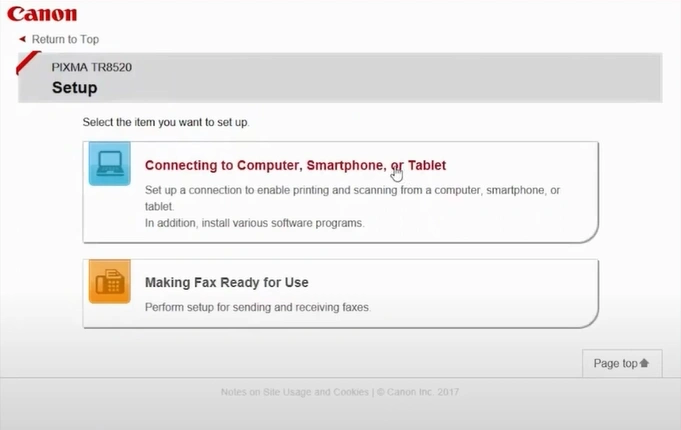
10. Select Connecting to Computer, Smartphone, or Tablet, then choose Setup.
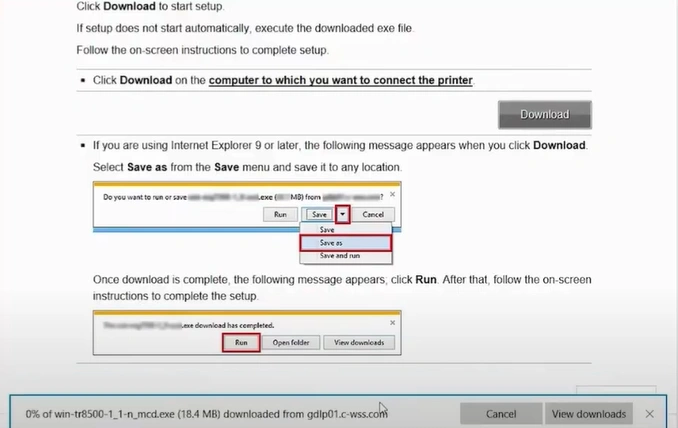
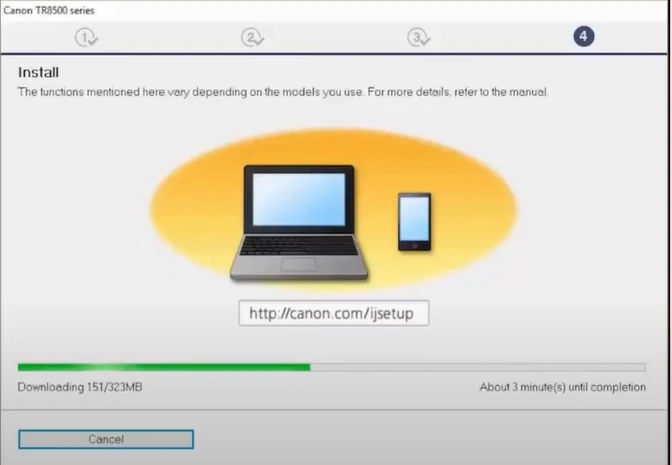
11. Click on the Download option/button and wait for the process to complete.
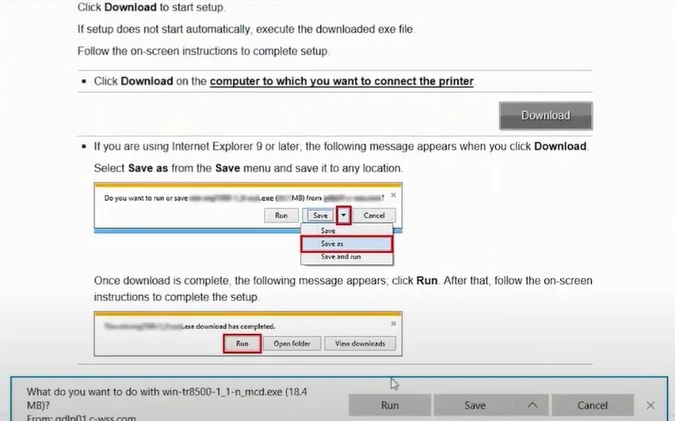
12. Next, open the downloaded file to get started.
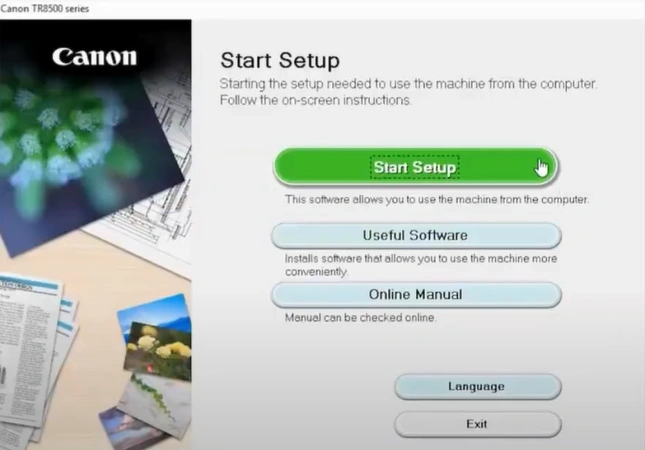
13. Now, click Start Setup, and it will start searching for the latest driver and software, which can take several minutes.
14. Choose the region in which you reside and then click on the Next option.
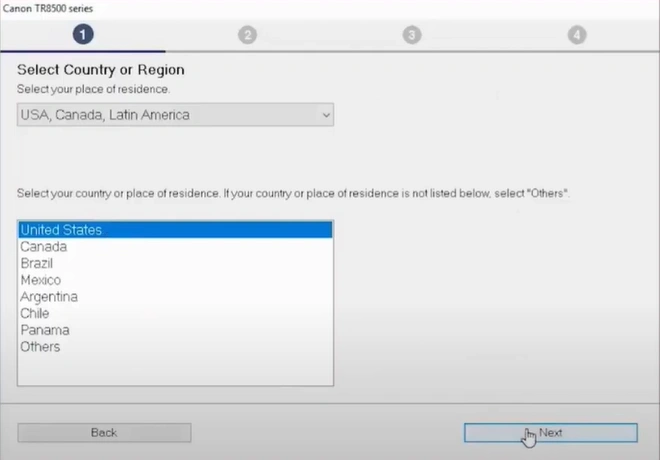
Also Read:- Canon TS 5120 Wireless Setup
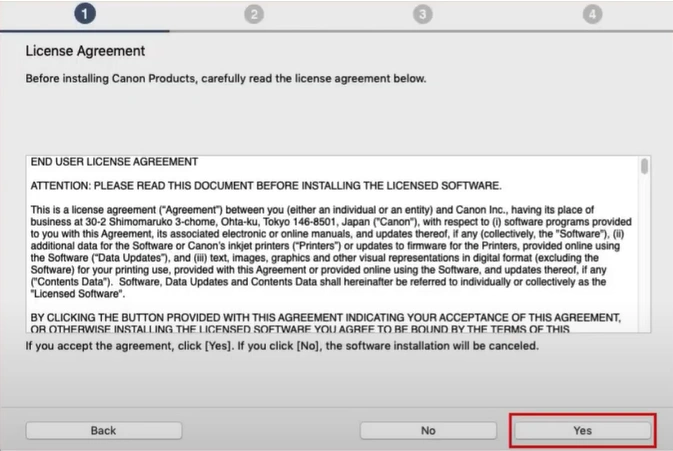
15. Select the Yes option to agree on the License Agreement page.
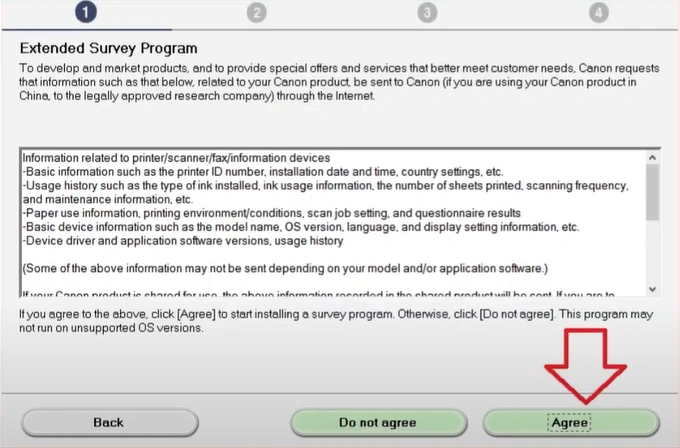
16. Furthermore, “Agree” or “Do not agree” on the Extended Survey Program.
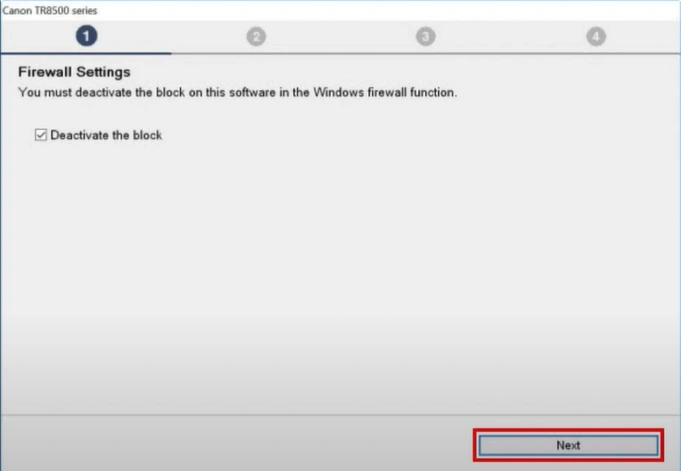
17. If you get the Firewall Settings screen, check the “Deactivate the Block” box and click Next.
18. Now, it will start checking the printer status.
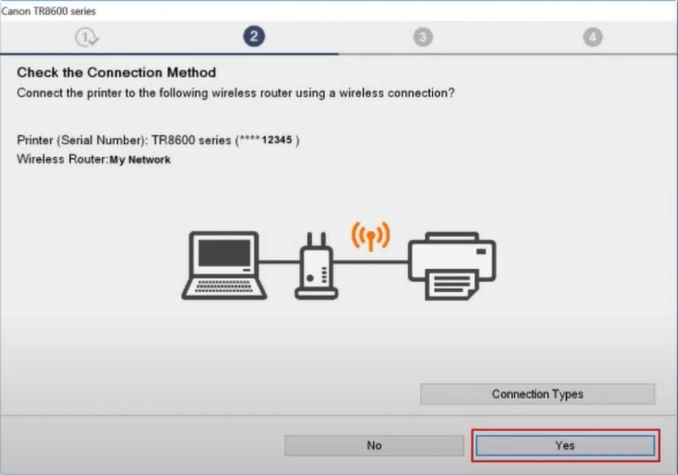
19. On the Check the Connection Method screen, click Yes, and it will start downloading the drivers.
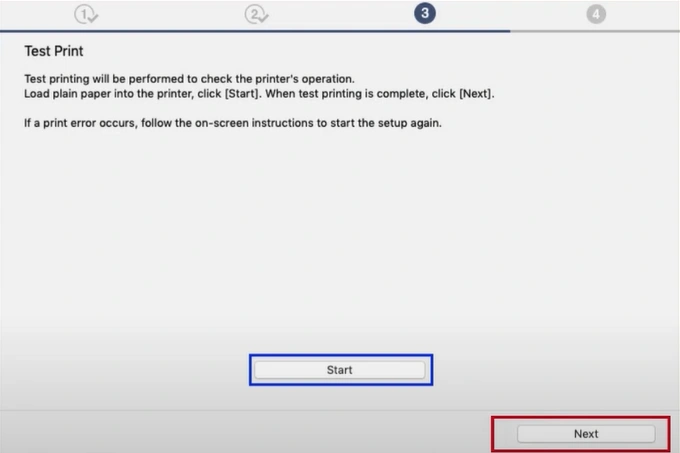
20. When the Test Print screen appears, choose Start if you want to perform a test print.

21. Or you can skip the Test Print by simply clicking Next.
22. Once the printer is connected to the computer, you will get a Setup Complete screen.
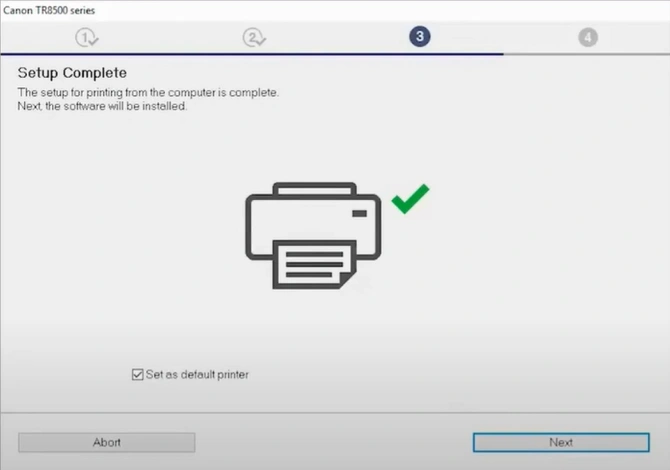
23. Check the Set as Default Printer box, then click Next.

24. Select the right software you want to install from the list and click Next.
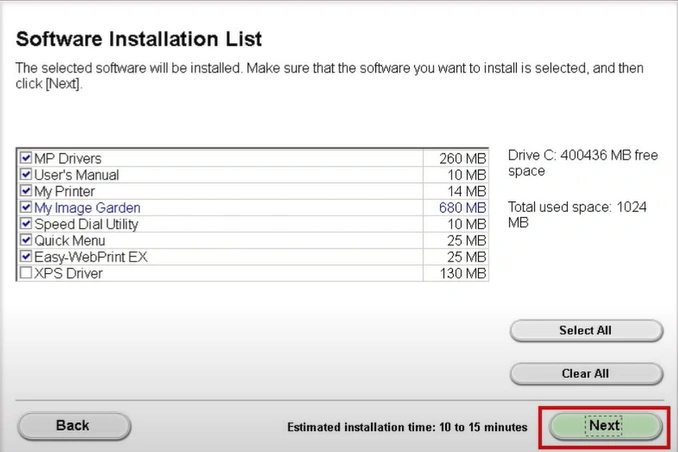
25. It will start downloading the software; this process can take several minutes.
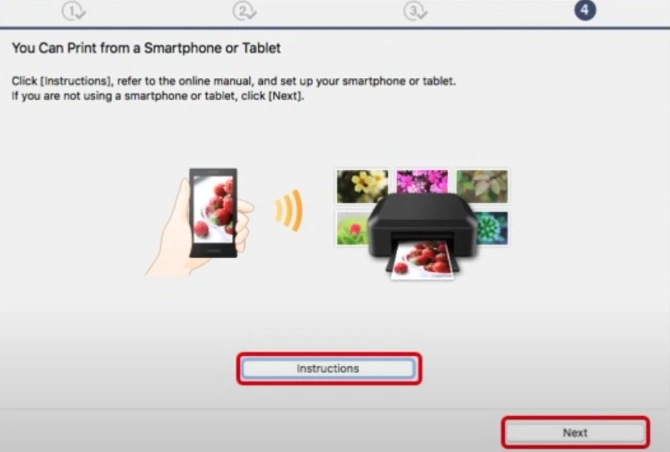
26. Choose Next when you are on the “You can print from a smartphone or tablet” display.
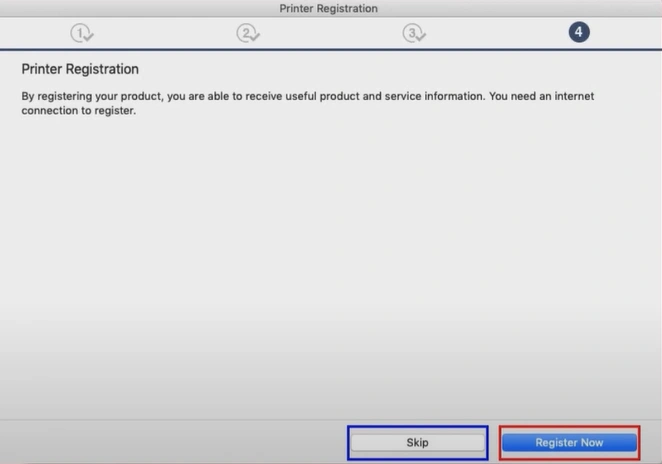
27. Once you are prompted to register the printer, click Register or Skip and follow the instructions on-screen.
28. In the Installation Completed Successfully screen, select Exit.
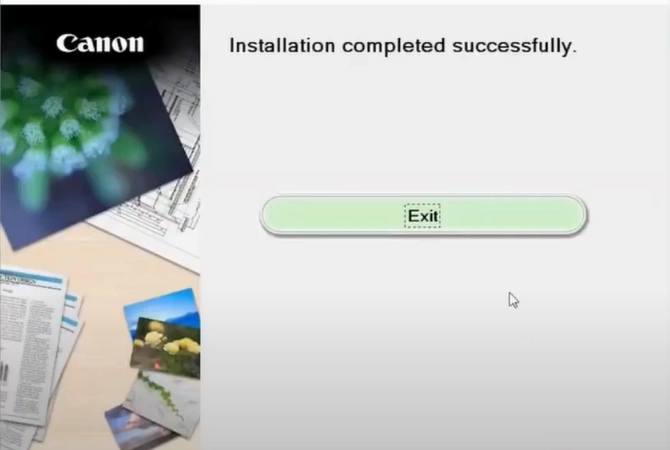
29. Here you go; the Canon printer setup is complete and ready to use.
We hope that with the help of this tutorial, your Canon TR8620 printer setup process will be successful. To make the setup process more seamless, ensure the printer is compatible with your PC, use the right ink & paper, keep the printer near the PC, and use a stable network connection. In addition, it would also be wise to gather more information and look for more resources if the setup process seems complicated.

