How to do Canon TR4722 WiFi Setup?
Completing the wireless setup of your Canon TR4722 gives you the flexibility to get flawless copies while printing documents. In addition, a wireless connection allows you to print instantly from any available device. Its advanced wireless connectivity interface helps in connecting the device to all the major OS devices.
Moreover, the WiFi setup process of this printer is the same as other wireless devices, but it is ideal to learn the whole procedure beforehand if it is your first time. As a result, discover the multiple proven and useful methods to complete Canon TR 4722 without much hassle. So, let’s begin!
Method 1: Easy Wireless Connect Setup
Here are the steps of Easy Wireless Connect Setup to complete the printer connection.
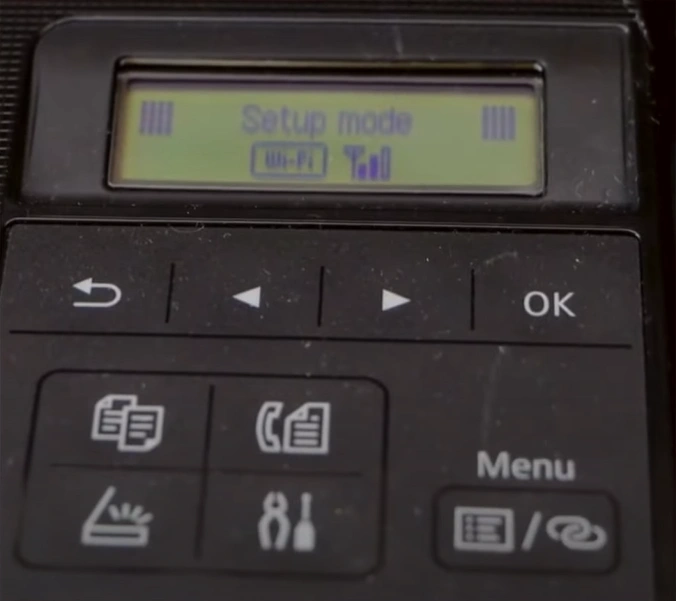
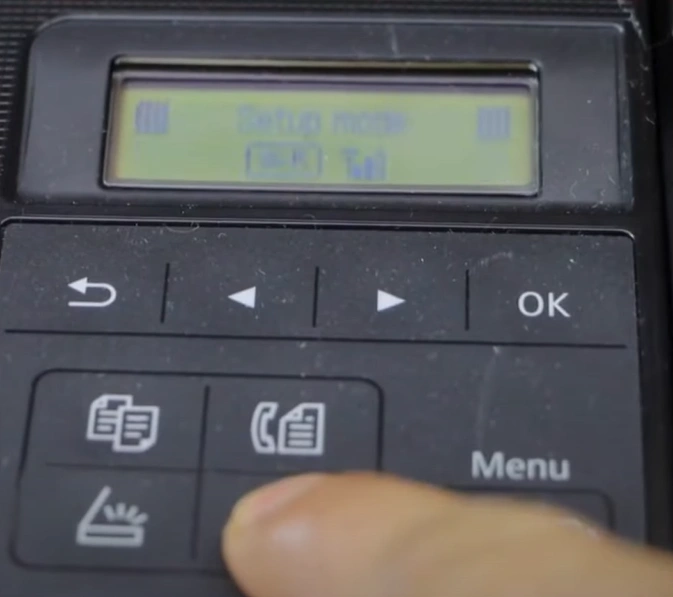
1. Go to the printer’s control panel and press the Settings button.
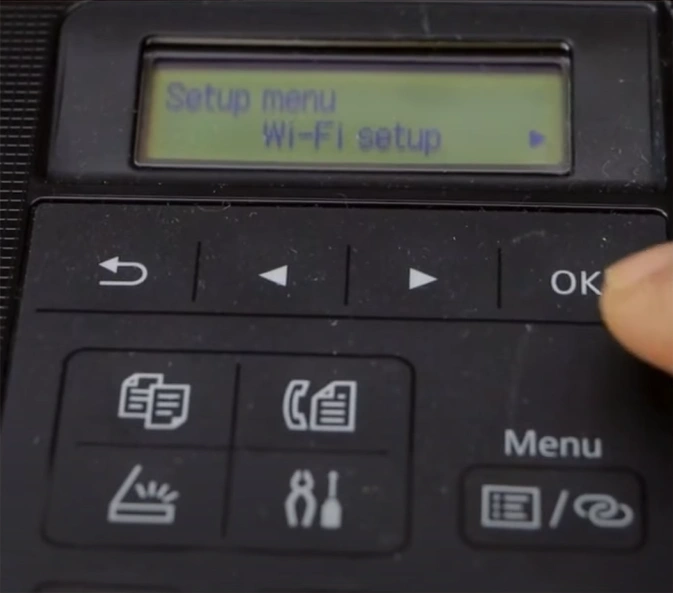
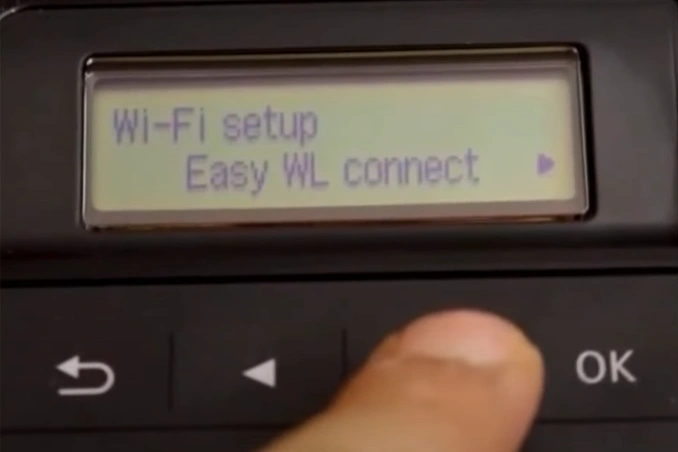
2. In the Setup menu, press OK to select Wi-Fi setup.
3. Press OK again to select Easy WL Connect, and it will start processing.

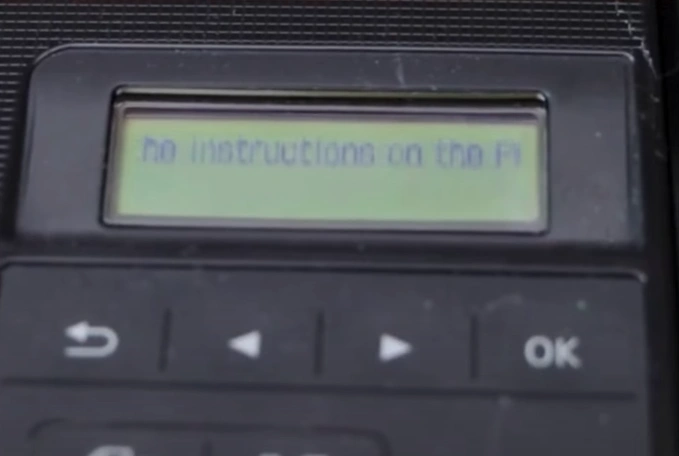
4. When the Follow the Instructions on the PC or Smartphone message appears on the screen, go to your PC and open the Canon Print App.
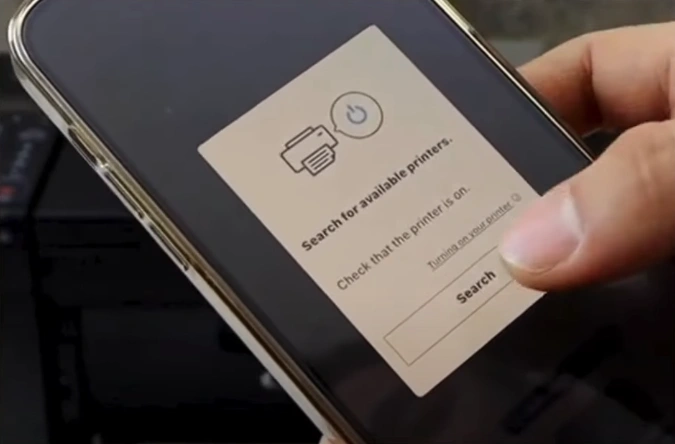
5. When you get the Search For Available Printers prompt, tap Search, and it will start looking for printers.
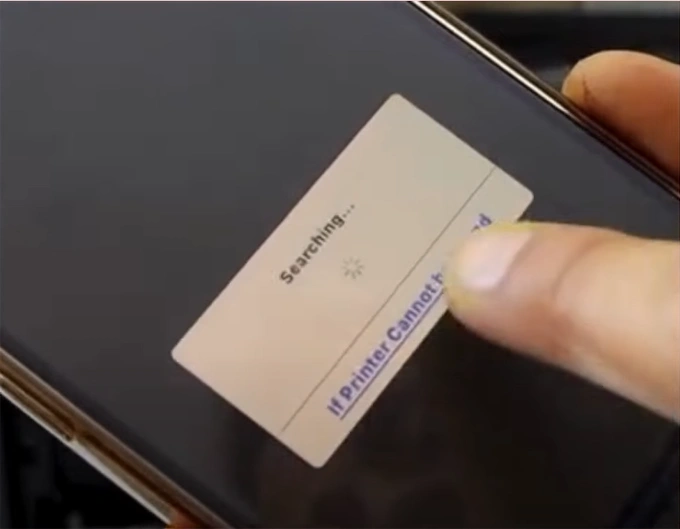
6. If you don’t see your printer, tap on If the printer cannot be found and tap on OK to proceed.
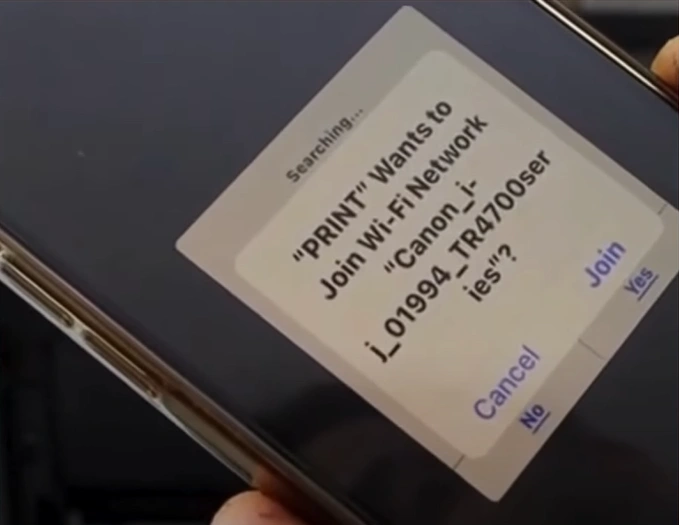
7. When it displays your printer series, tap Join.
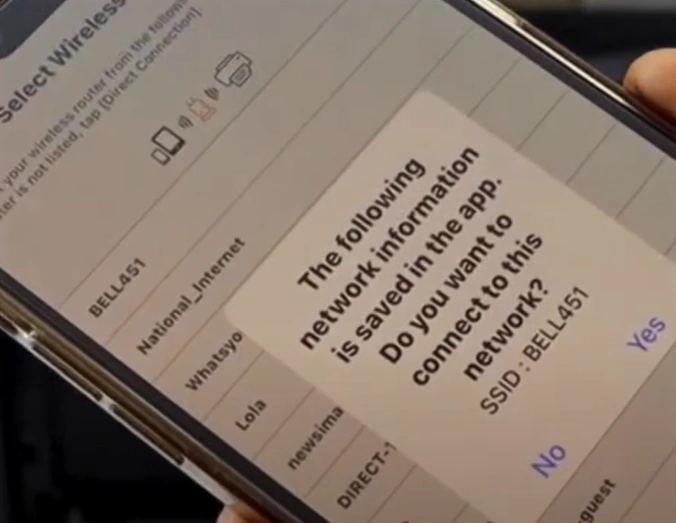
8. When it displays your Wi-Fi network, tap Yes to connect.
9. Now, you can start printing.
Also Read:- How to Fix C000 Error Canon Printer?
Method 2: Manual Connect Setup
Use the given manual connect setup method to connect your Canon printer quickly.
1. Press the Settings button in the Control Panel.
2. Press OK to select Wi-Fi Setup.
_1741336513.webp)
3. Choose the Manual Connect using the arrow buttons and press OK.
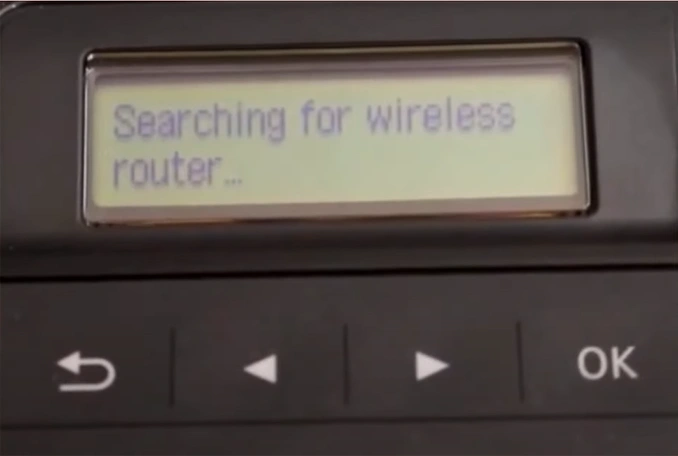
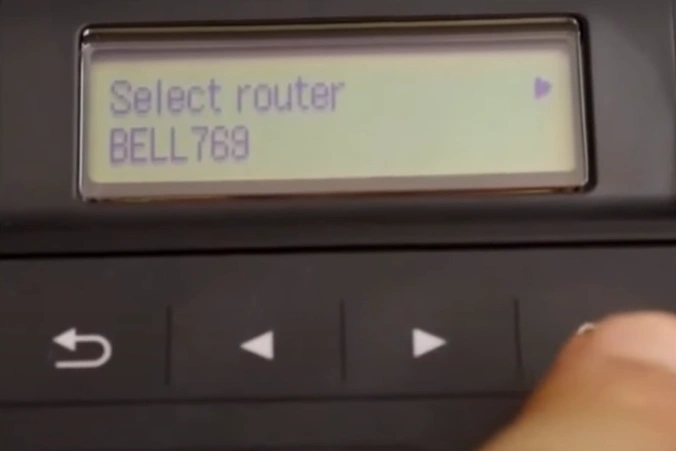
4. It will start searching for the wireless routers.
5. Choose your wireless network and select the OK option.
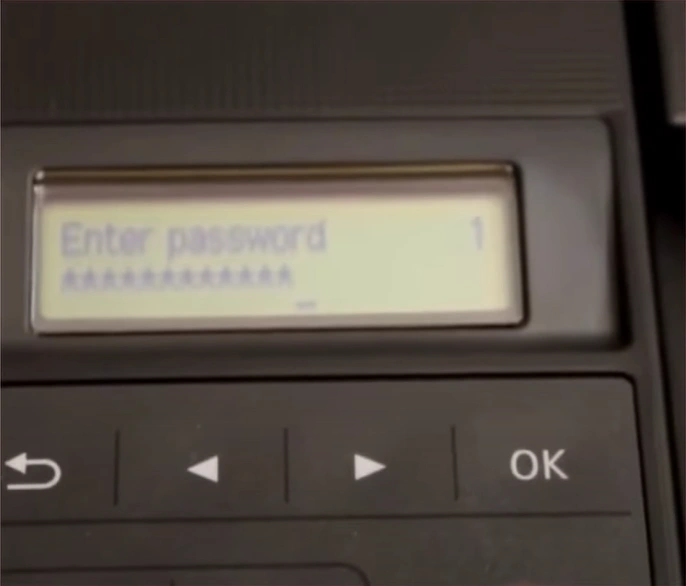
6. Enter the right Wi-Fi password using the control panel and press OK.
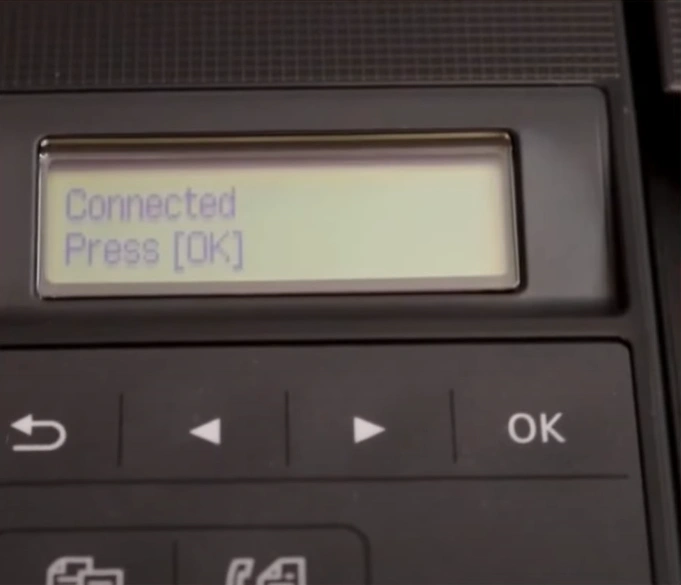
7. Once the connection is successfully established, press OK.
Method 3: WiFi Direct Setup
This method will help you establish a wireless connection for the Canon printer using the WiFi Direct Setup. Make sure to follow all the steps carefully.
1. Press the Settings button in the printer’s control panel.

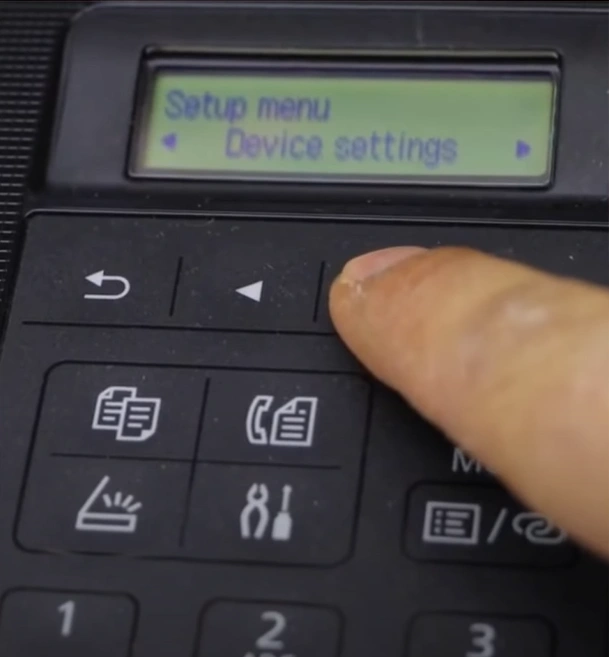
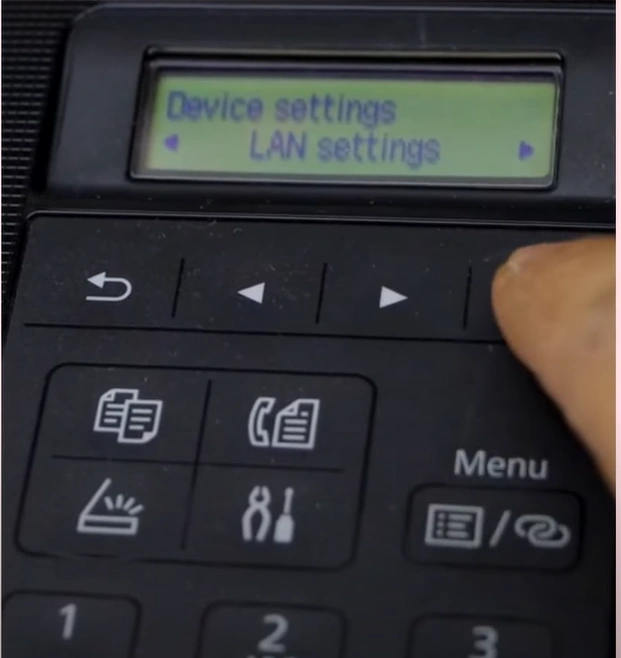
2. Head to the Device Settings and press OK.
3. After that, you should choose the LAN Settings option and press the OK key.
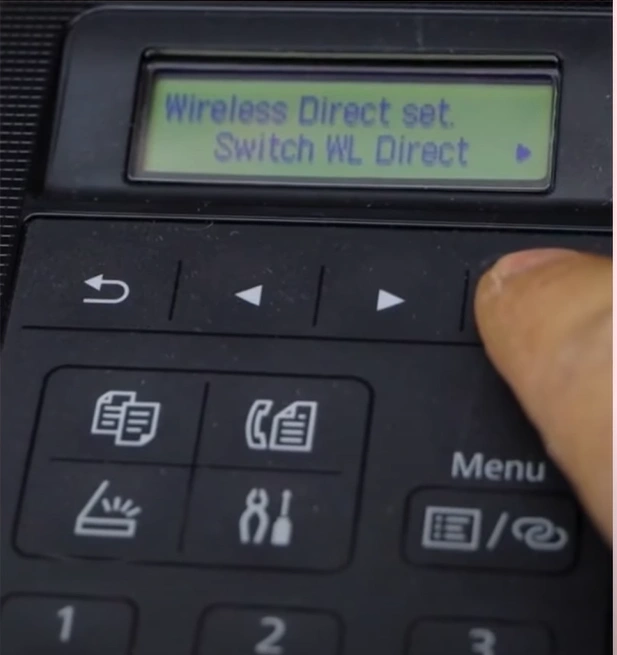
4. Choose Wireless Direct and press the OK button; then, you need to press OK once again for the Switch WL Direct option.
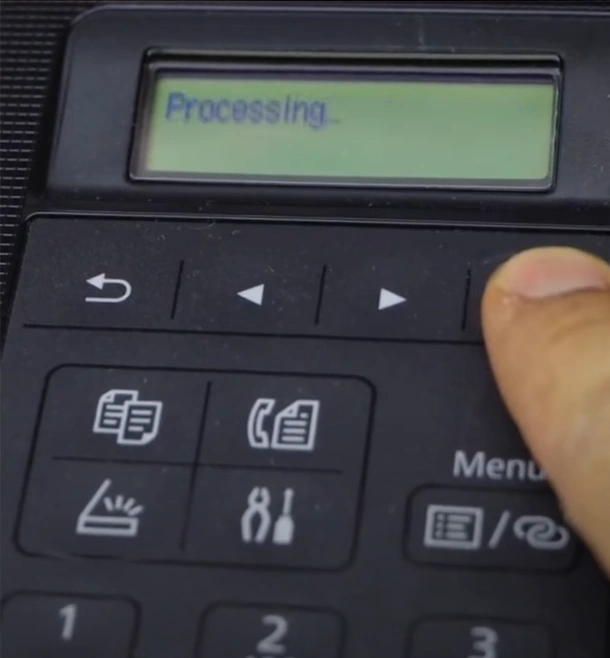
5. Now, select Yes and press OK to enable WiFi Direct.
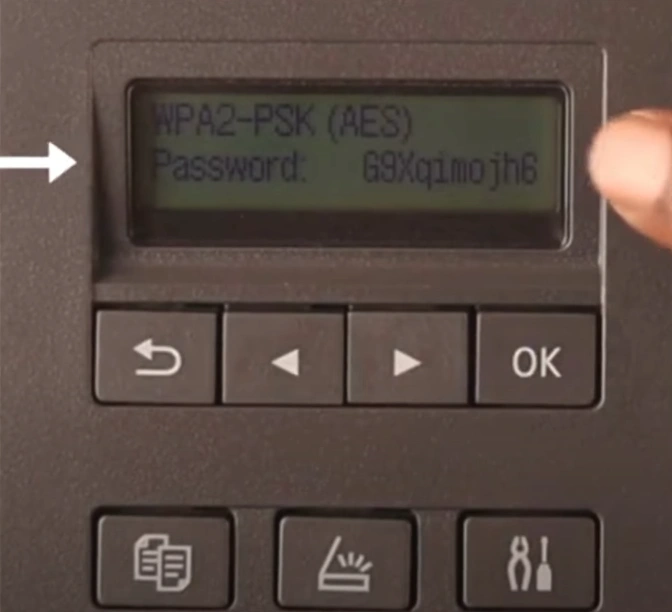
6. Scroll using the arrow buttons, choose Security Protocol, and press OK.
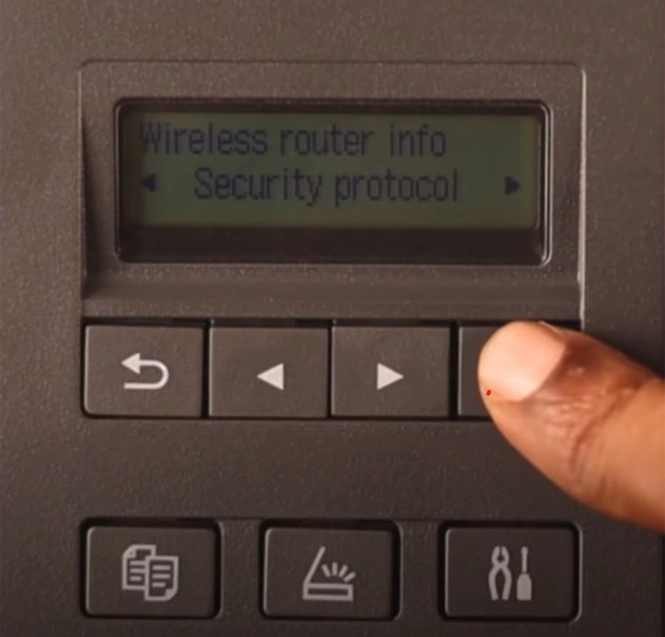
7. Select Yes and press OK to display the password.

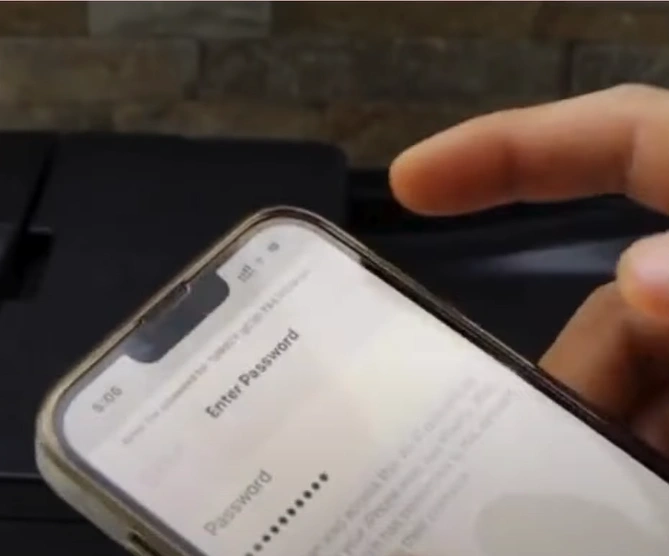
8. When it displays the password, go to your device and turn on WiFi.
9. Choose the network name that starts with DIRECT, followed by your printer name.
_1741337294.webp)
10. Now, you need to enter the password and tap on Join to complete the connection.
If you use all these methods carefully, then chances are your Canon printer will be set up easily. However, some problems can appear during the process due to various reasons. Therefore, it would be prudent to get your hands on the additional resources and assistance if the setup process is not complete.

