Canon TR4520 WiFi Setup || Printer Tales
Completing your Canon TR4520 printer setup allows you to enjoy the flawless printing, scanning, and copying tasks. In addition, using the wireless connection helps print documents from anywhere on any device. Well, connecting a printer to a wireless network is easy, and various methods are available to do it. However, some new users might find it challenging due to a lack of knowledge of connection procedure.
As a result, if you are also looking forward to setting up your Canon TR4520 printer, it is wise to have an understanding of multiple methods at your fingertips. Walk through the comprehensive and the best methods to streamline your printer wireless connection setup.
Method 1: Wireless Direct Setup
The following method will help you complete the wireless direct setup of your Canon TR4520 printer. Read the full guide carefully.
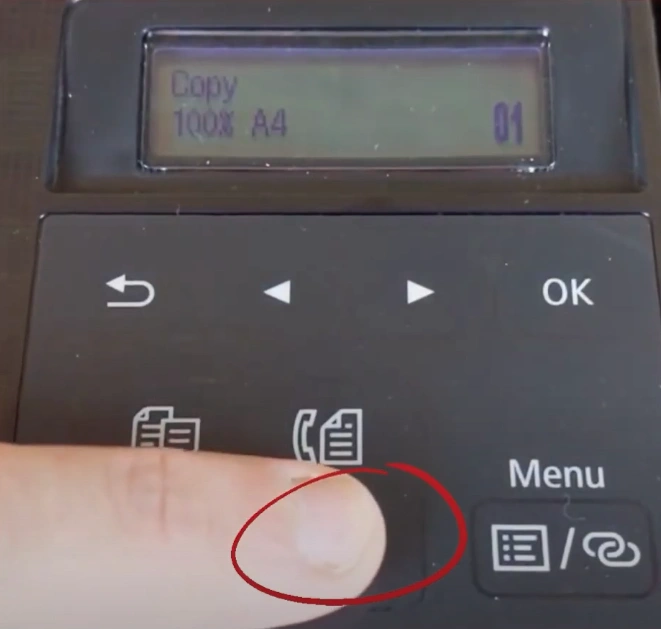
1. In the beginning, go to your Canon TR4520 printer display panel and press the Settings button.
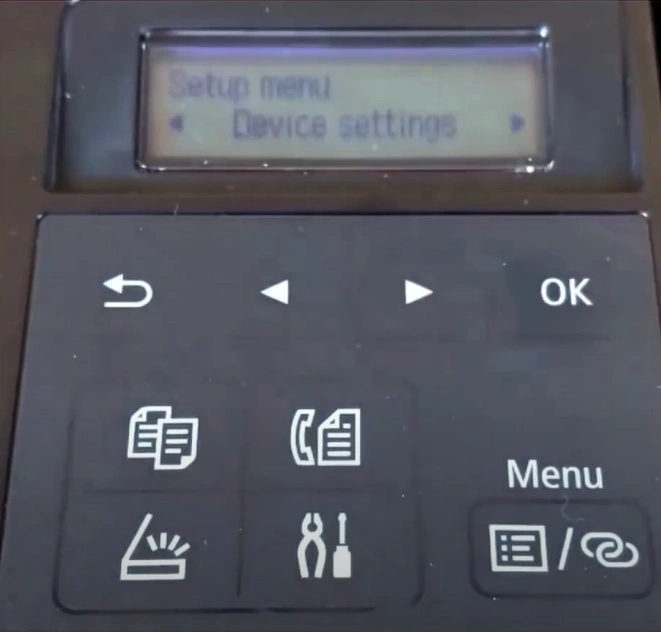
2. Once you see the Setup Menu, use the arrow buttons to choose Device Settings and then press the OK key.
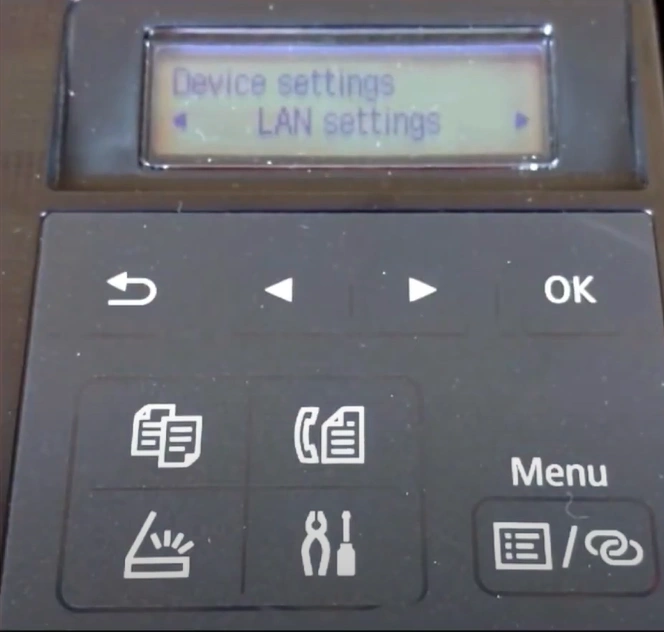
3. Next, by using the arrow keys, go to the LAN Settings and select OK.
4. Now, choose the Wireless Direct and press OK once again.
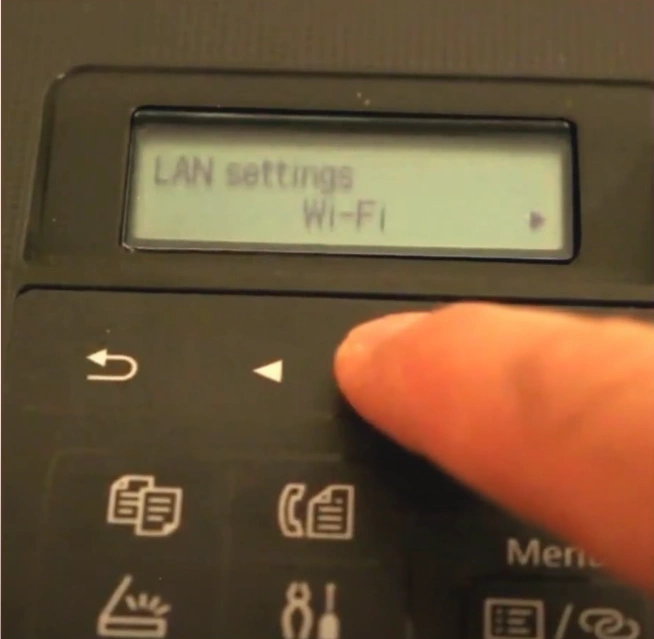
5. Furthermore, you need to tap on OK, Switch WL Direct, and press OK again to proceed.
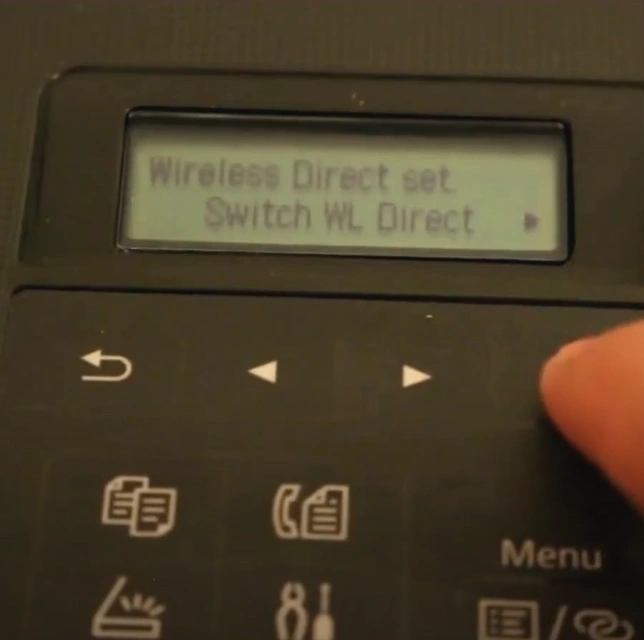
6. Next, navigate to Security Protocol, press OK, and then choose Yes to confirm.
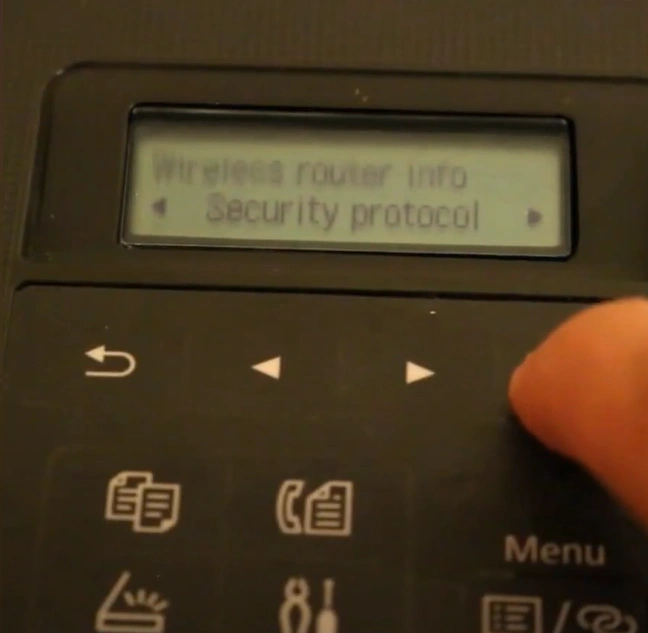
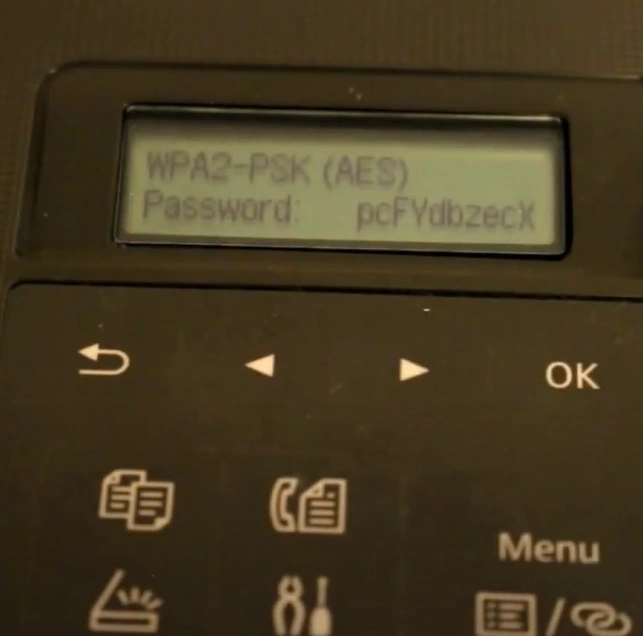
7. When it displays the printer’s Wi-Fi password, note it down somewhere, like on a piece of paper.
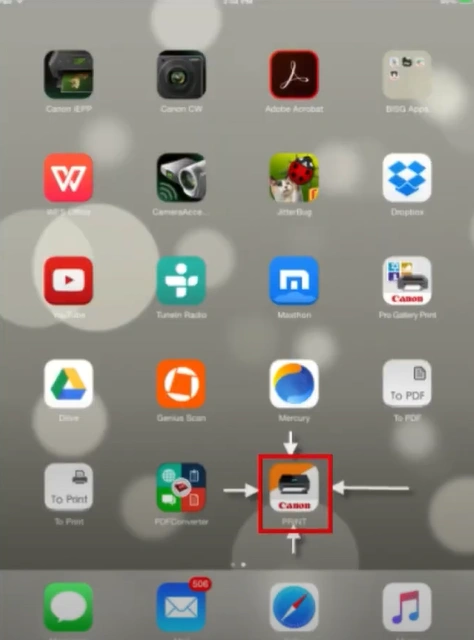
8. Henceforth, move to your mobile phone or desktop and make sure that you have the Canon Print App.
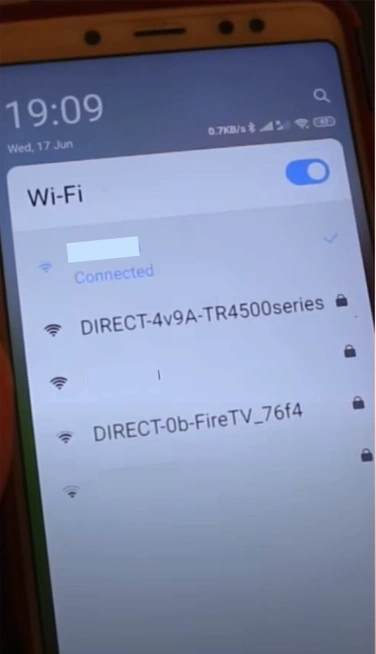
9. Go to the Wi-Fi Settings and select the Network that starts with DIRECT, followed by your Canon printer model name.
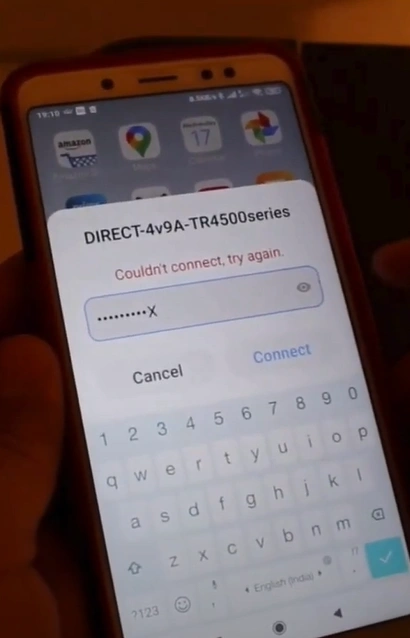
10. Enter the password you noted earlier and wait for the connection process to complete.
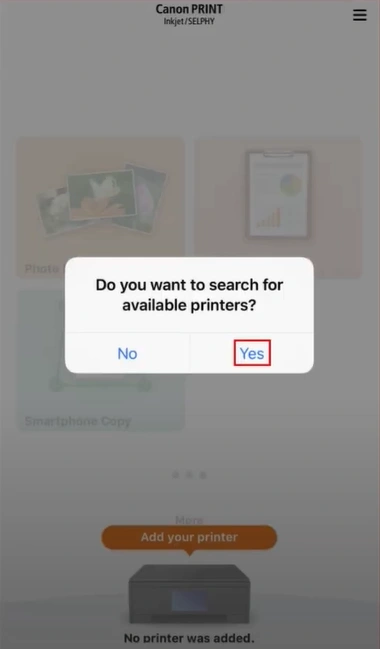
11. Next, launch the Canon Print App; if you see a pop-up to search for the available printers, tap Yes.
12. It will start searching, then tap Cancel once a wireless connection is established.
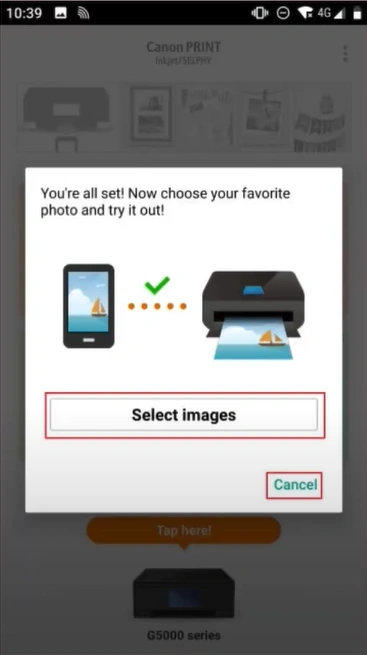
13. Finally, you can start using your printer.
Method 2: Via Manual Connect
Here are the steps you should follow to establish the printer connection using the manual connect method.
1. Initially, move to the printer’s control panel and press the Settings button.
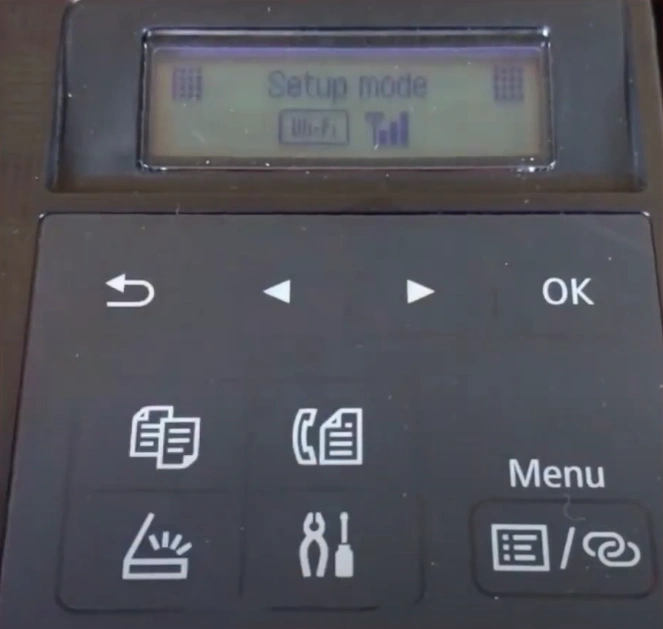
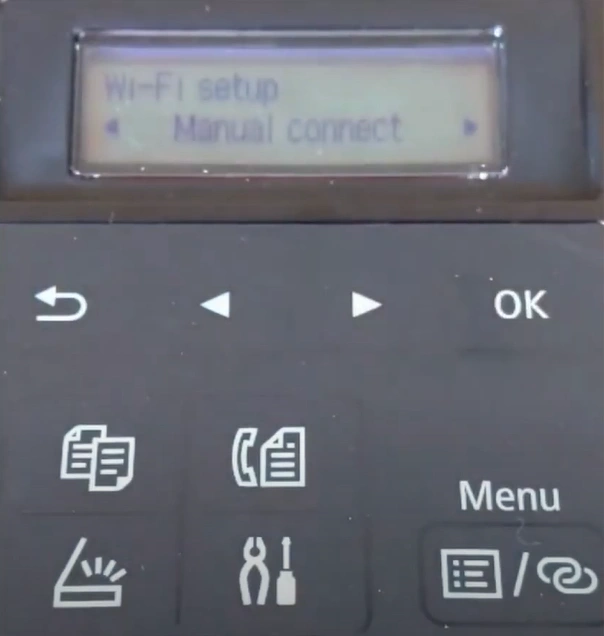
2. Next, navigate to Manual Connect using the left and right arrow buttons and tap OK.
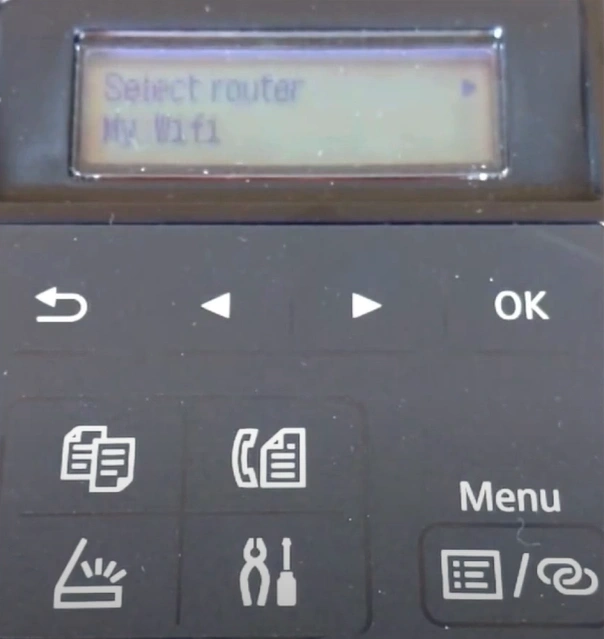
3. Now, it will start searching for the available wireless router; select your network from the list and select OK.
4. You should type your wireless network password and select the OK option.
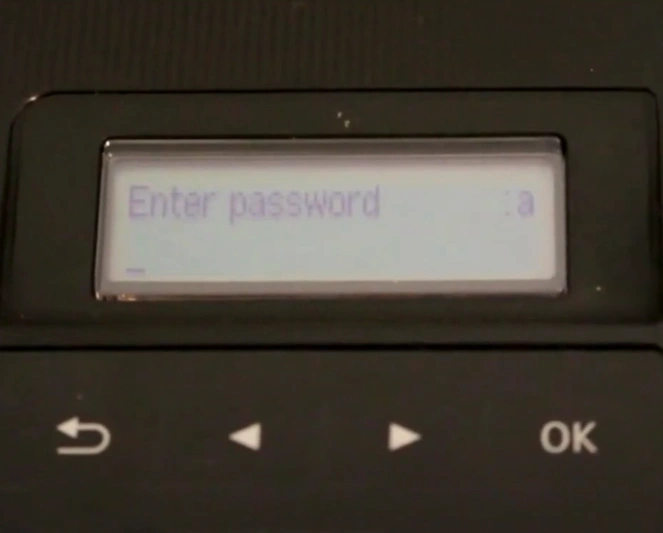
5. The connection process will initiate; once you see the Connected notification on the screen, press the OK button.
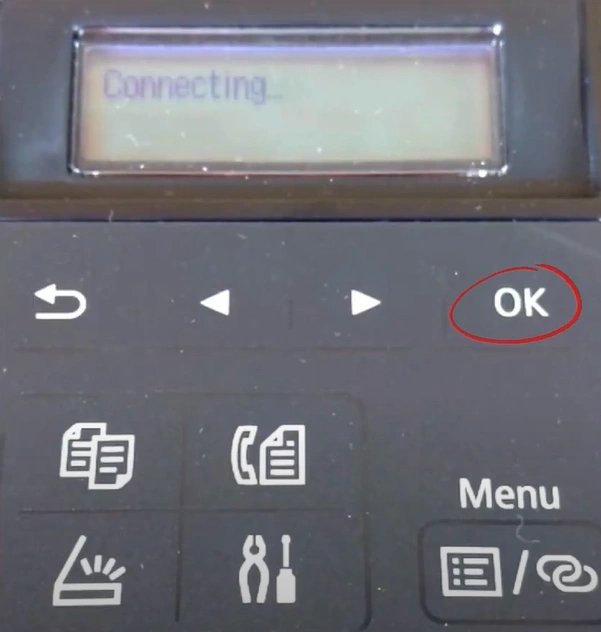
6. Now, your printer will be ready to print documents.
7. If the printer setup is not complete yet, then move to the next method.
Method 3: Initial Setup on Windows
If you want to quickly set up your Canon printer on Wi-Fi, then here is the initial setup using the Windows method. Follow all the steps carefully.
1. Press and hold the Menu/Wireless Connect button for three seconds.
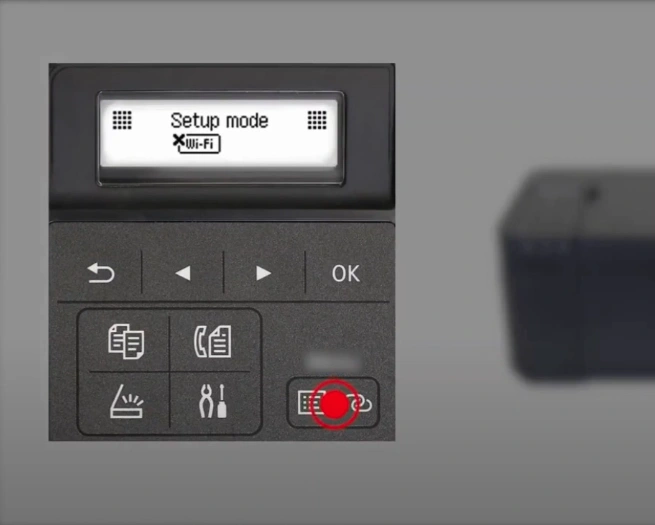
2. When the “Follow the Instructions” screen appears, the printer preparation is complete.
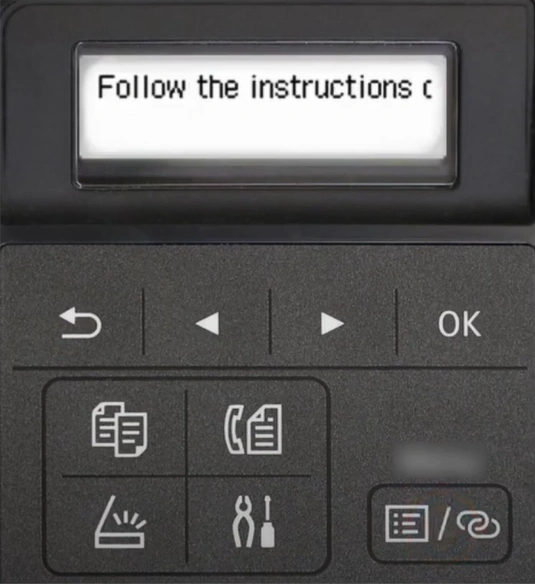
3. Now, visit the official Canon website, click Setup, type your product name, and select Go.

4. Tap Start, click Connect, then download the software.
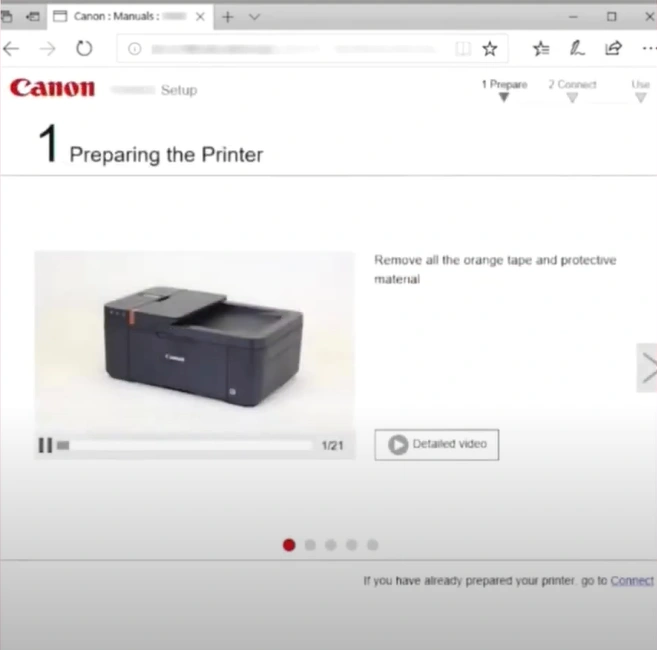
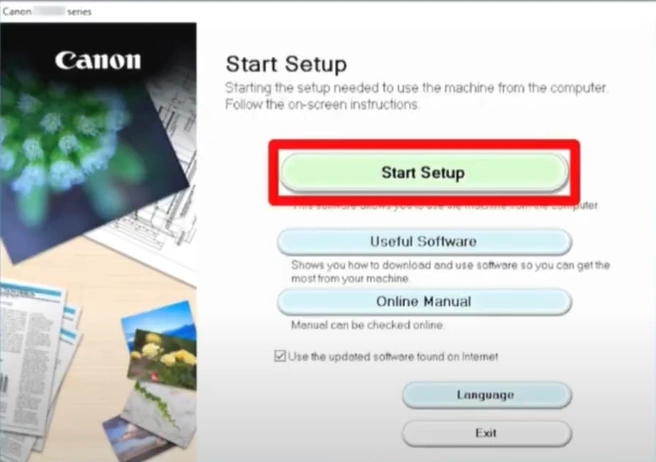
5. After the download, open that file, click Start Setup, and then choose Next.
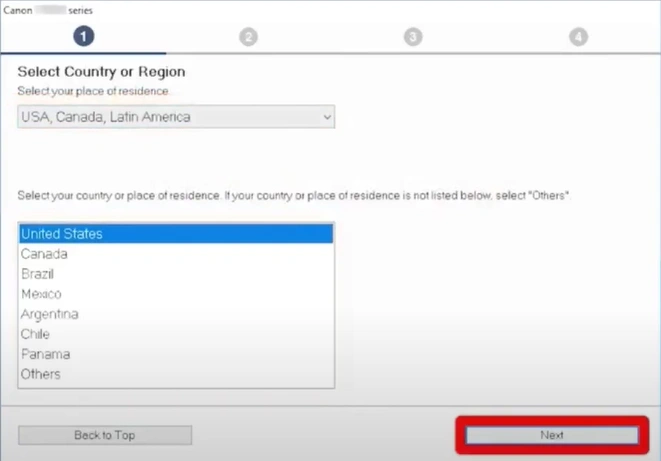
6. Now, specify your region and then click on the Next button.
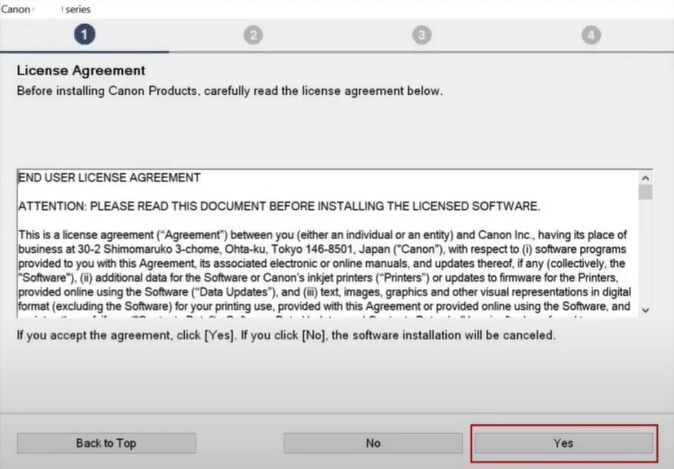
7. Read the terms and conditions carefully and then choose Yes to agree.
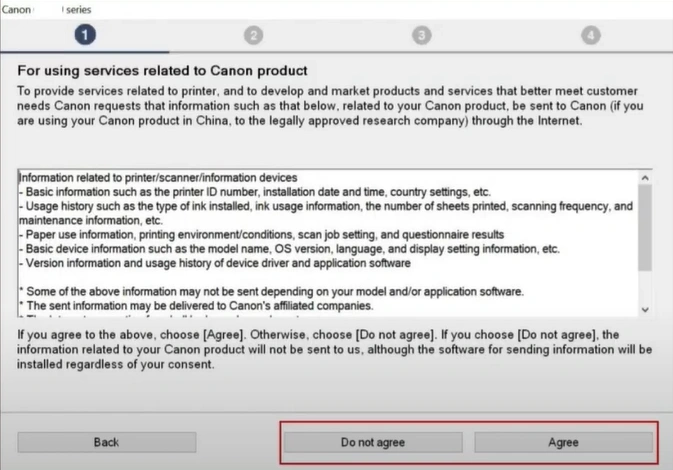
8. Further, you are required to select the “Agree” or “Do not agree” option on the services related to the Canon product screen.
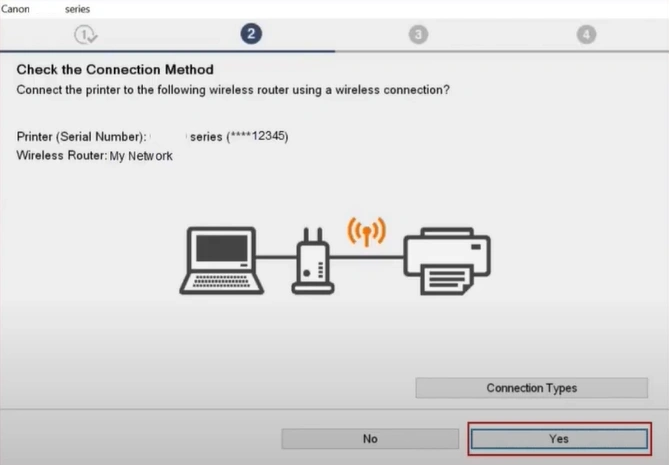
9. When the “Check the Connection Method” screen is opened, select Yes to complete the connection.
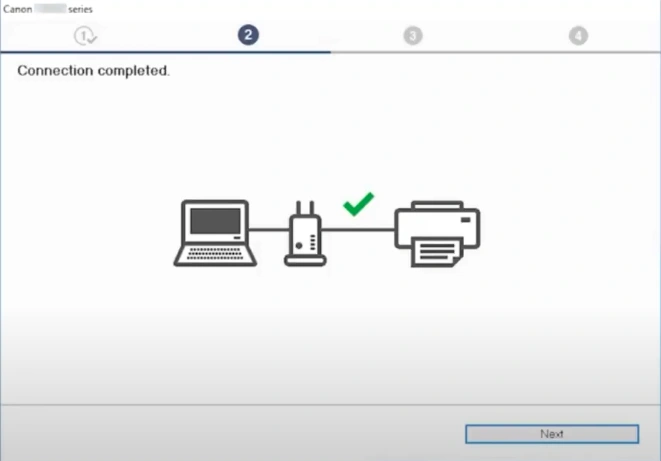
10. Once you get the Connection Completed screen, click Next, and it will start installing the drivers.
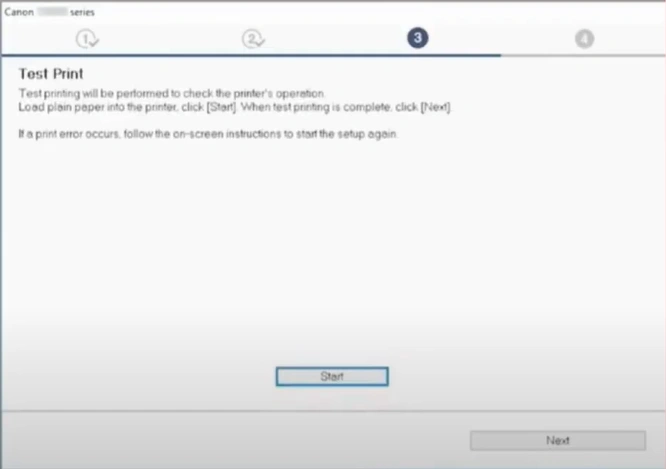
11. In the Test Print Screen, choose Start to perform a test print. (You can also click on the Next option to skip this part.)
12. Once the Setup Complete screen appears, click on Next.
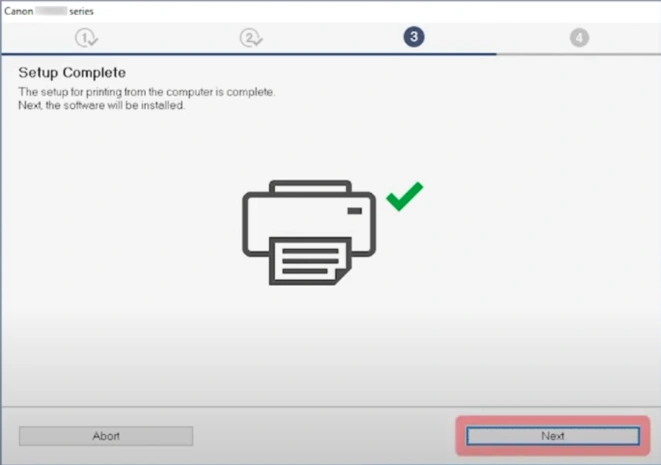
13. On the Software Installation List screen, select the software you want to install, then click on Next.
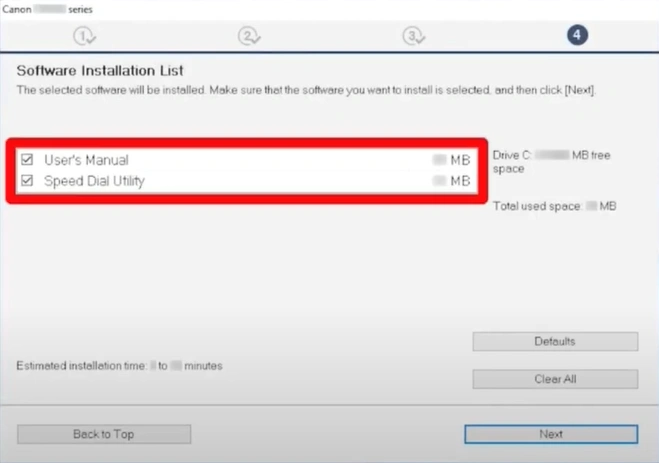
14. It will take several minutes to install the software.
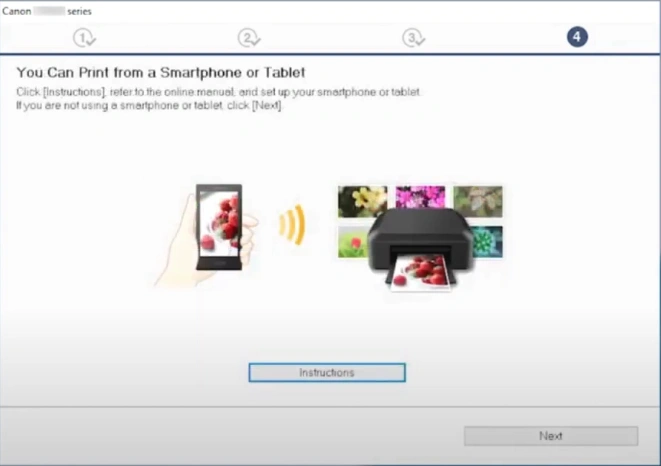
15. Once done, click Next and Exit.
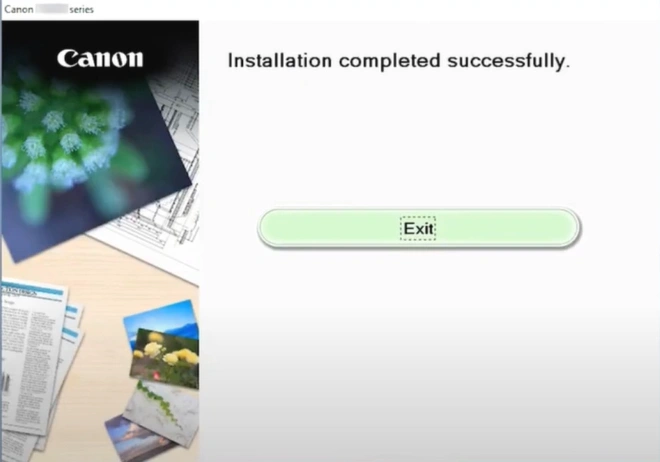
16. Now, try to print a fresh copy of the document on your printer to check if everything is working perfectly.
Final Words
With the help of these top 3 methods, you can easily complete your Canon TR4520 printer wireless setup. You can use any of these methods you find suitable and start using your printer for various tasks. Besides that, you must reach out for further guidance if you need more help or are unable to fix the issue.

