How to do Canon TR4722 Wi-Fi Setup?
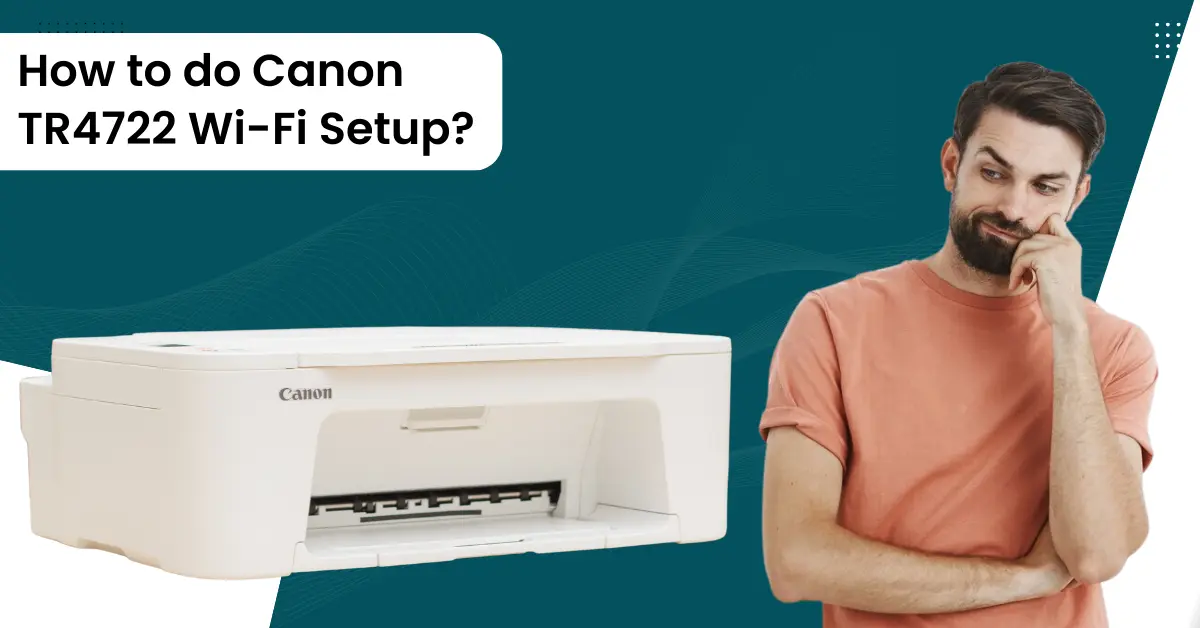
Canon TR4722 is a top-tier all-in-one wireless printer with cutting-edge features. This printer comes with loads of integrated features to give the utmost printing experience for the users. In addition, the device connects effortlessly to Wi-Fi and compatible devices. Anyone with the right knowledge can set up and use the machine. However, if you are a new users then it is prudent to have the setup knowledge already to avoid facing any error.
Here, we are going to share 3 different methods with step-by-step instructions to streamline your Canon printer setup process. So, make sure to stick to this content until the end!
Method 1: Easy Wireless Connect Setup
These are the simple and quick steps you can follow to connect your Canon printer wirelessly.
1. In the beginning, go to the Canon TR4722 printer control panel and press the Settings button.
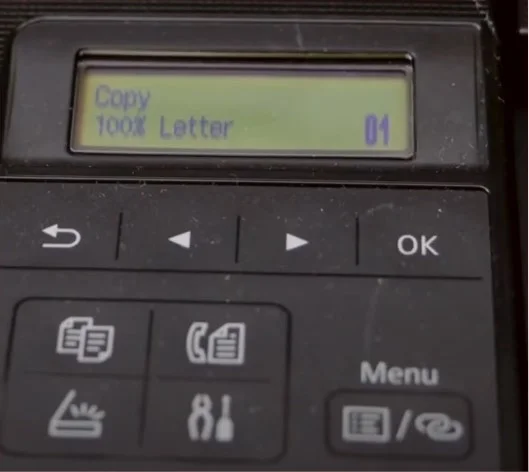
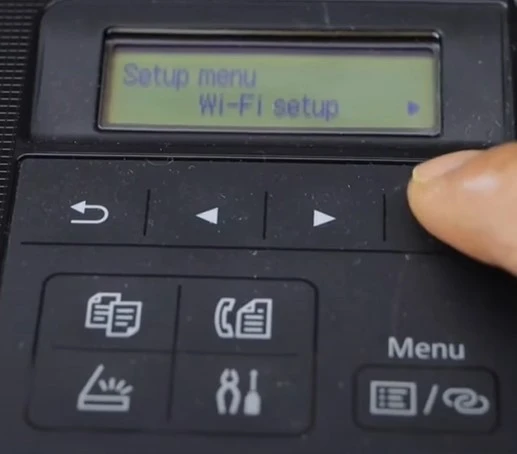
2. Then, in the setup menu, press the OK key to choose the Wi-Fi setup option.
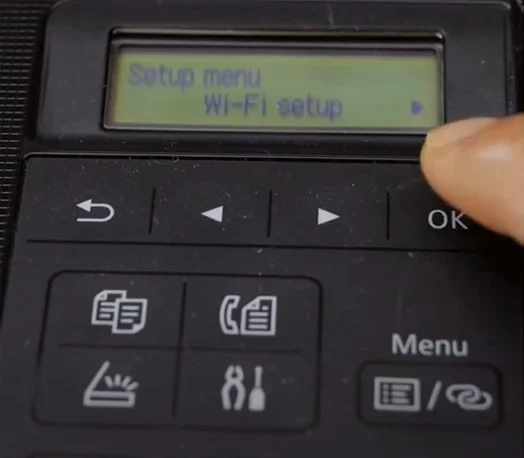
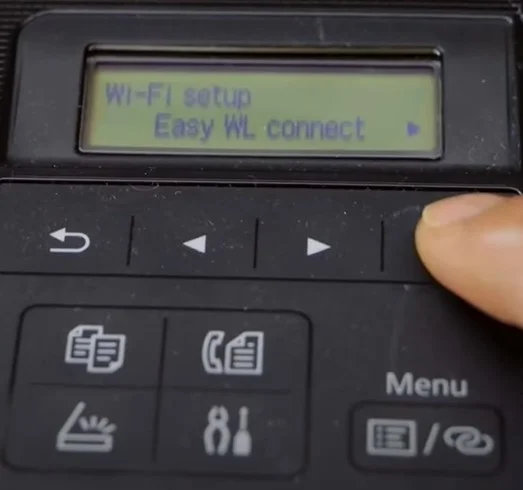
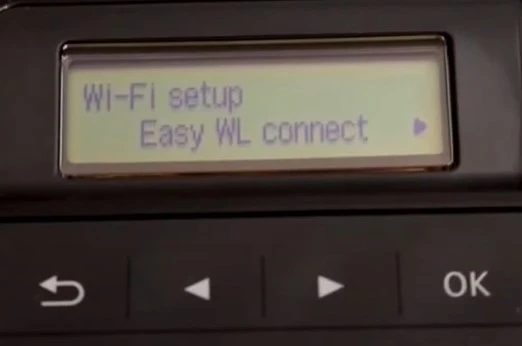
3. Next, you are required to press the OK button once again to select Easy WL Connect, and it will start processing.
4. When the ‘Follow the instructions on PC or Smartphone’ message comes on the printer’s display, move to your smartphone device and launch the Canon Print App.
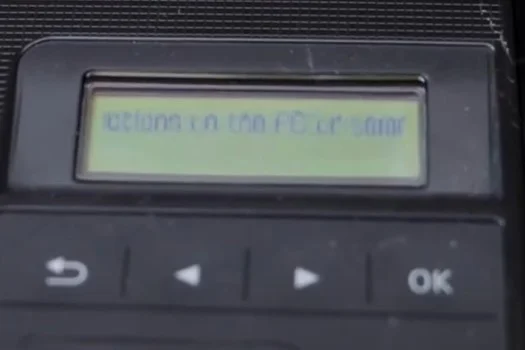
5. Once you get the Search for Available Printers prompt, please tap on the Search option; it will look for available printers in the connection range.
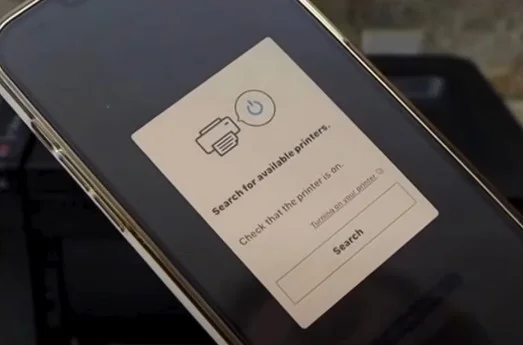
6. When the name of your Canon printer shows up on the screen, tap on the Join option.
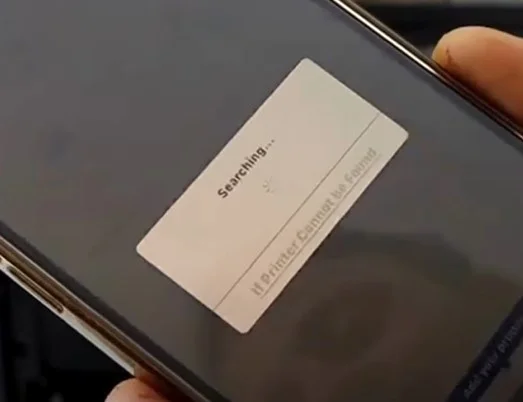
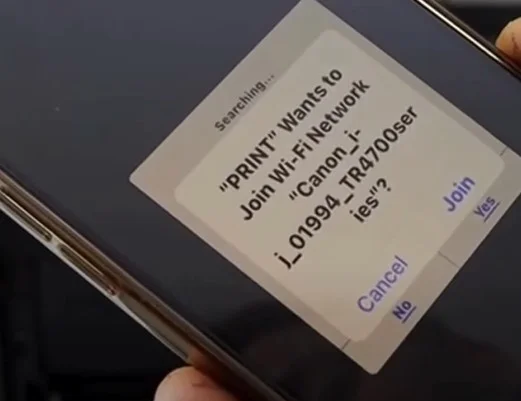
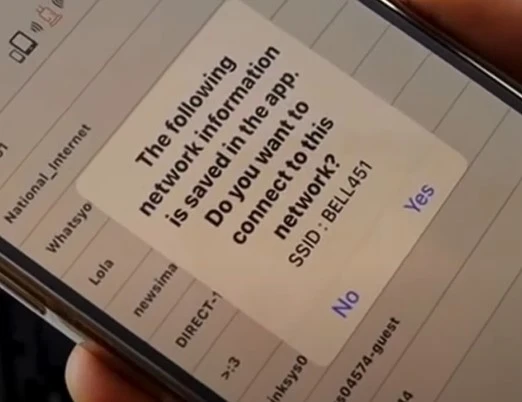
7. Once it displays your Wi-Fi network name, tap on Yes to establish the connection.
8. Now, you can start using your printer to print, copy, and scan documents.
Method 2: Manual Connection Setup
The following guide explains the manual connection setup process of Canon printers.
1. Initially, press the Settings button on the Canon printer.
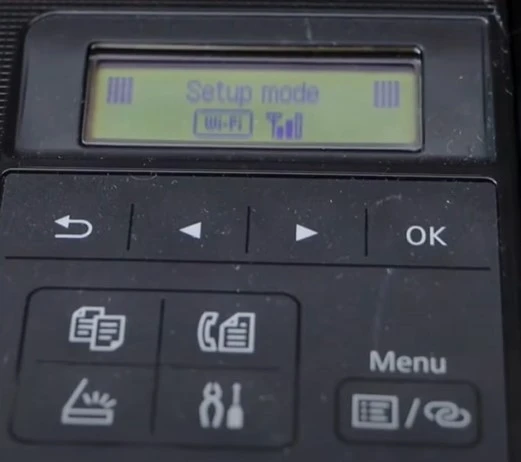
2. Choose the OK option to select Wi-Fi setup.
3. Then, with the help of the left and right arrow buttons select the option Manual Connect and press OK.
4. Now, it will start searching for wireless network routers.
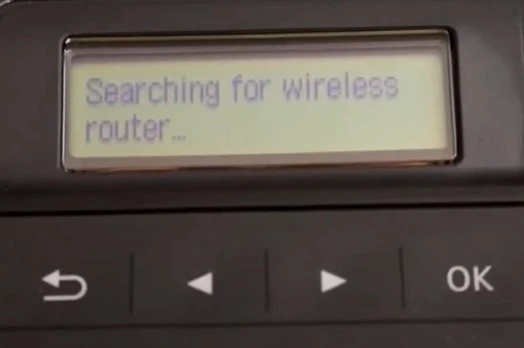
5. Choose your correct wireless network name and press the OK button.
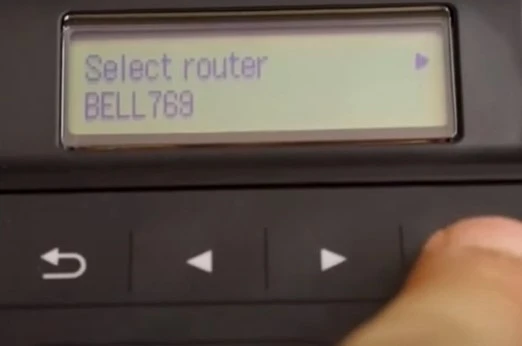
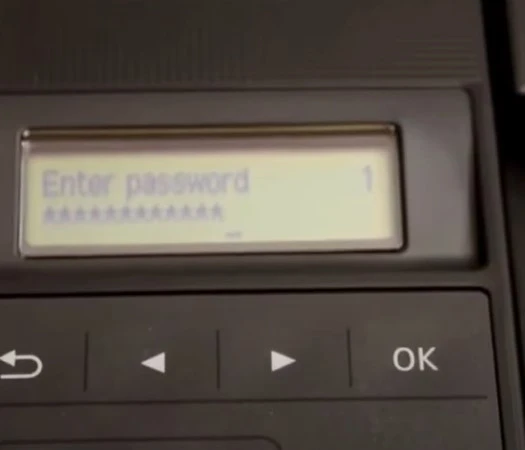
6. By using the keys on the control panel, type your network password and press OK to move forward.
7. When the connection is complete successfully, select the OK option.
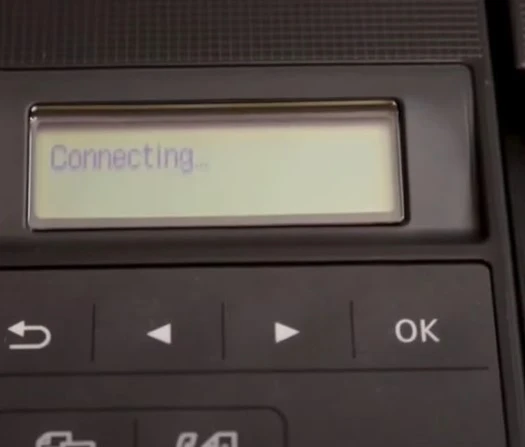
8. Finally, the Canon TR4722 printer will be ready to use.
Method 3: Wi-Fi Direct Setup
You can also use the Wi-Fi Direct Setup method to set up your Canon TR4722 printer and start using it. Below are the steps that will help you do that.
1. For the first step, press the Setting button on the printer’s control panel.
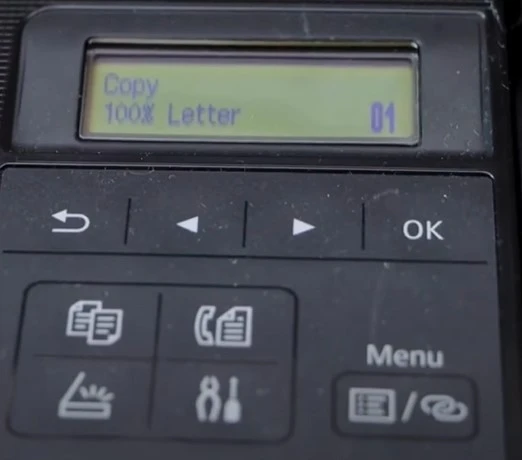
2. Then, head to the Device Settings option and press the OK key.
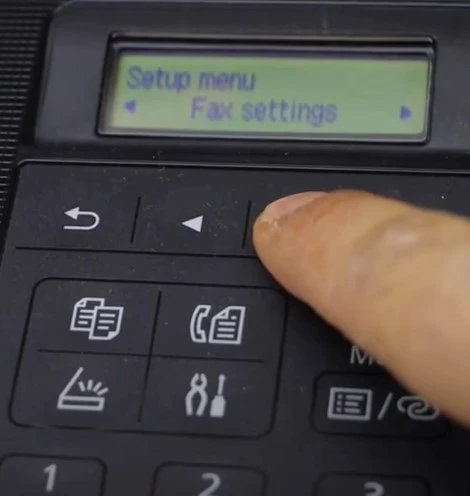
3. After that, select the LAN Settings option and press the OK button.
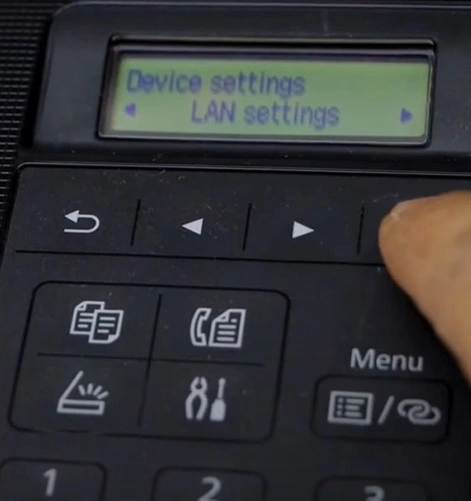
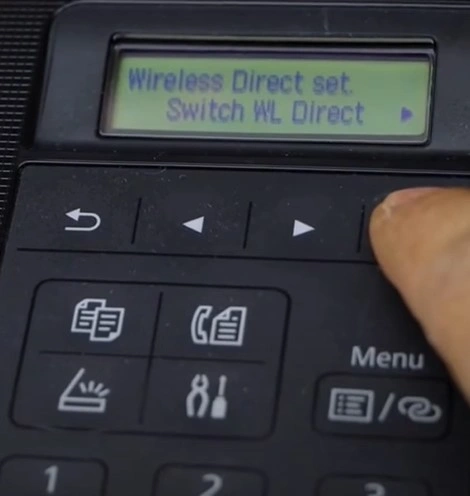
4. Next, choose the Wireless Direct, press OK, and select the OK button once again on the Switch WL Direct.
Also Read:- How to Connect Canon Imageclass LBP6030w Printer to Wi-Fi
5. Now, you need to select Yes and press the OK button to enable Wi-Fi Direct.
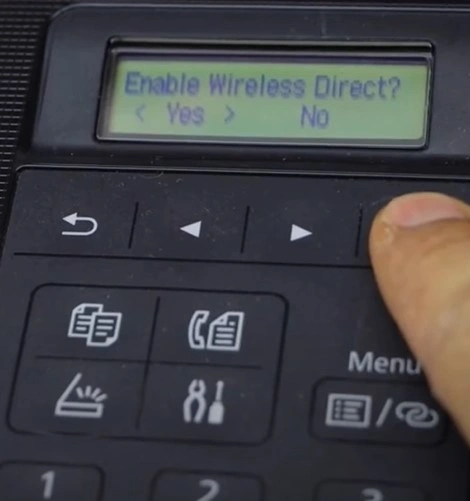
6. Scroll using the arrow buttons, select Security Protocol, and press OK.
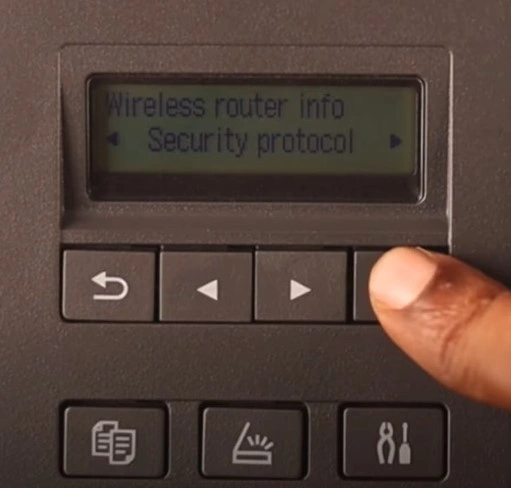
7. Choose Yes and press OK to display the password.
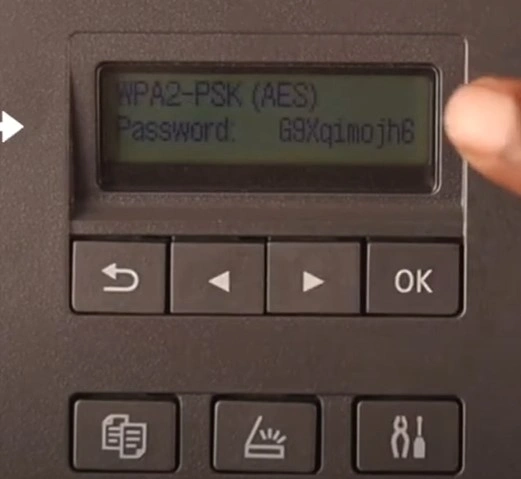
8. When it displays the password, go to your device and turn on Wi-Fi.
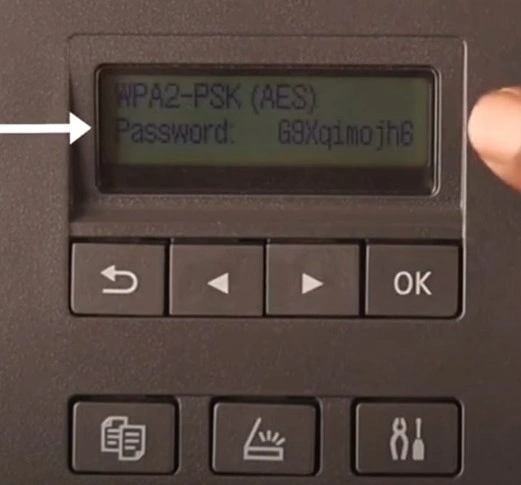
9. Now, you have to choose the network name that starts with DIRECT followed by your printer name.
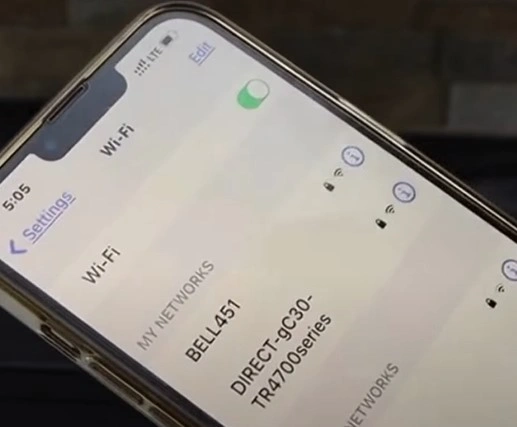
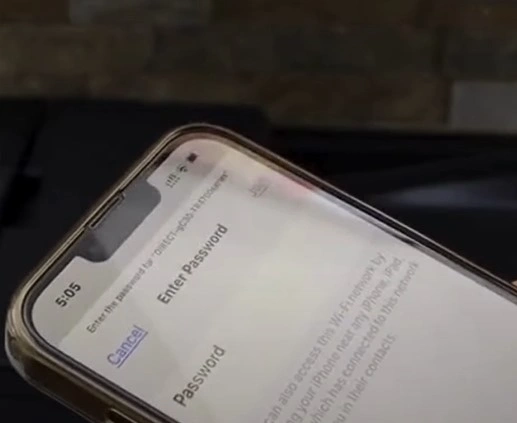
10. Furthermore, type the password displayed on your printer screen and then tap on Join.
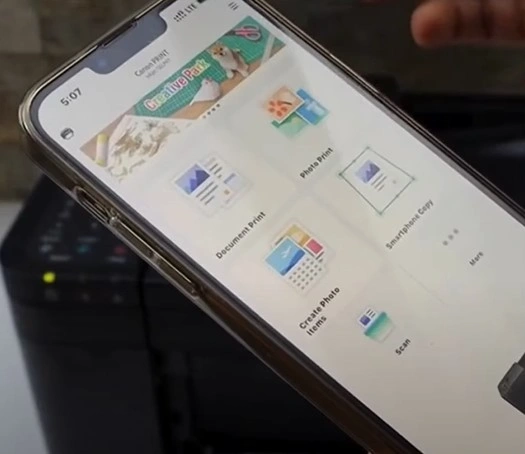
11. Now, you can go ahead and add the printer in the Canon print app.
Conclusion
For experienced users, completing the printer’s setup is child’s play. However, sometimes the printer can have some problems due to outdated drivers, wrong setup process, incorrect configuration, firewall protection, and others. As a result, it is necessary to check all these points before starting the setup process. Plus, use our extensive methods to establish the W-Fi connection and set up your machine. You can also seek further help if you fail to connect your Canon printer.

