Canon TS 5120 Wireless Setup | Printer Tales

Canon printers are perfect machines due to their fast, smooth, and error-free printing results. Plus, its printers are easy to set up and use. You can also get started with your brand-new Canon TS 5120 printer by completing the setup process. This device effortlessly connects to the computer and smartphone devices wirelessly. However, doing a printer setup from scratch is sometimes easier said than done.
If you don’t know where to start your Canon TS 5120 printer setup process, then we will assist you in completing your printer setup by sharing the two evidence-based methods.
Method 1: Via Manual Connect
These are the simple and quick steps you can follow to complete your Canon TS5120 printer wireless setup easily.
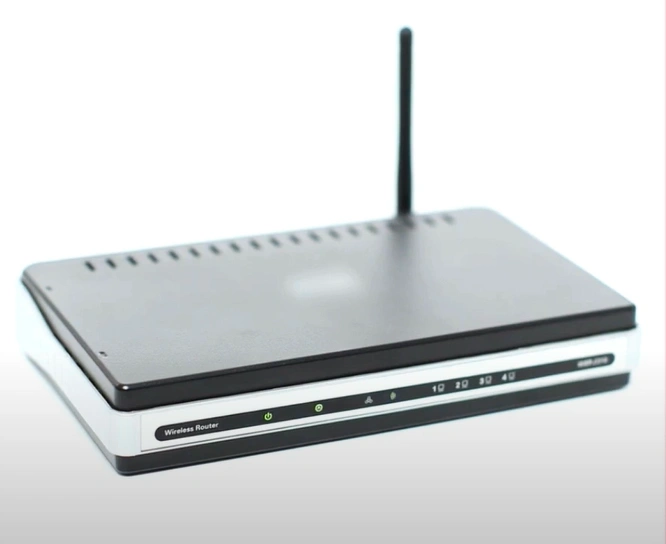
1. Before moving forward with the setup process, make sure that you have a stable wireless connection.
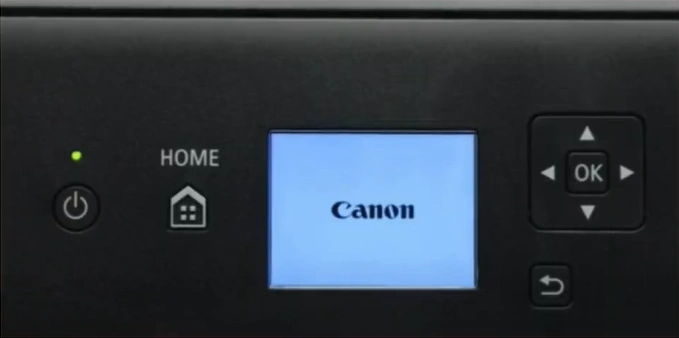
2. After that, power on the Canon TS5120 printer, then use the four-way directional pad to select the Wi-Fi icon and press OK.
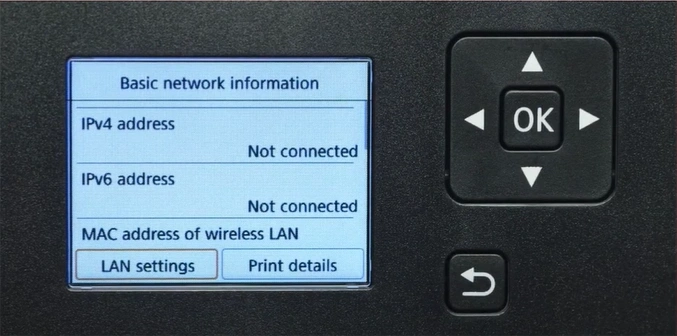
3. Next, choose LAN Settings and then select OK.
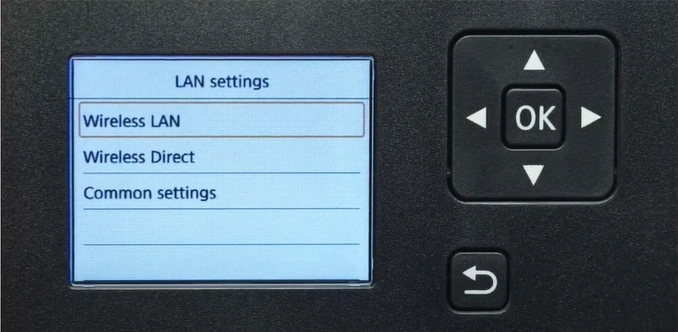
4. Further, choose the Wireless LAN option and then press the OK key once again.
5. Then, go to the Wireless LAN Setup option using the arrow buttons and select OK.
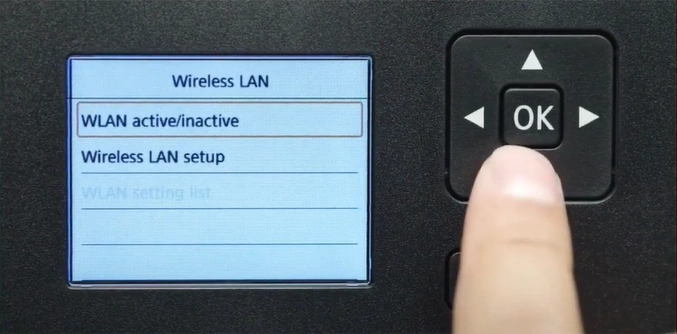
6. Select the Manual Connect method and press OK, and it will start searching for wireless networks.
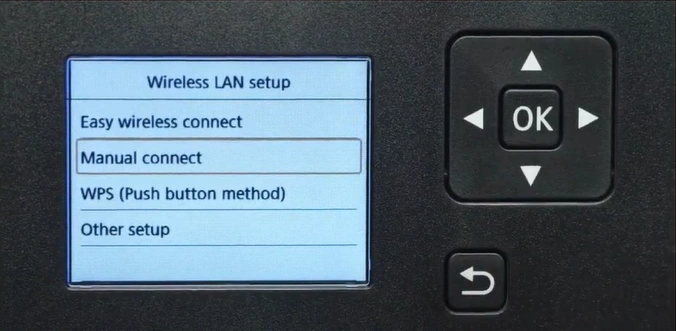
7. Choose the network you want to connect with and press OK.
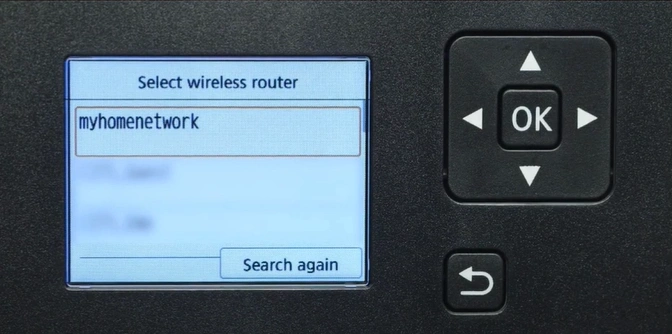
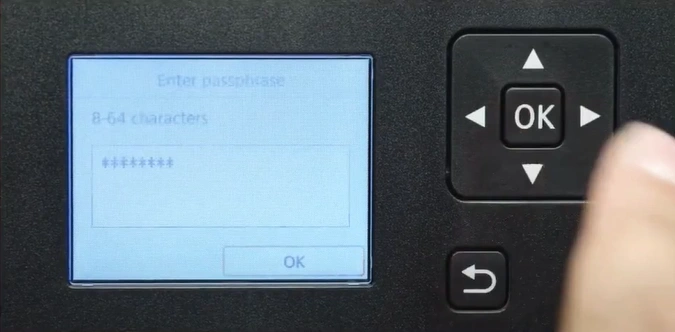
8. Press the OK key once again, then type the correct password for the network connect and choose OK.
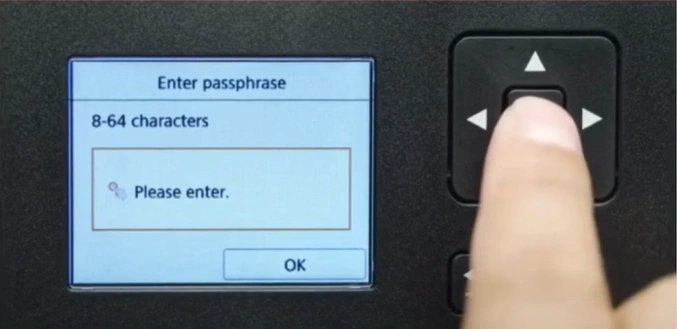
9. You are required to select OK one more time to continue with the wireless network connection process.
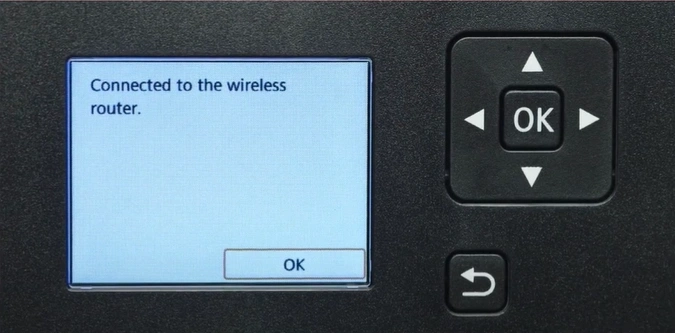
10. Once you see the Connected to the Wireless Router screen, choose OK.
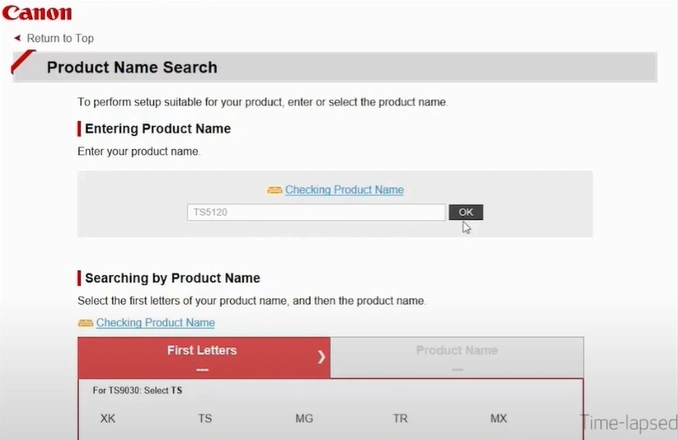
11. Now, go ahead and install the software if you have not done it yet.
Method 2: Easy Wireless Connect Setup
The procedure for easy wireless connect setup can help you complete your Canon printer setup without any hassle.
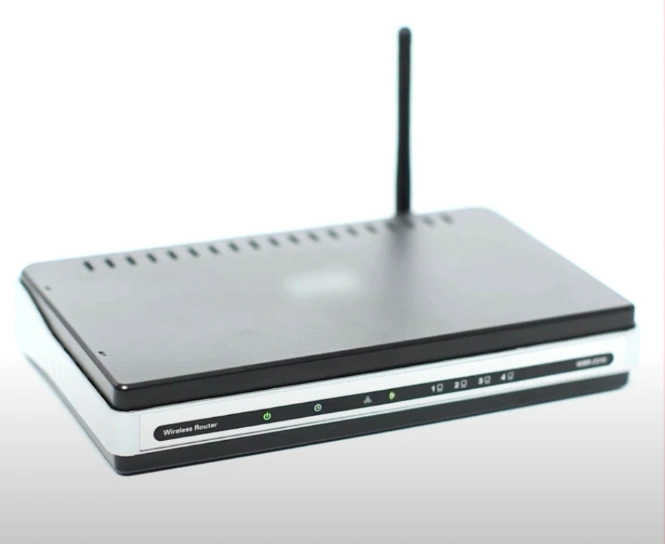
1. First, make sure that your wireless network is available and properly set up. (Keep your printer near the router’s connection range.)
2. Now, power on your printer, select the Wi-Fi icon using the four-way direction pad and press OK.
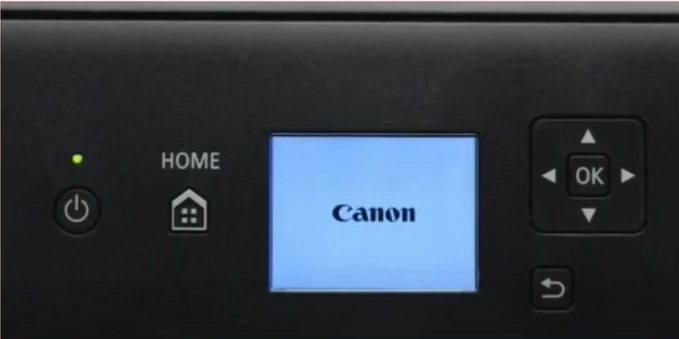
3. After that, select LAN Settings and then press the OK key.
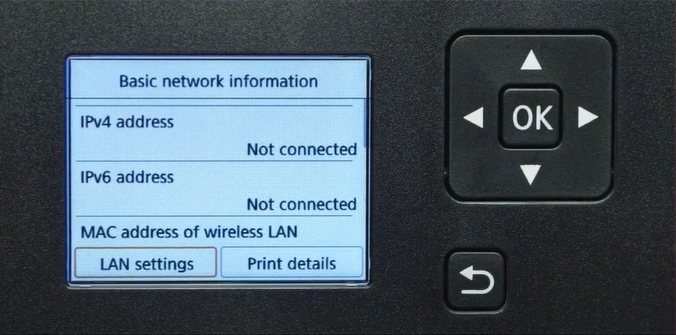
4. Then, choose Wireless LAN and select OK.
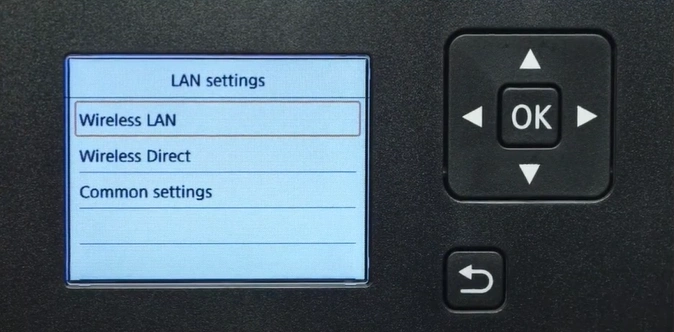
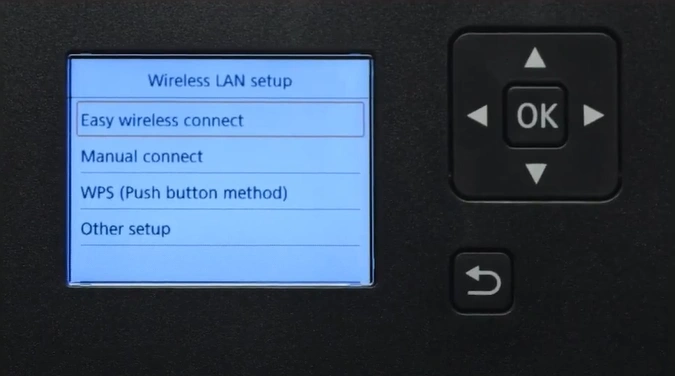
5. Next, go to the Wireless LAN Setup option and then press OK.
_1736934515.webp)
6. Choose the Easy Wireless Connect option and choose the OK option once again.
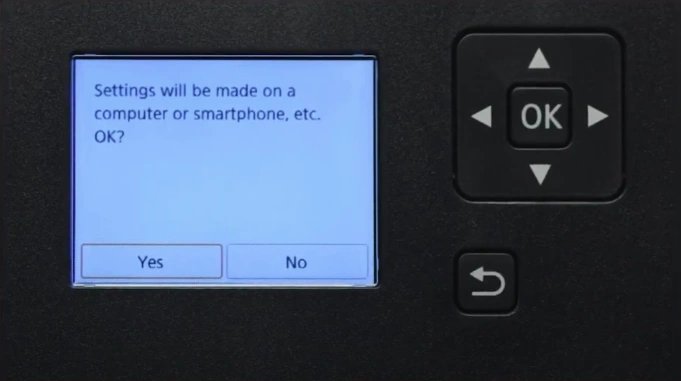
7. After that, select the Yes option to proceed and then press OK.
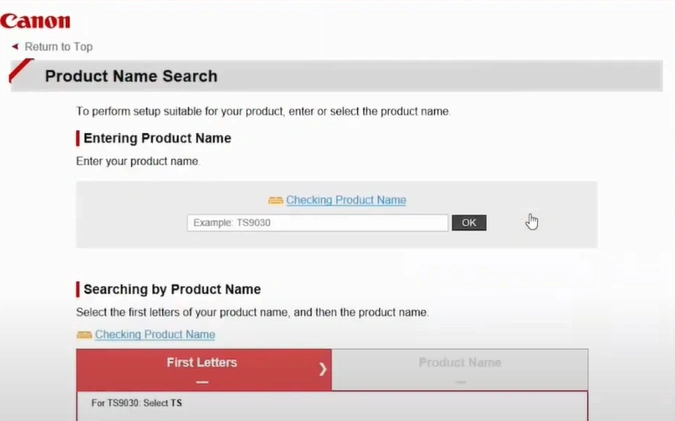
8. Now, move to your system and download the software from the official Canon website.
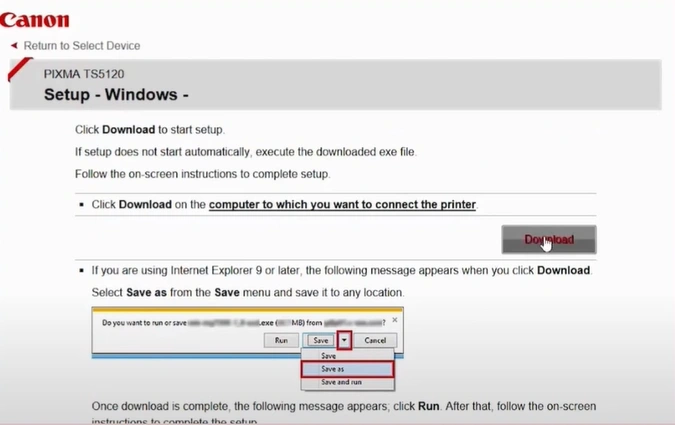
9. Next, make sure to follow the on-screen instructions to download the software.
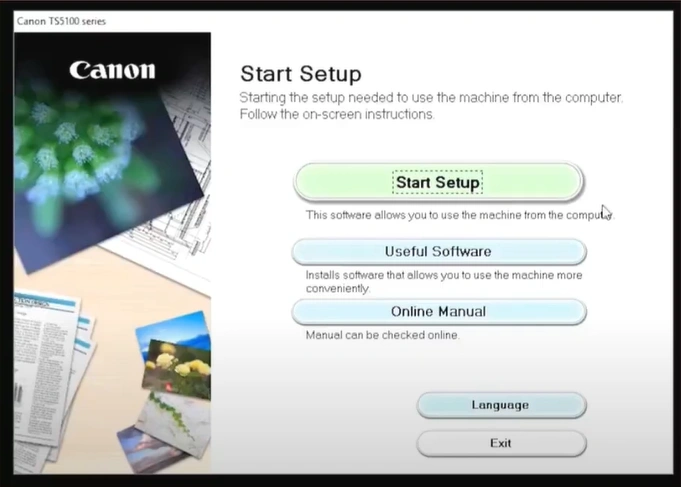
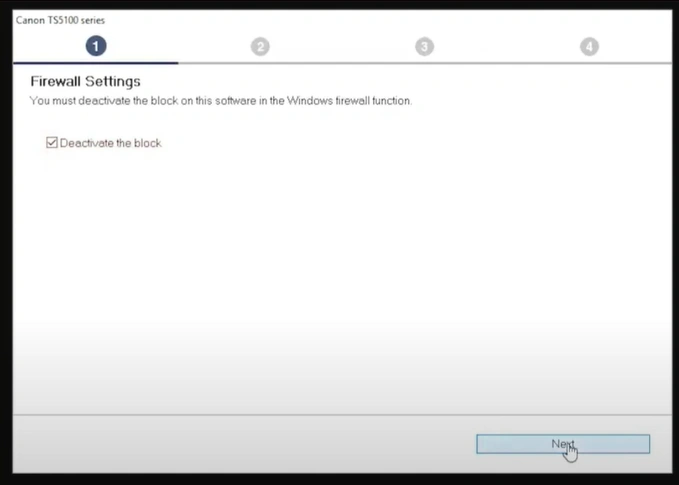
10. Furthermore, open the downloaded file and click Start Setup. It will start searching for the latest drivers and software.
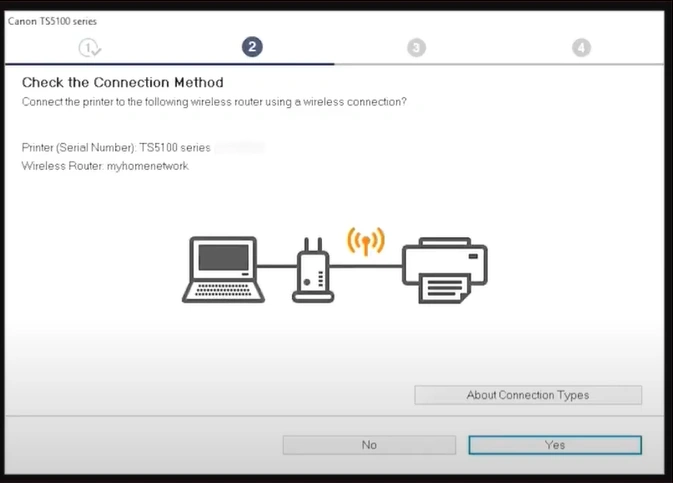
11. Afterward, you should follow the on-screen instructions until you reach the “Check the Connection Method” screen.
12. Now, in the check the connection method screen, review the printer model and the wireless network, and then select Yes.
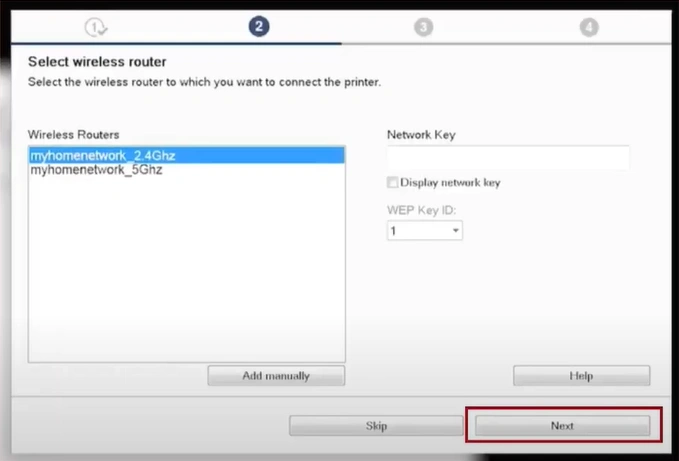
13. If you get the Select Wireless Router screen, choose your network and click Next.
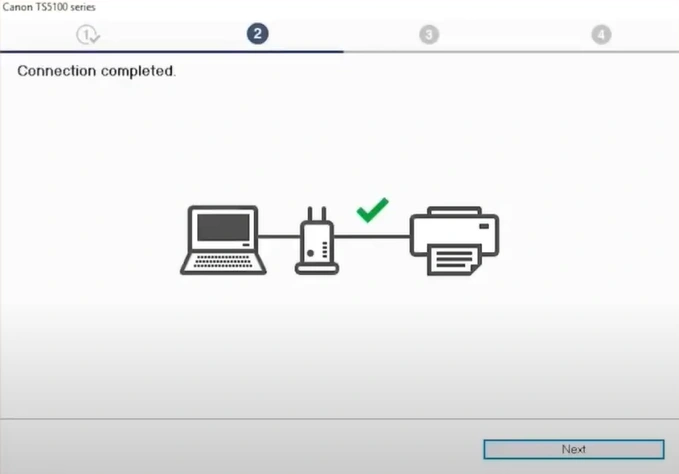
14. It will start setting up. When you see the Connection Completed screen, choose Next.
15. Now, it will start downloading the drivers, which can take several minutes.
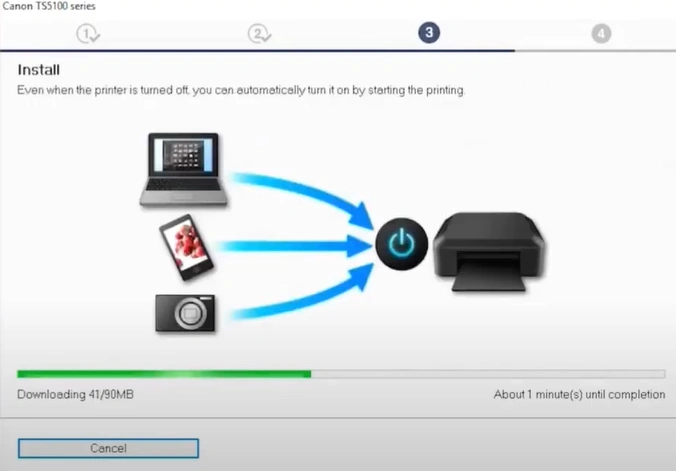
16. When the Print Head Alignment recommended screen appears, choose Next and select Next once again.
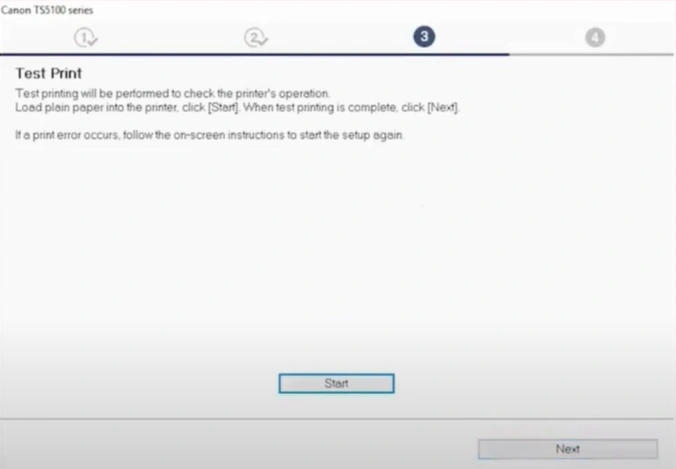
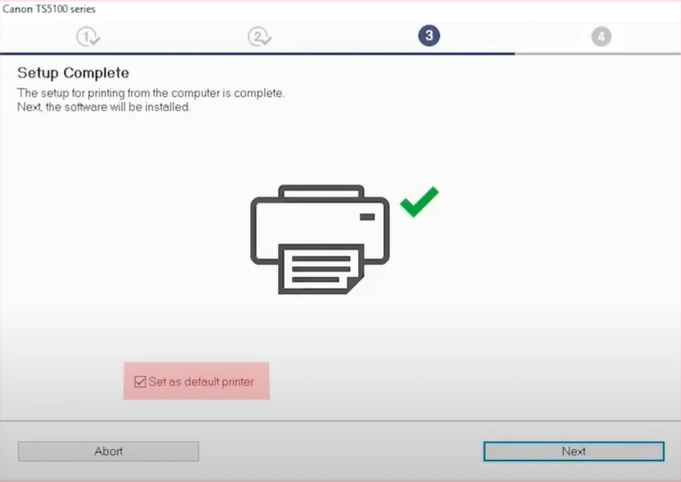
17. In the Setup Complete screen, make sure that the Set as Default Printer option/button is selected, then click Next.
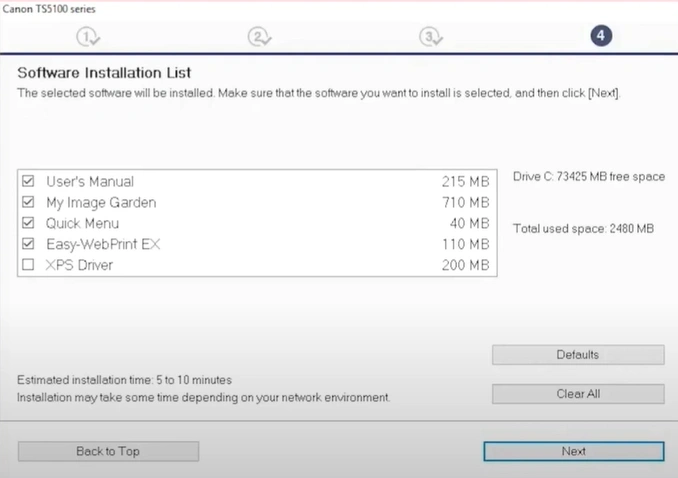
18. Select the correct Application you want to install, click Next, and it will start installing.
19. Choose Next and then choose Exit.
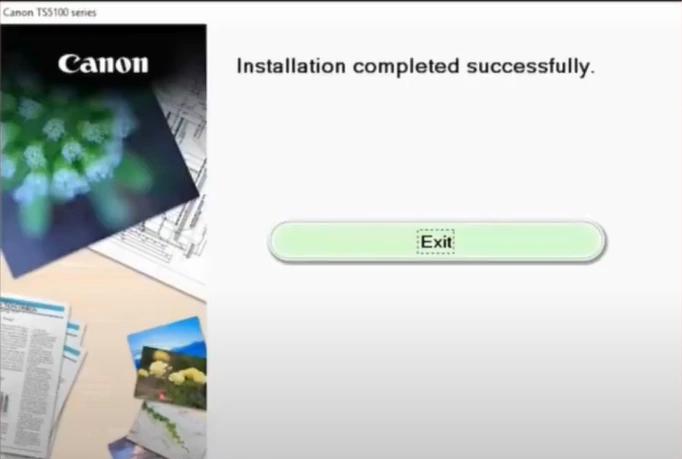
20. To verify that your printer is working perfectly, print a copy of the document and ensure everything is fine.
Final Words
We hope your Canon printer setup process is successful and your printer is ready to print the documents. You can follow any of these two methods to perform the setup without facing any hurdle. Also, if you want to avoid facing any issues during the process, then follow all the steps carefully. In addition, look for more help if necessary.

