How to Connect Canon G3000 Printer to Wi-Fi?

The Canon G3000 printer comes with outstanding wireless connectivity options. Due to that, it seamlessly connects to all the compatible OS devices. The Wi-Fi setup process of the machine is simple, but it can raise some challenges for some users, especially first-timers.
In addition, some minor common faults, such as outdated firmware, missing drivers, compatibility issues, network problems, wrong setup procedures, and others, can stop you from completing the Wi-Fi connection. If you are having any problems during setup, then you must check these points first.
Moreover, we will share the two most effective methods to help you gain a deep understanding of Canon G3000 printers and Wi-Fi connections. So, let’s begin!
Solution 1: Connect During Initial Setup
With the help of the initial setup method, you can complete the connection process thoroughly.
1. In the initial step, start your Canon G3000 printer.
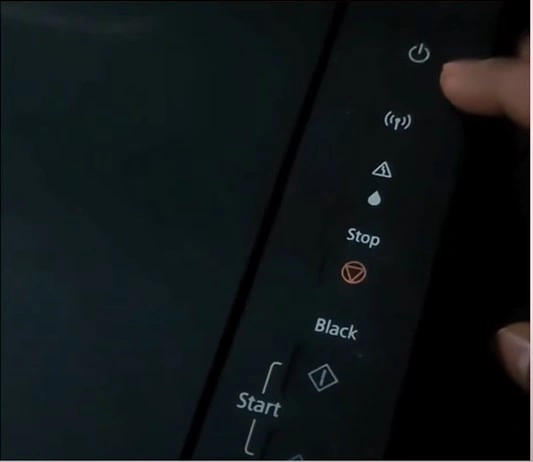
2. Next, press and hold the Wi-Fi button until the power light starts flashing.
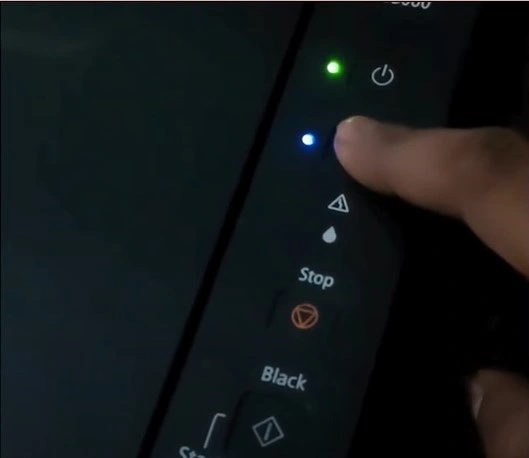
3. After that, press the color copy button, then press the Wi-Fi button once again, and the Wi-Fi light will start blinking.
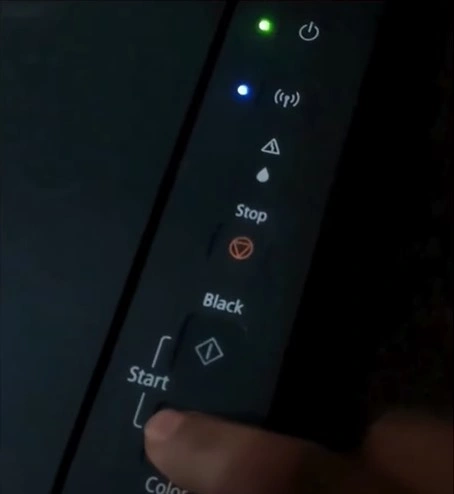
4. Furthermore, launch an internet browser, visit the official Canon website, and download the printer driver for your Canon G3000.

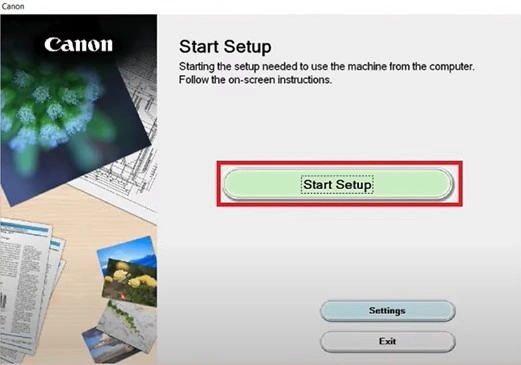
5. Now, open the downloaded file and click on the Start Setup option.
6. Select your country and then agree with the license agreement.

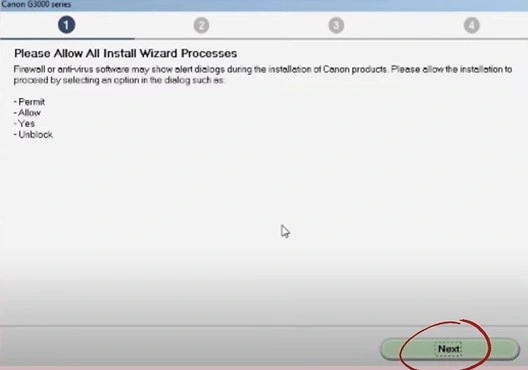
7. Click Next on the Please Allow All Install Wizard Processes page.
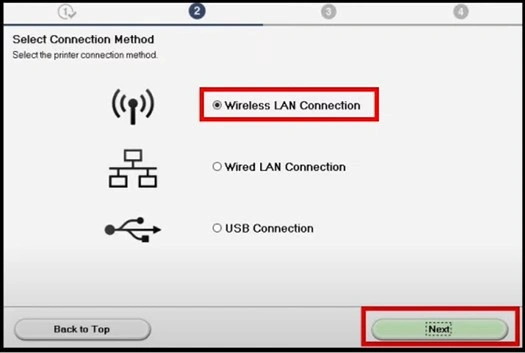
8. After that, you are required to select the Wireless LAN Connection radio button and click on Next.
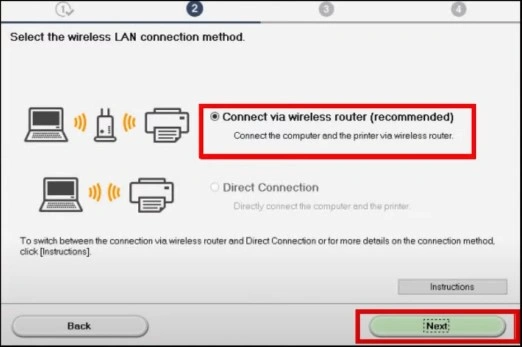
9. Henceforth, choose Connect Via Wireless Router (Recommended), then click on Next.
10. When you get the Check Power screen, click Next, and it will start looking for printers.
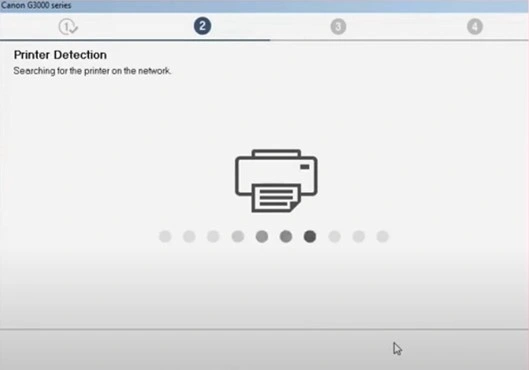
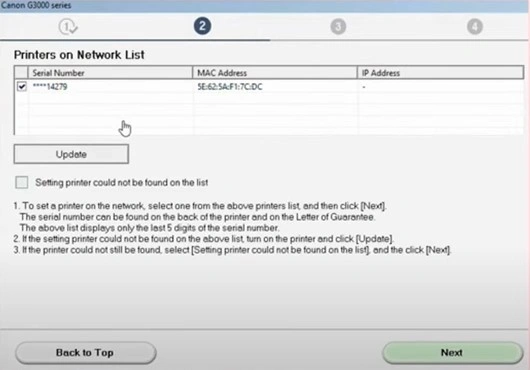
11. You should be able to see your Canon printer name in the Printers on Network list; make sure that it is selected, then click on Next.
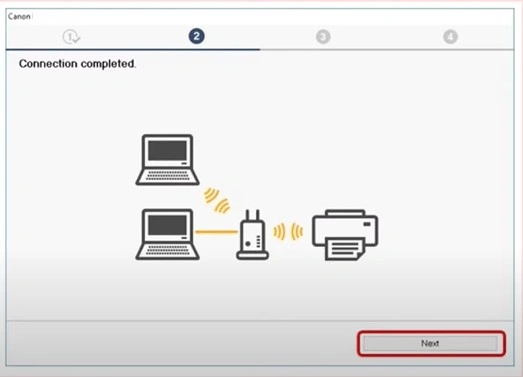
12. Now, on the connection completed screen, click on the Next option.
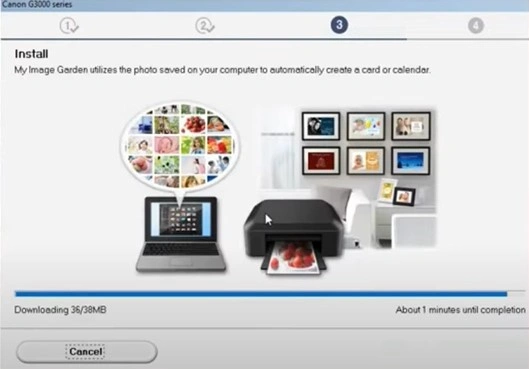
13. Furthermore, follow other remaining prompts on the screen to complete the installation process.
Solution 2: Using the WPS Method
The WPS method also allows you to establish the setup process of your Canon G3000 printer.
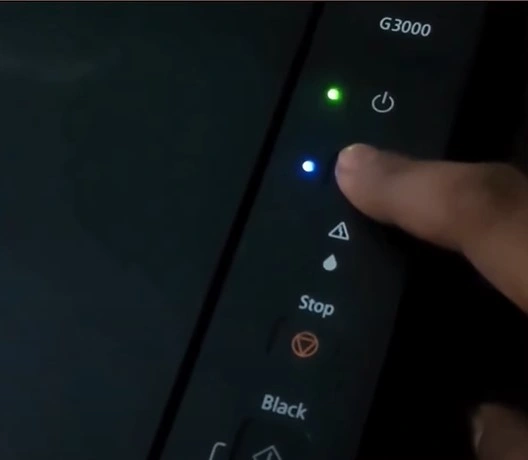
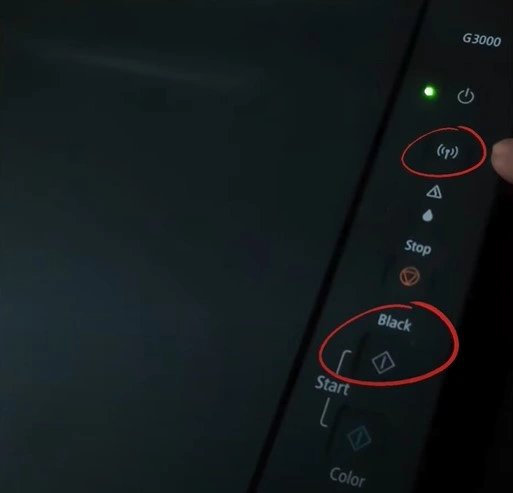
1. Press the Wi-Fi button until the power light starts to flash.
Also Read:- How to Connect Canon Printer to WiFi? [Top 3 Methods]
2. Next, choose the Black Start button, and then press the Wi-Fi button once again.
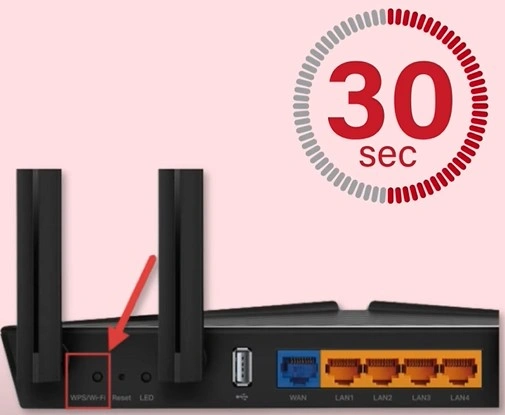
3. Now, go to your router and then press the WPS button 30-40 seconds.
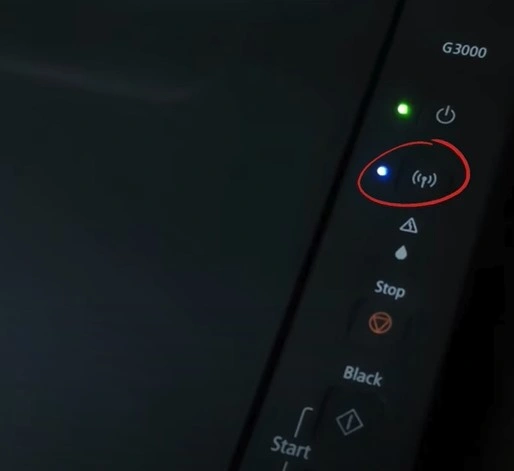
4. Once the connection is established, you will notice that the Wi-Fi light remains stable.
Conclusion
Printers can show some minor errors during the setup, which is fine as these problems can be terminated easily. If you also find yourself in this situation, then you must look for the key reason behind the issue. Moreover, to avoid any issues during the setup process, you can follow our comprehensive guide, which has simple steps. Apart from that, seek further guidance and resources if you fail to establish a Wi-Fi connection to your Canon G3000.

