How to Connect Canon PIXMA TS3300 to WiFi?
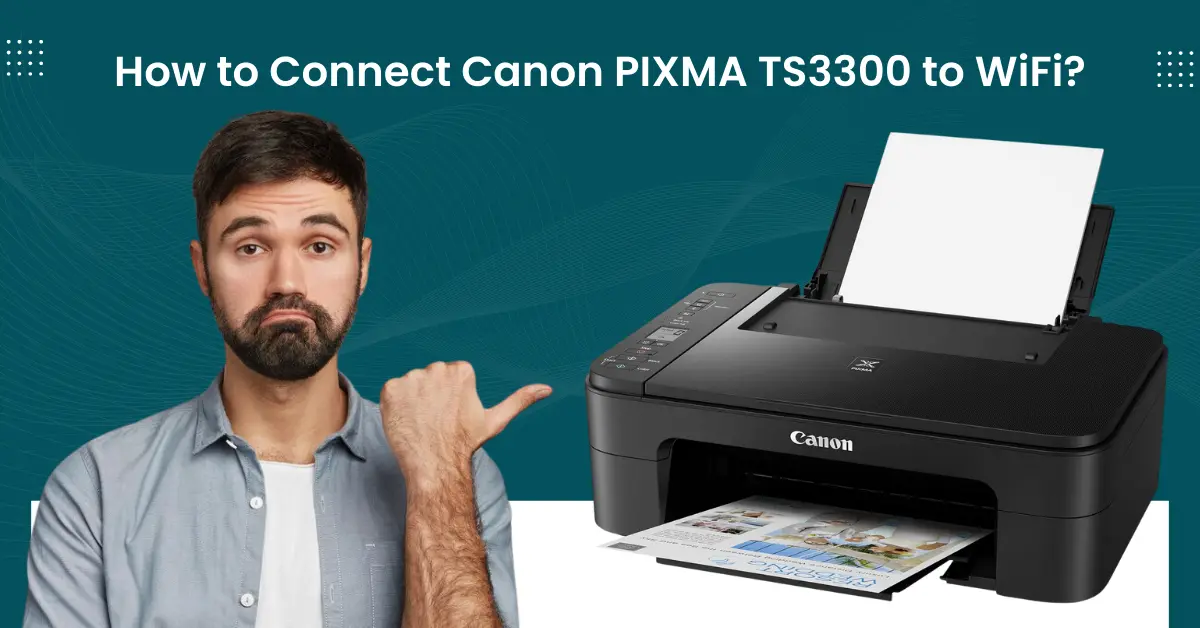
Canon Pixma TS3300 is an all-in-one printer device with cutting-edge features. Equipped with the support of Amazon Alexa and Google Assistance, it provides excellent results in wireless printing. In addition, this Canon printer connects seamlessly to Wi-Fi and other compatible devices.
However, if you are using this printer for the first time, then you might face some challenges. In this case, it is prudent to have thorough knowledge beforehand. Here, we will walk you through the step-by-step procedure of the two proven methods. So, let’s dive into the process now.
Method 1: Easy Wireless Connection
Here are the steps you can follow to complete the Canon PIXMA wireless connection to Wi-Fi.
1. First and foremost, turn on your printer device.
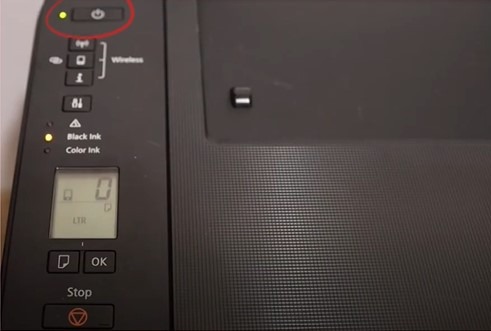
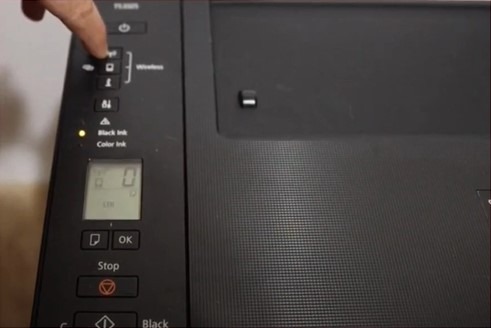
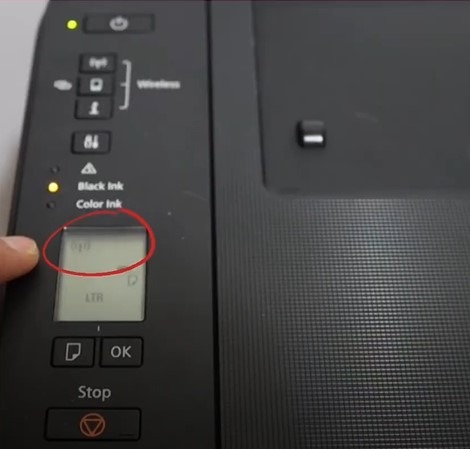
2. Press and hold the Wi-Fi button until the Wi-Fi icon and the horizontal line flash on the display.
3. Now, head to your computer device and access the official Canon website.
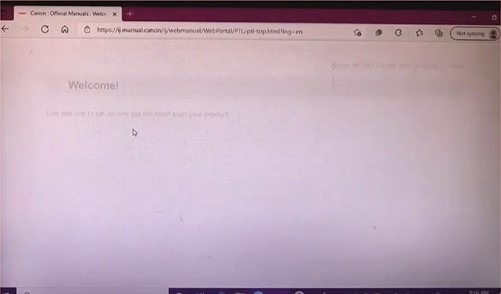
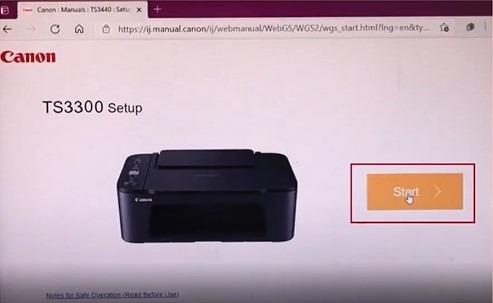
4. Choose the Setup option and click on your Canon PIXMA TS3300 printer name.
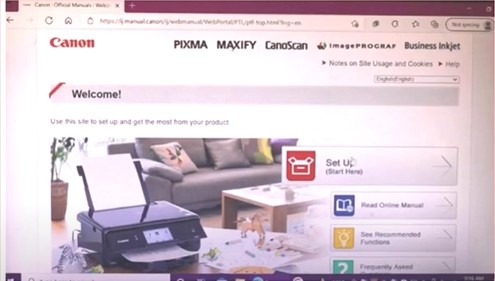
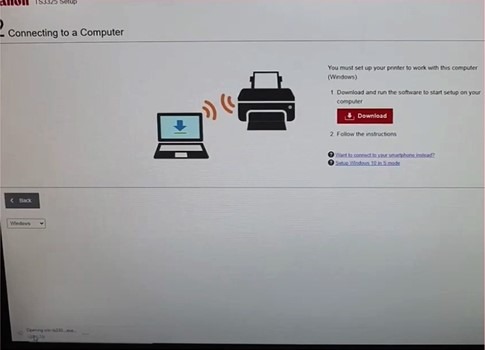
5. Click on Start, then Download on the following screen.
6. After that, click on the downloaded file, click Yes on the pop-up prompt to allow the app to make changes to your computer.
Also Read:- How to Setup Canon Pixma MG3620?
7. Then, click on Start Setup and then click on Next.
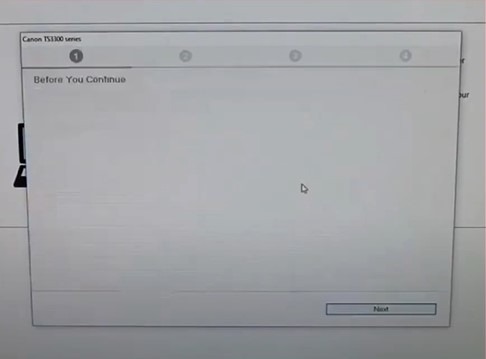
8. On the license agreement screen, click on Yes option.
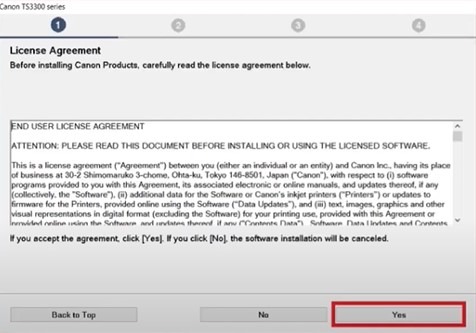
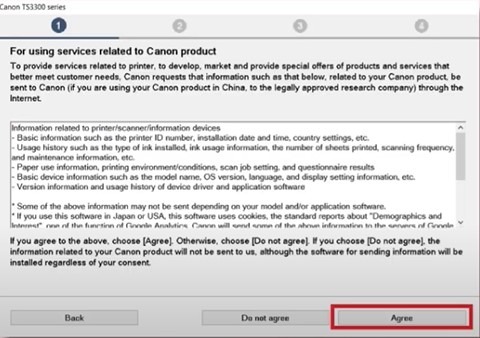
9. After that, select Agree or Do not agree to the information request, and it will start processing.
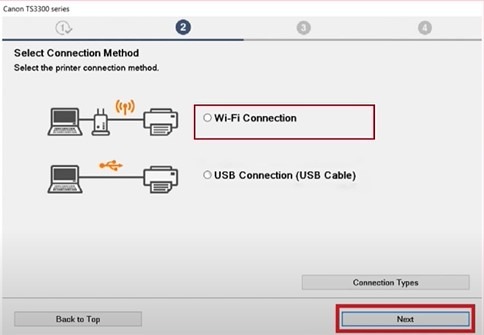
10. Select Wi-Fi connection and click on Next.
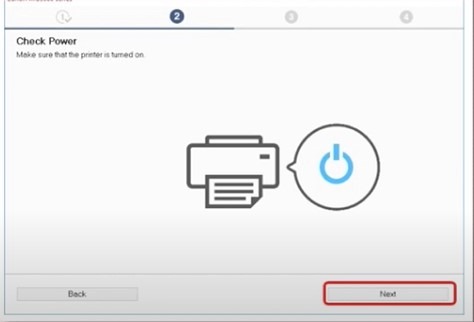
11. On the check power screen, select Next, and it will start looking for the printers.
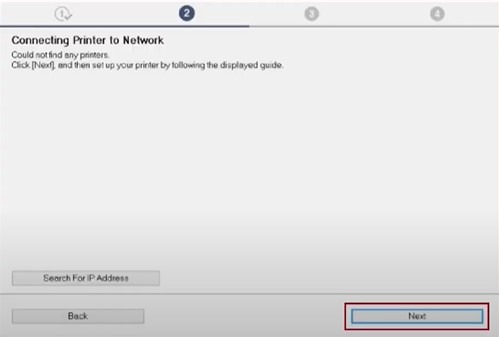
12. When the Connecting Printer To Network screen appears, click on Next.
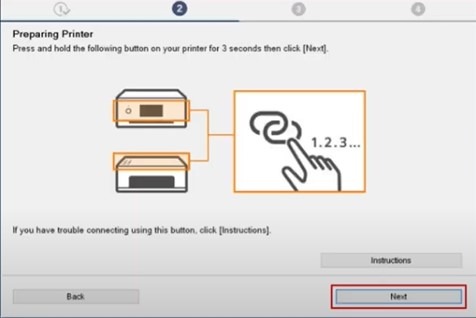
13. If you see the preparing printer screen, head to your printer device, press the Direct button, and click on Next.
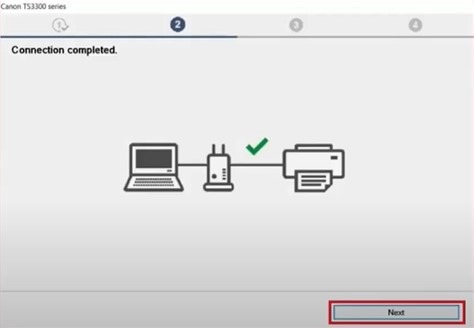
14. Once you see the connection complete screen, click on Next and wait for the connection process to complete.
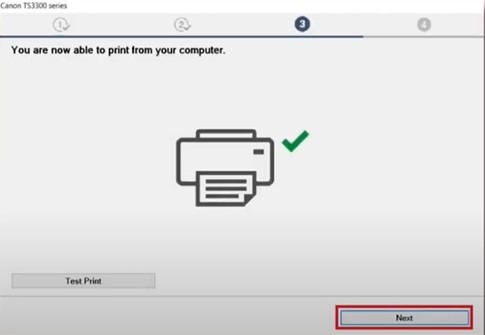
15. You are now able to print from your computer screen by selecting Next.
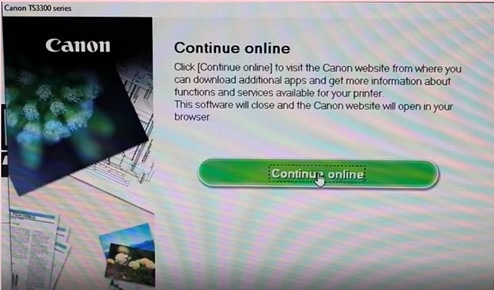
16. In order to download the additional software, select the Continue Online button.
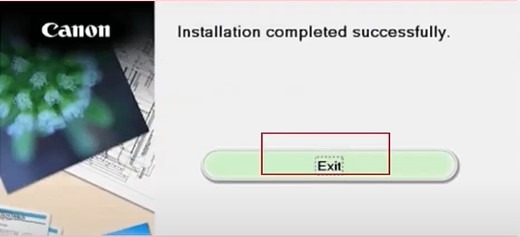
17. If you don’t want to download additional software, then click on Exit.
Method 2: With WPS Connection
You can use the WPS connection method to connect your Canon PIXMA printer to Wi-Fi. Here are the steps you need to follow for that.
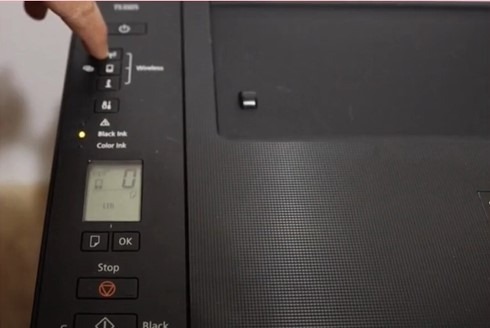
1. First and foremost, press the Network button until the Wi-Fi icon flashes on the display screen.
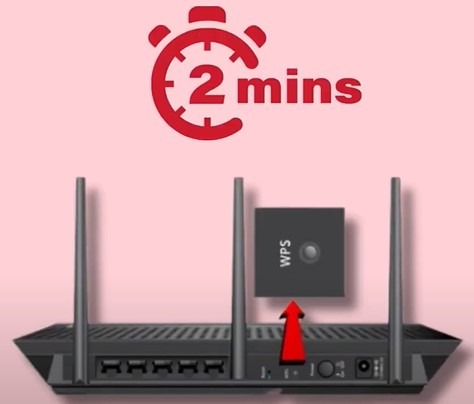
2. Now, press and hold the WPS key on the router within 2 minutes.
3. When the connection is established, you will see the Wi-Fi icon on the display.
4. Then, you can enjoy printing and scanning documents.
Final Words
With the help of our simple methods, you can easily complete the setup process of your Canon PIXMA device. However, before you start with the connection process, make sure that the computer OS is up to date and both devices are within the range of the Wi-Fi router. In addition, make sure to use all the steps correctly to avoid any trouble from occurring during the procedure. If these methods fail to establish the Canon printer connection to Wi-Fi, then reach out for further guidance.

