How to Setup Canon Pixma MG3620?

Are you looking forward to setting up your Canon PIXMA MG3630 printer but don’t know where to start? Canon printers are top-tier printing machines that are easy to set up and use. But, for some people, it could be challenging to complete the setup process. In addition, you are likely to face some common errors, such as configuration issues, firmware problems, incompatible drivers, and more.
If you also have the same problem, then don’t stress out– we are here to help you. Here, we are going to share the 3 easy-to-follow and proven methods to complete the setup process with utmost ease. Continue reading the whole process to get in-depth info!
Method 1: Using Canon Print Application
With the help of the Canon Print Application, you can easily complete your printer setup. Use the following steps to learn the whole process.
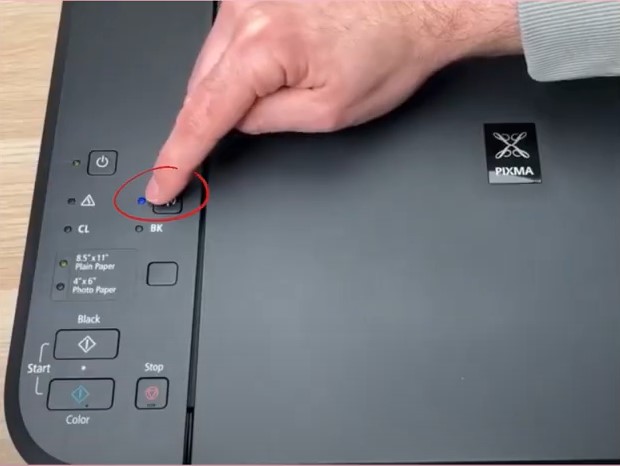
1. At the start, you need to set the printer in setup mode. To begin, press the stop button.
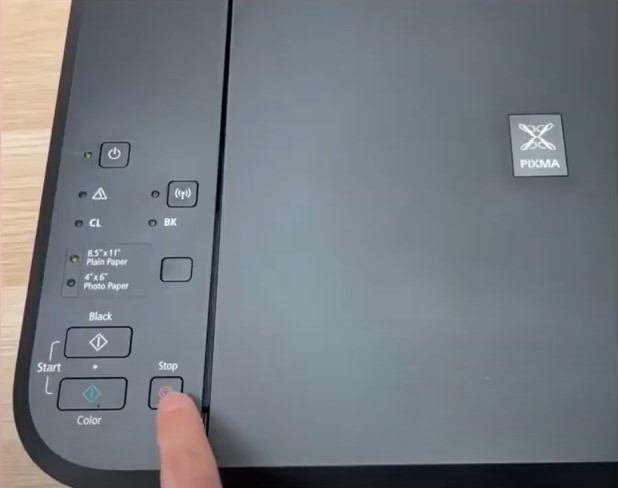
2. Next, press and hold the wireless button until the power light starts flashing.
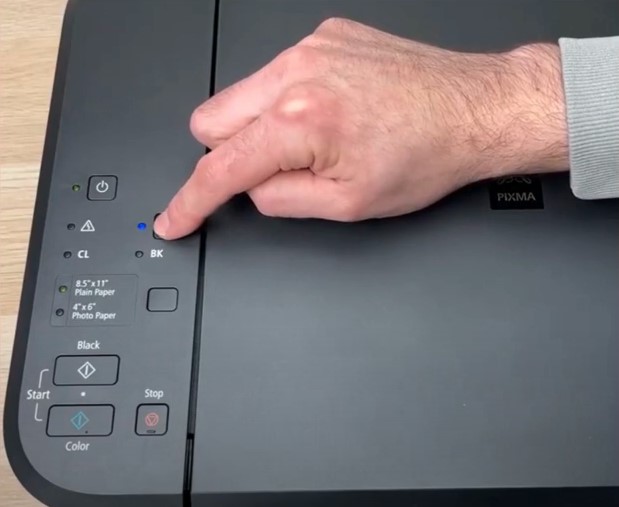
3. Afterward, release the wireless button.
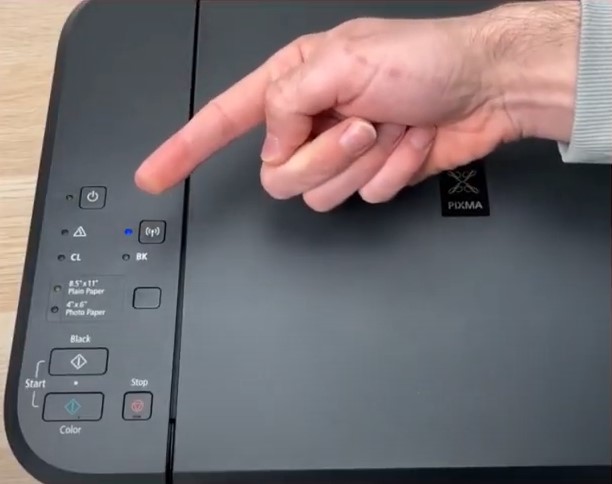
4. Now, press the color button once and then the wireless button.
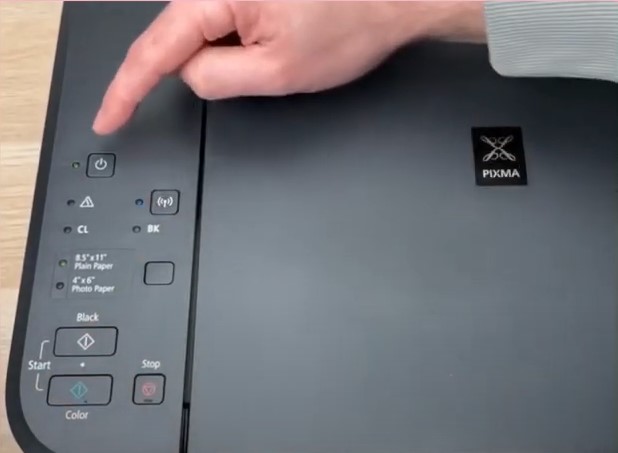
5. The Wi-Fi light will start flashing, and then it will indicate that the printer has entered setup mode.
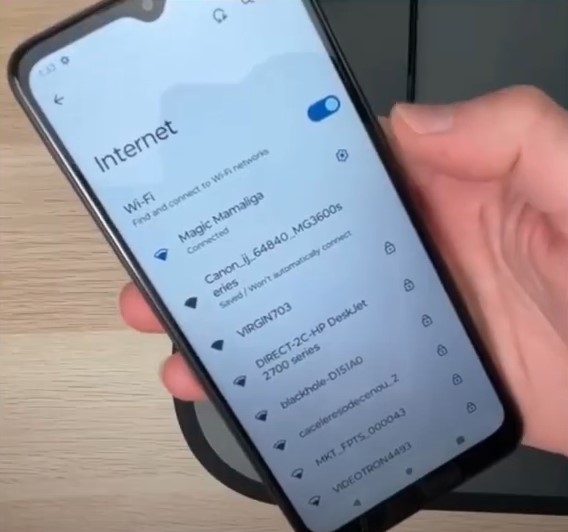
6. Open the Wi-Fi Settings on your phone, select the printer, and connect it.
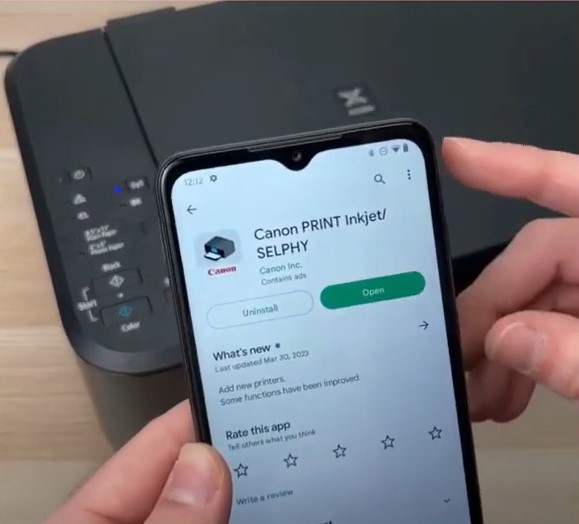
7. Next, move to your smartphone device and open the Canon Print Inkjet app on your phone.

8. If you have not downloaded the app, get it from the Play Store or Apple App Store.
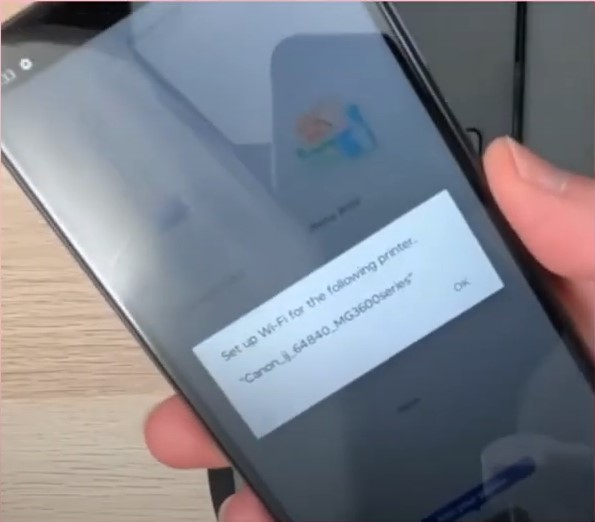
9. Open the app, click on the OK in the Setup Wi-Fi for the following printer screen, and wait for some time.
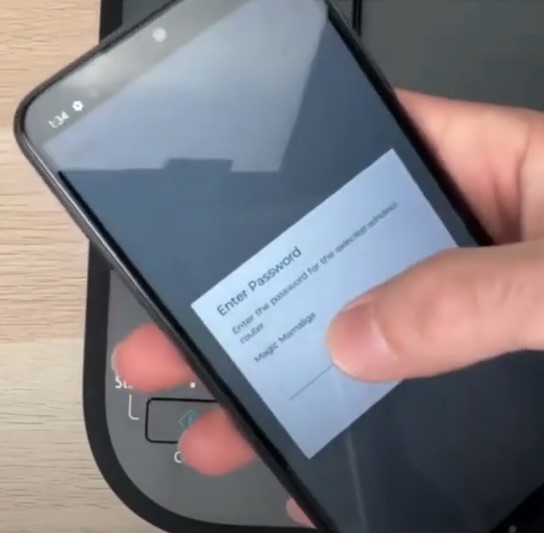
10. In the Select Wireless Router page, select the Home Wi-Fi network from the list, enter the password, and press OK.
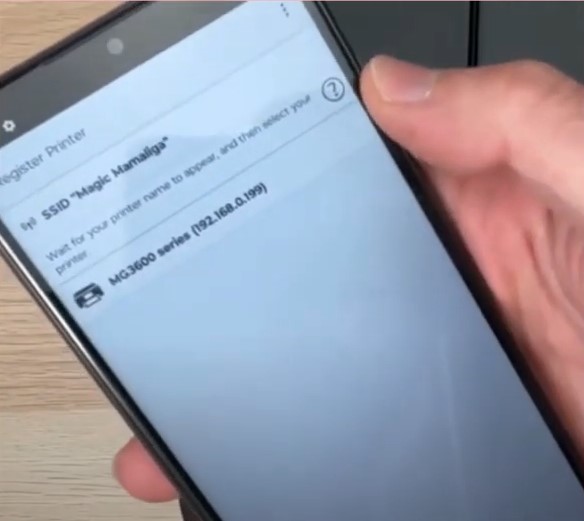
11. Now, choose your printer name from the Register Printer screen.
12. Then, press the X button on the top right corner of the screen if you want to skip printing an image for trial.
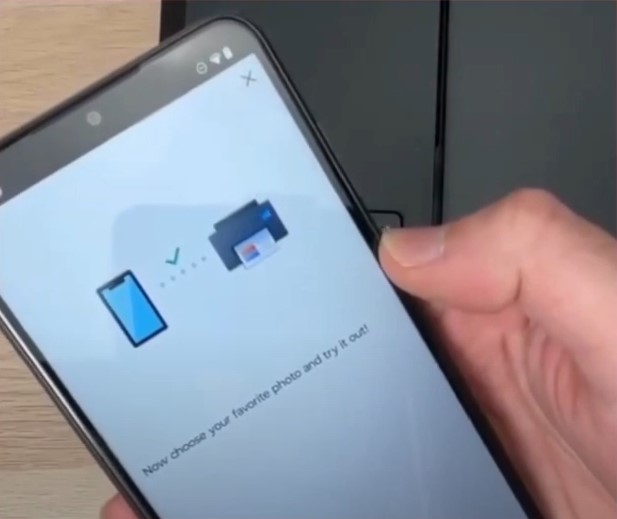
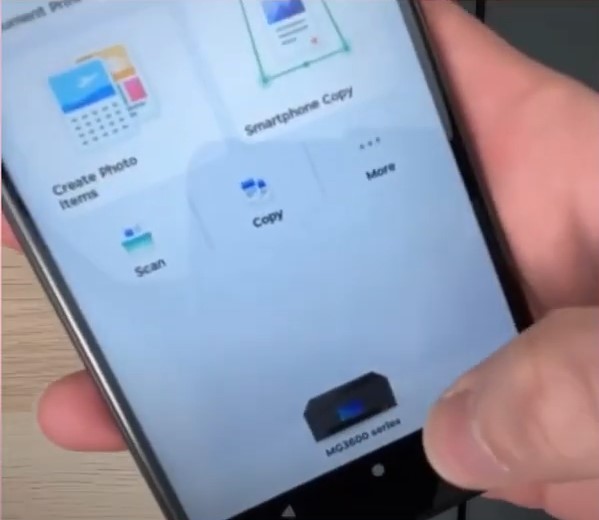
13. Henceforth, your printer is connected and all set to start printing.
Method 2: Using the WPS Button
These are the steps that will allow you to complete your Canon PIXMA MG3630 printer setup.
1. Ensure that the router has a WPS button and the Wi-Fi network uses the WPA/WPA2 protocol.
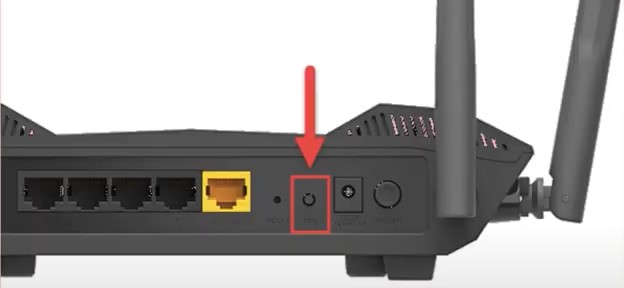
2. Switch on your Canon printer by pressing the power button.
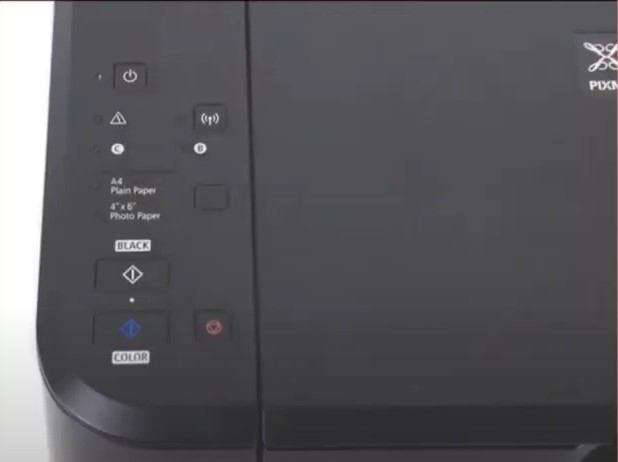
3. Press and hold the Resume/Cancel button if the router settings or internet provider are changed to reset your printer’s network settings.
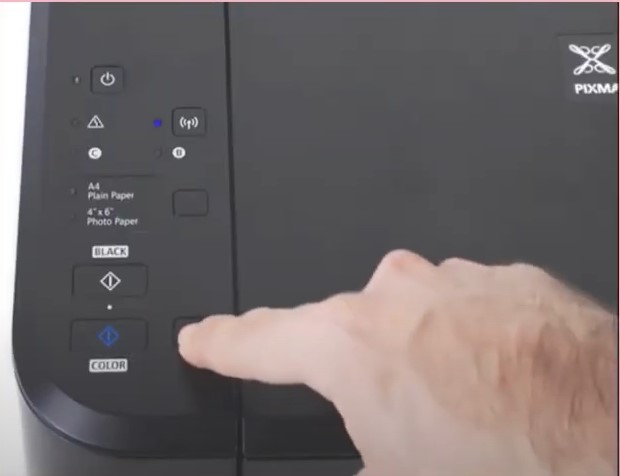
4. Now, press the Cancel/Resume button till the Alarm light blinks 21 times.
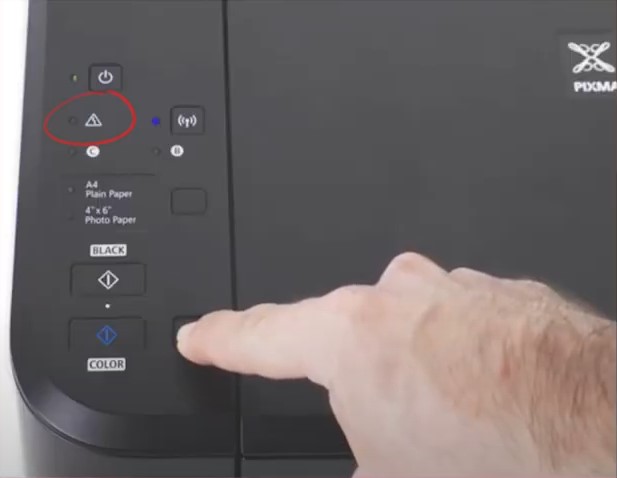
5. Press and hold the wireless button until the power light blinks.
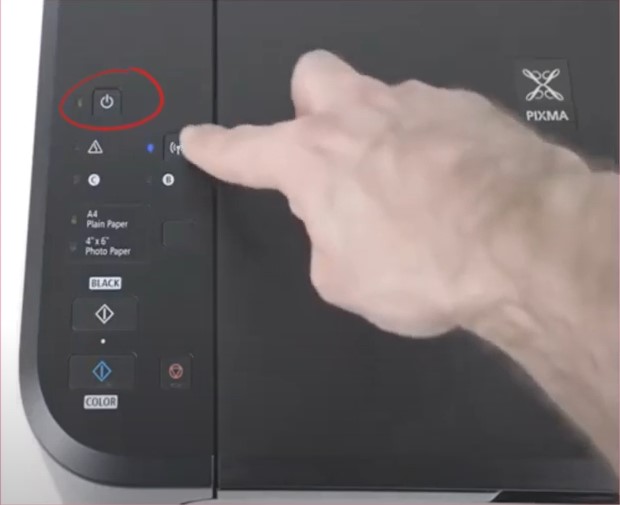
6. After that, click on the Black and Wi-Fi buttons.
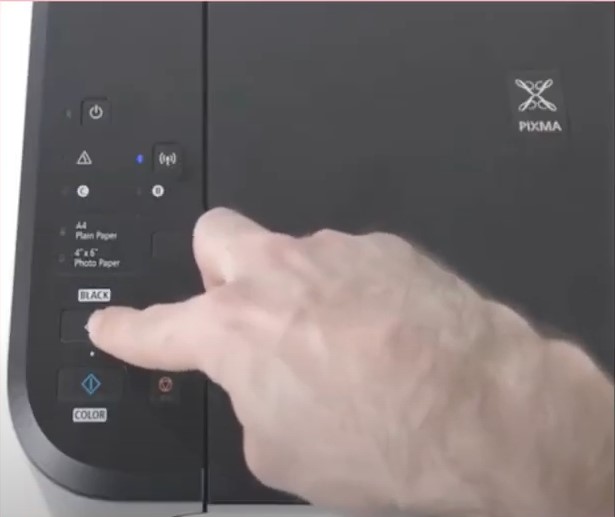
7. Ensure that the wireless light is blinking and the power light is On.
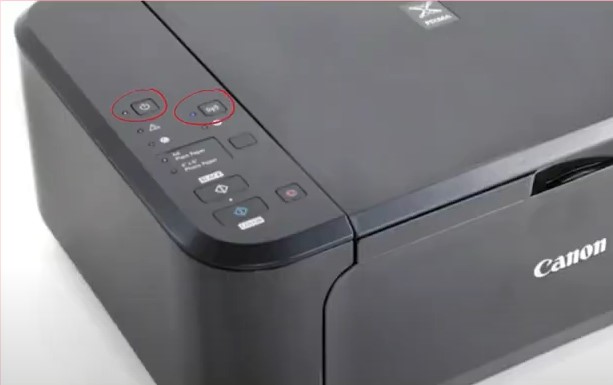
8. Press the WPS button on the router within two minutes.
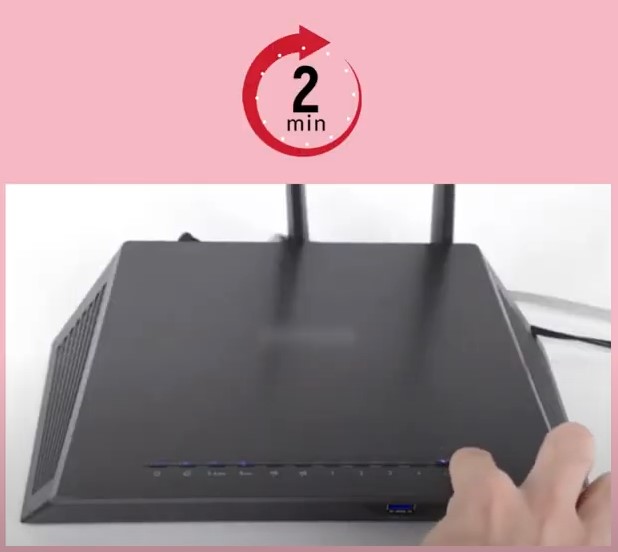
9. Next, the Wi-Fi and power light starts blinking on the printer while the connection is being established to the router.
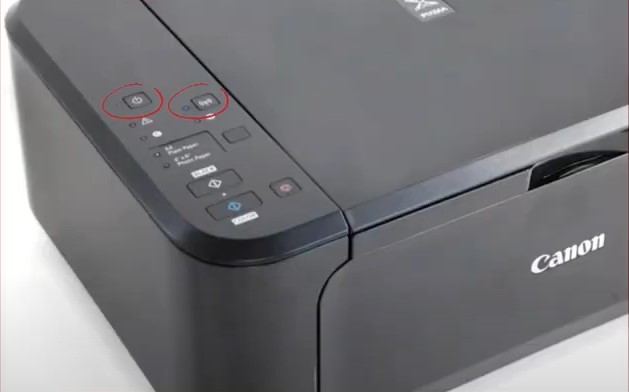
10. Once the connection is complete, the power and Wi-Fi light will start blinking.
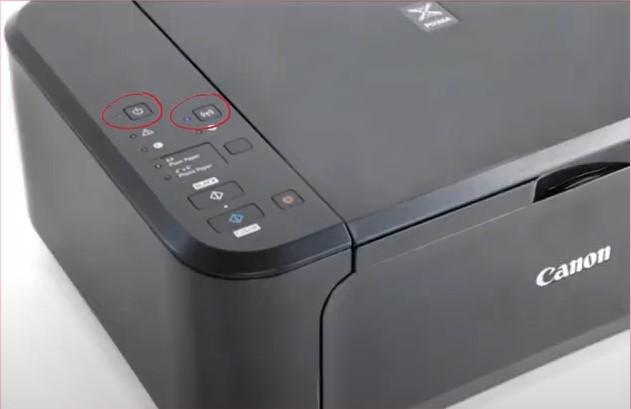
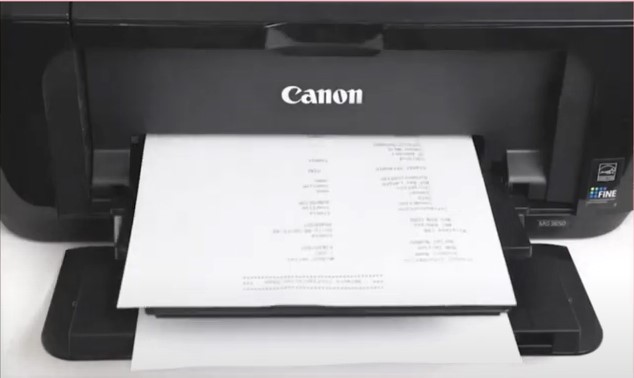
11. Then, you can print the network configuration page to confirm the connection.
Method 3: Standard Connection Method
If you want to set the Canon printer to a device using the standard connection method, then follow the steps to acquire a full understanding.
1. First and foremost, visit the official Canon support website on any web browser on your PC.
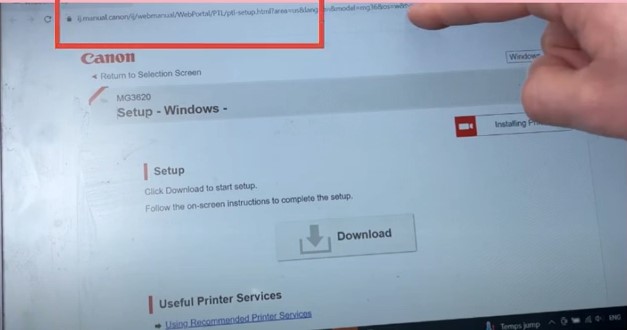
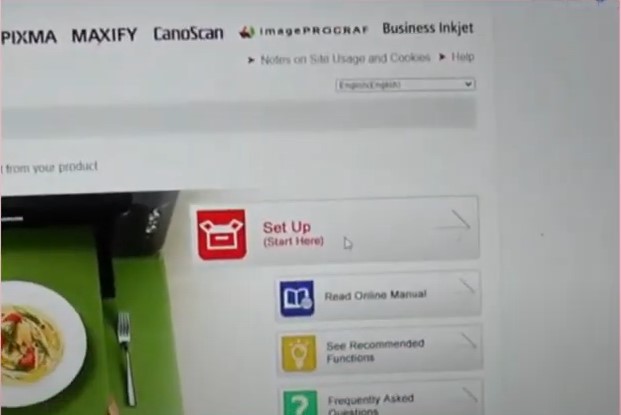
2. Now, on the open home screen, click on the Setup option.
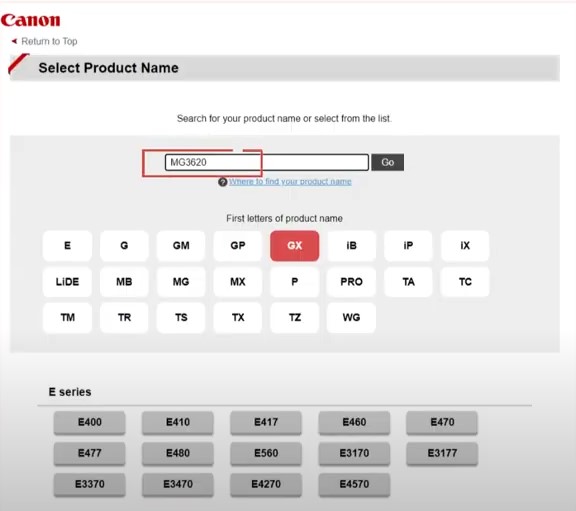
3. You are required to type your Canon PIXMA MG3630 printer name and choose the Go option.
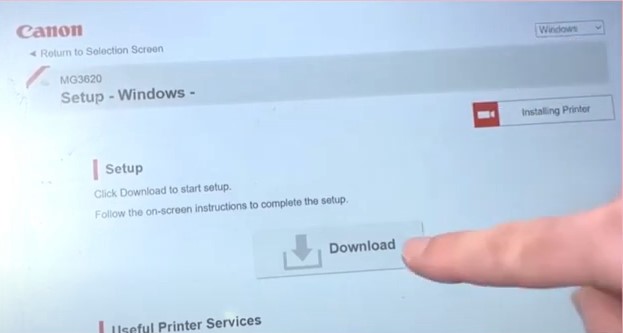
4. Ensure that the operating system version is set correctly, and click on Download.
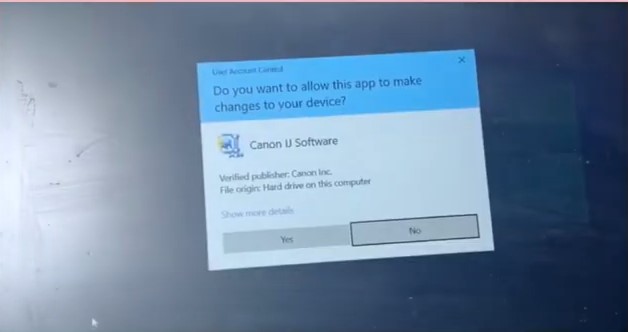
5. After the download, open the software and select Yes to allow the app to perform changes.
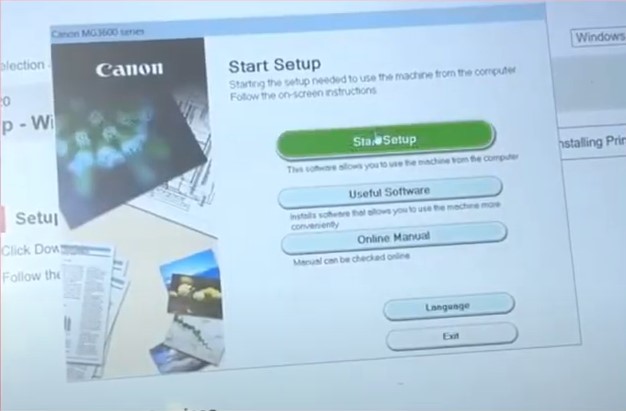
6. On the Start Setup page, select Start Setup.
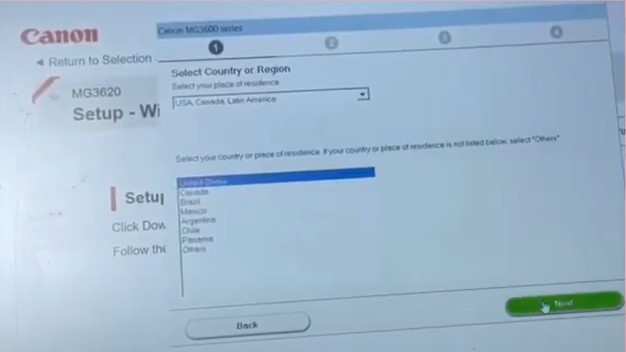
7. Then, specify the country or the region you live in and then choose Next.
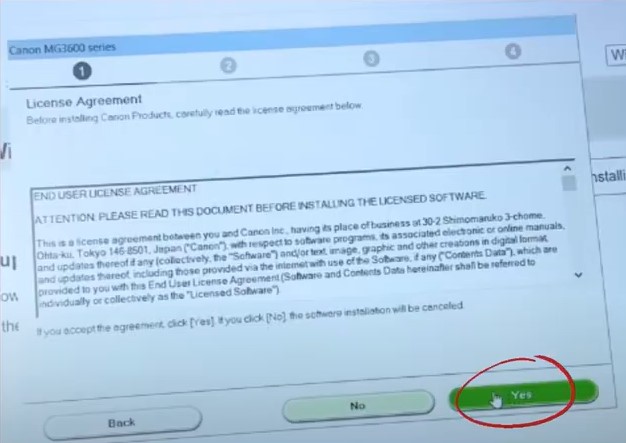
8. Afterward, read the license agreement and then choose the Yes option.
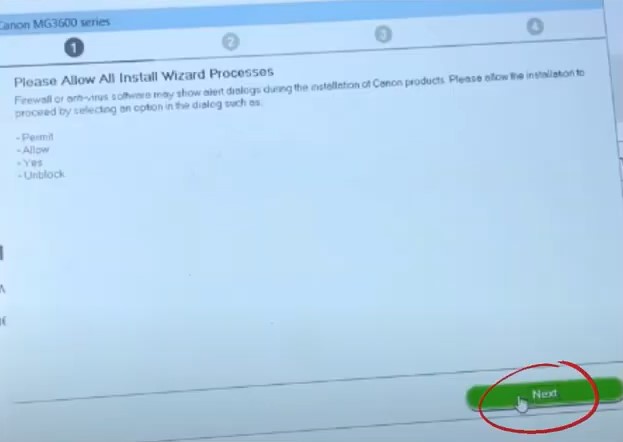
9. Now, in the Please Allow All Install Wizard Processes prompt window, select the Next option.
Also Read:- Methods to Fix Canon Printer Driver is Unavailable Issue
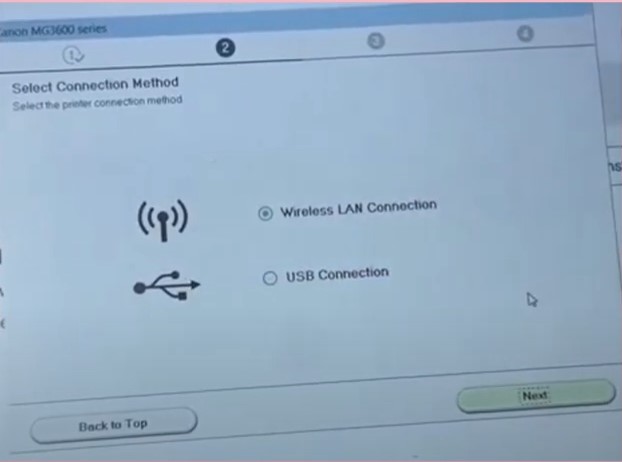
10. On the select connection method window, choose Wireless LAN Connection and click on Next.
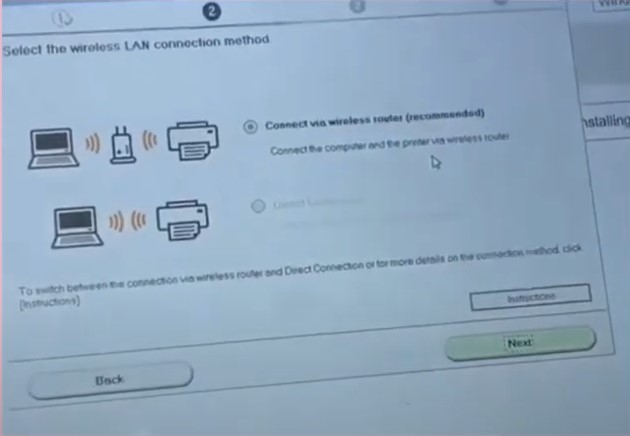
11. Furthermore, you need to choose the connect via wireless router option and go to the printer.
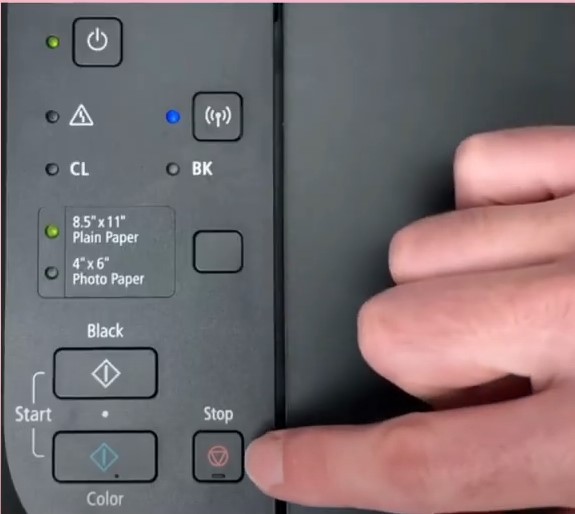
12. Henceforth, turn on your printer device by pressing the power button, and if it is already switched on, press the Stop button.
13. In addition, press and hold the Wi-Fi button until the power light blinks.
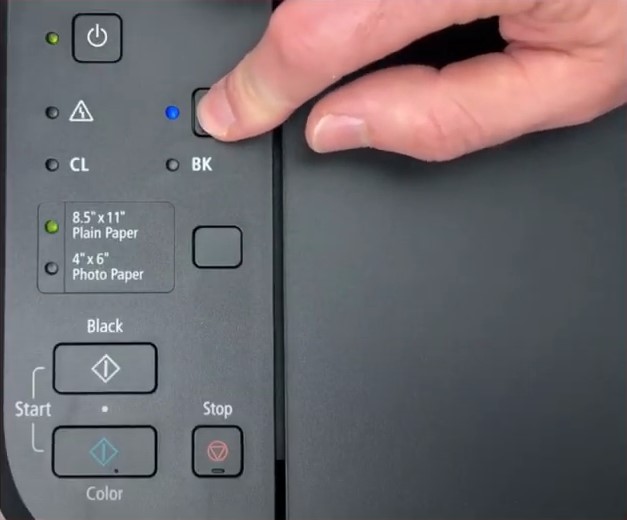
14. Press the color button, and then the Wi-Fi button, and the Wi-Fi light will start to flash.
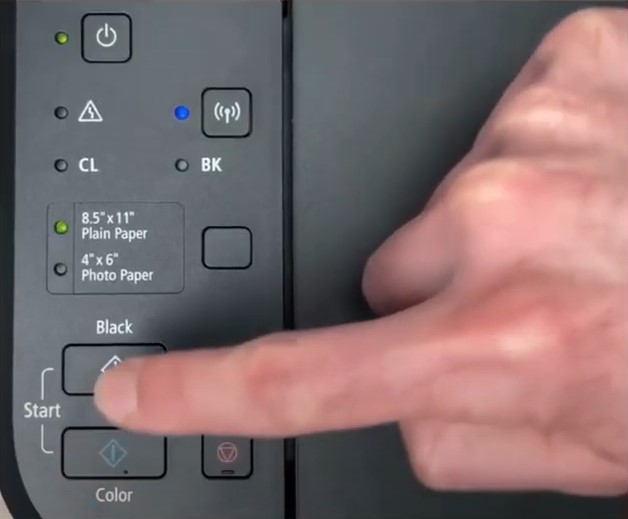
15. Go back to your computer system, click next and next again, and the installer will search for the network printer.
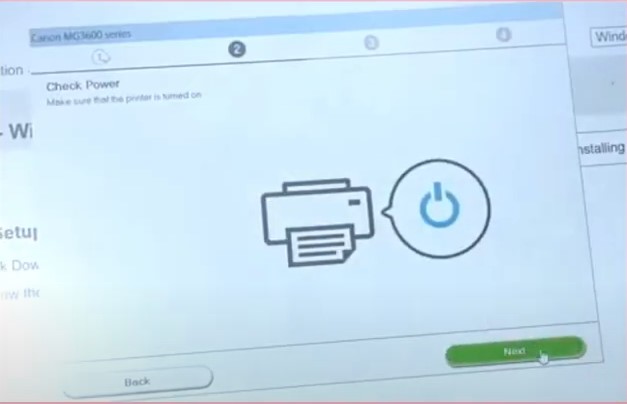
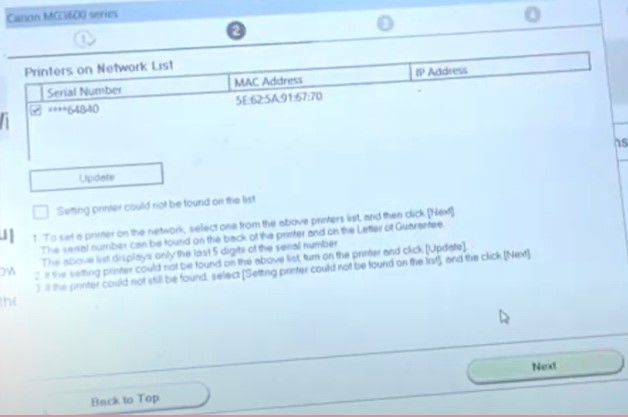
16. After that, you need to select the printers from the Printers on Network List window and click on Next.
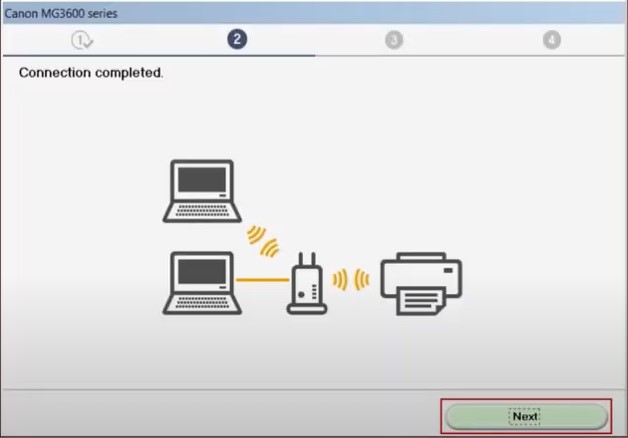
17. On the Connection Completed page, click Next and wait for the installation to complete.
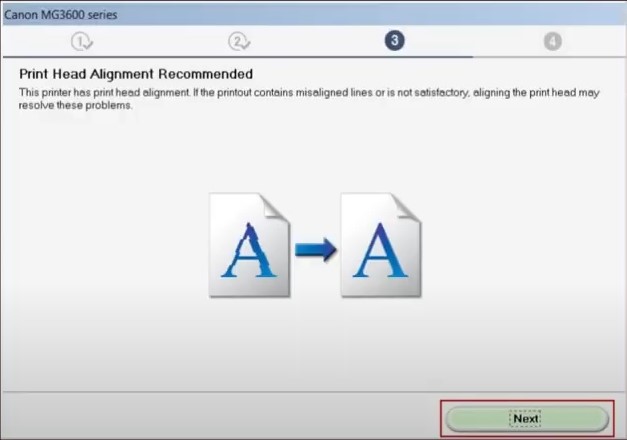
18. On the print head alignment recommended window, select Next and ensure that the paper is loaded in the tray.
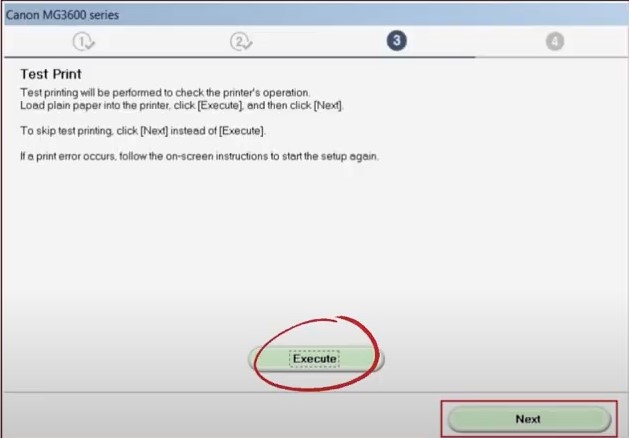
19. Choose the Execute option, and the printer will print an alignment sheet.
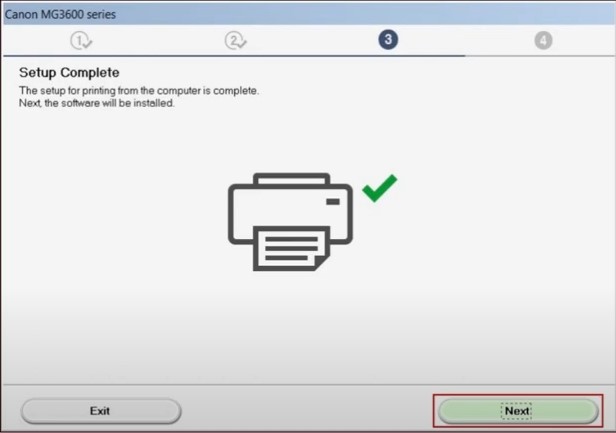
20. Once the print head alignment process is complete, you will be redirected to the setup complete window; press the Next option on the same page.
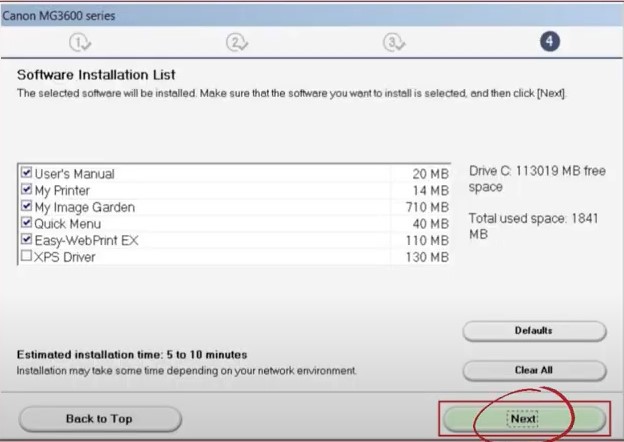
21. On the next page, select the Next option to complete the setup process.
Conclusion
After using the correct setup methods, you will be able to connect your Canon printer and start using it. Our guides are designed to help you complete the setup without facing any error or inconvenience. In addition, look for further guidance if you are still facing any issues in connecting your machine.

