How to Connect Samsung M2070fw Printer to WiFi?
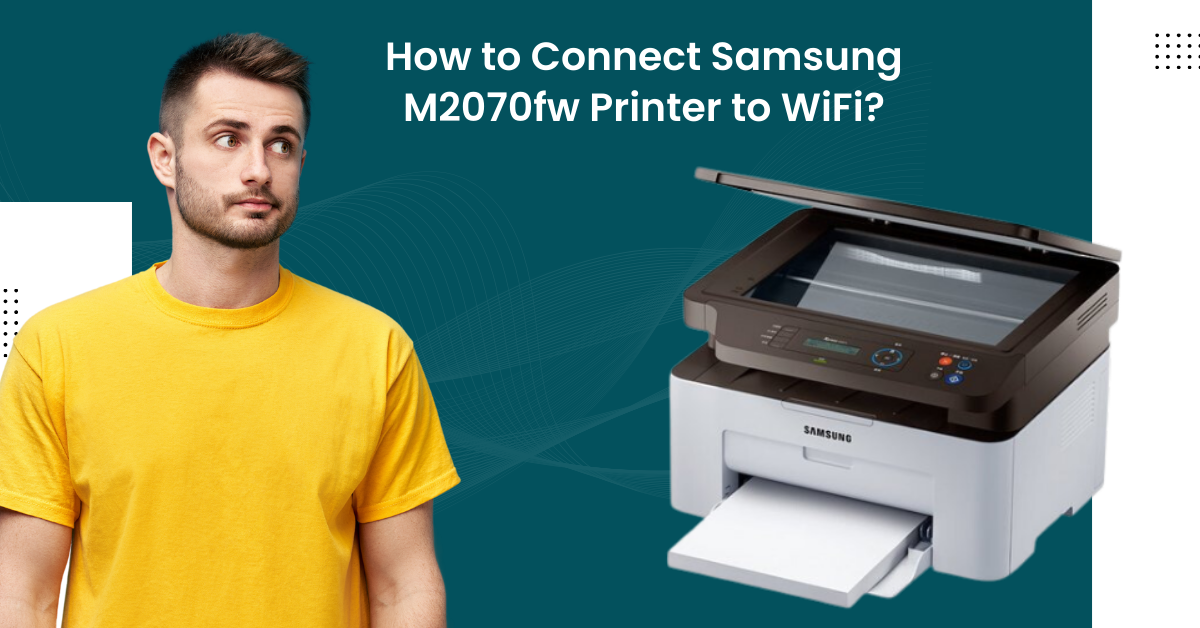
Samsung offers versatile devices with cutting-edge features, and the M2070fw is one of them. Many people can set up and use their printers without any issues. On the other hand, for some people, it could be a hard nut to crack. The reason behind this could be not knowing the correct setup procedure or having any technical faults with your devices.
If you are also facing any challenges while connecting your Samsung M2070 printer to Wi-Fi, then we are here for you to provide all the necessary help. Here, you will acquire a vital understanding of two proven and effective methods.
Method 1: Using the Printer Control Panel
You can utilize the Samsung printer control panel to establish a connection to a Wi-Fi network. These are the steps you need to follow for that.
1. First, go to your Samsung M2070fw printer control and click on the menu button.
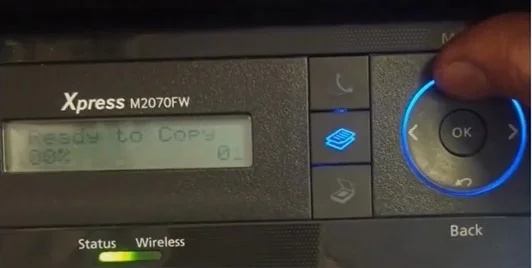
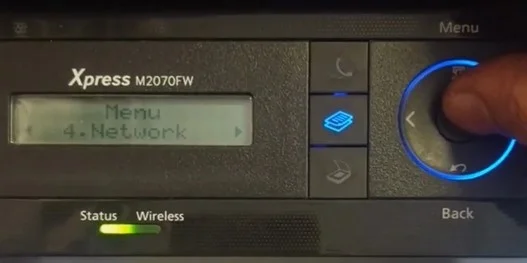
2. Then, using the side arrow buttons select Network and then press the OK key.
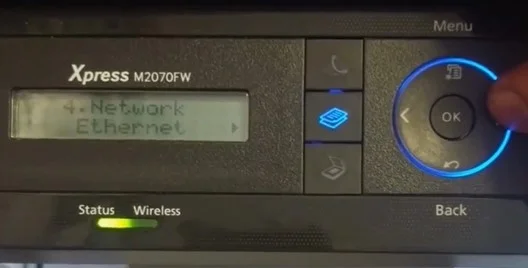
3. Utilize the side arrow buttons once again to choose Wi-Fi and then select OK.
4. Next, you need to choose the Wi-Fi settings and then press OK.
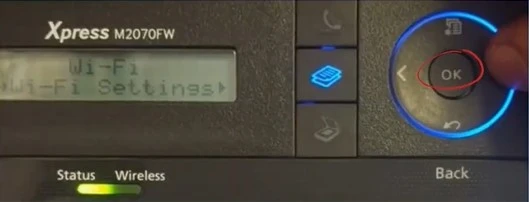
5. After that, press OK to select Wizard; it will start searching for available networks in its range.
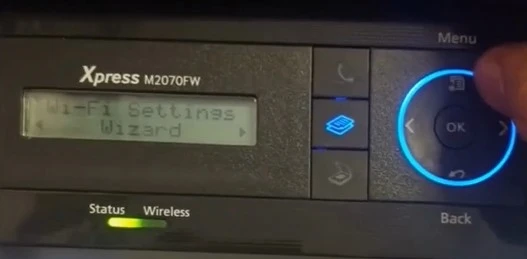
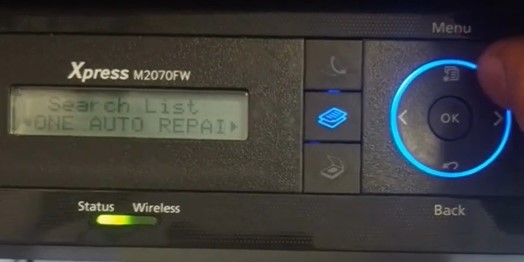
6. Scroll through the list of available networks until you find the network you want to connect your device; then press OK.
Also Read:- How to Fix Samsung Printer Issues? [A Complete Guide]
7. Now, enter the network password and press OK; it will start connecting your printer to the network.
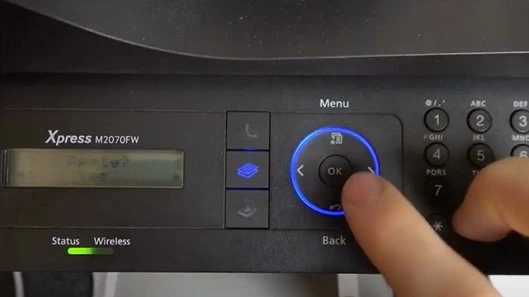
8. When it is connected, the wireless light will start flashing.
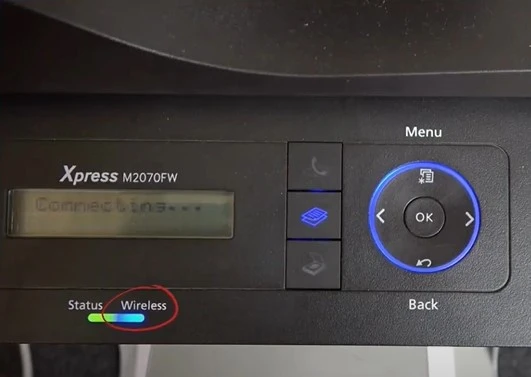
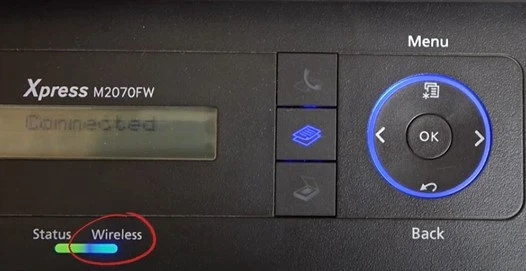
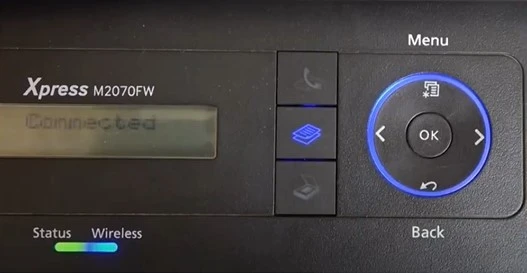
9. Once the connection is successfully established, the wireless light will remain lit, and the printer display will show the Connected message.
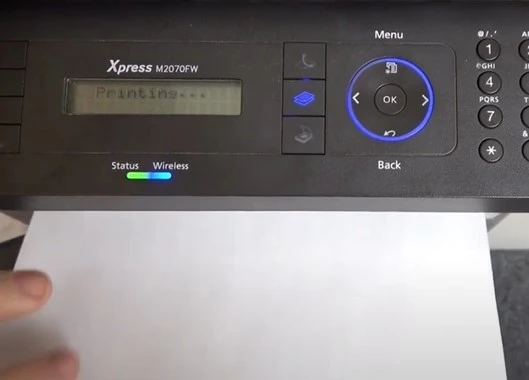
10 Now, you can start your printing work on the Samsung printer.
Method 2: Via WPS Connection Method
Using the WPS connection method, you can quickly establish the connection between the Samsung printer and Wi-Fi. Here is how you can do that.
1. Press and hold the WPS button on the printer until the wireless light starts flashing and the message displays on the screen.
2. After that, move to your router to press and hold the WPS button within two minutes.
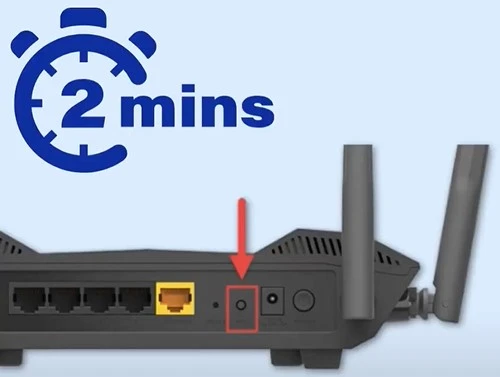
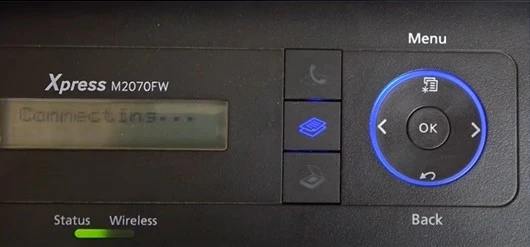
3. Go back to your printer, and you will see the Connecting message on the display.
4. Once the Wi-Fi connection is successful, the Connected message is on the screen.
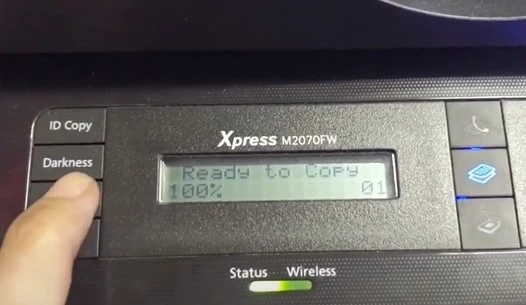
5. Finally, the printer will be ready to perform activities like print, copy, and scan.
Conclusion
A plethora of minor or major technical glitches in your printer, router, or computer/mobile can lead to problems during the setup. Some major potential causes could be outdated system OS, missing firmware, devices not being in the same connection range, firewall interference, and many more. You must check all these points before starting the Wi-Fi connection process. Moreover, take the help of our comprehensive guides to complete the connection without facing any issues. Besides that, ask for additional guidance and help if you are unable to set up the printer.

