How to Factory Reset Ricoh Printer?

Ricoh printers are widely used for their advanced features and incredible performance. These printers are worthwhile for personal and professional purposes. Nevertheless, the device is prone to occasionally showing troubles, like error messages, technical glitches, performance issues, and others.
In this situation, the first step is to reset the printer to eliminate any minor technical problems with your printer and get it working properly. Do you know how to factory reset your Ricoh printer? Let’s start with a deep understanding of the proven steps and perform the reset without any inconvenience.
Steps to Factory Reset Ricoh Printer
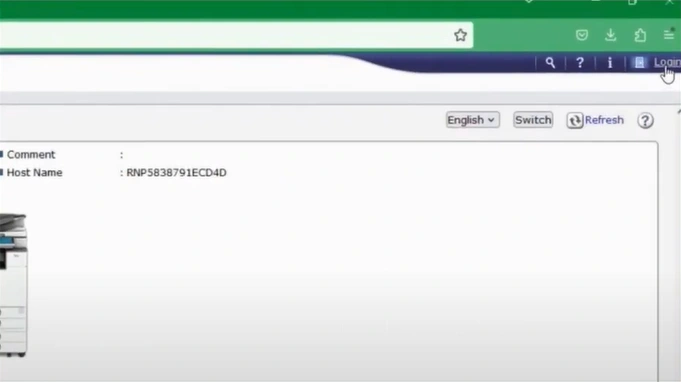
1. Open your web browser, then type and search http://(machine’s IP address or hostname/.)

2. Then, click on Login in the top right corner to log in as an administrator.
3. Enter your account login username and password, then click on Login.

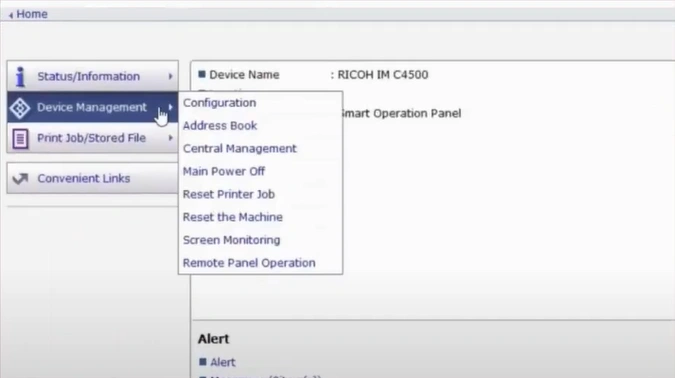
4. Click on Device Management from the left bar and open the Address Book.
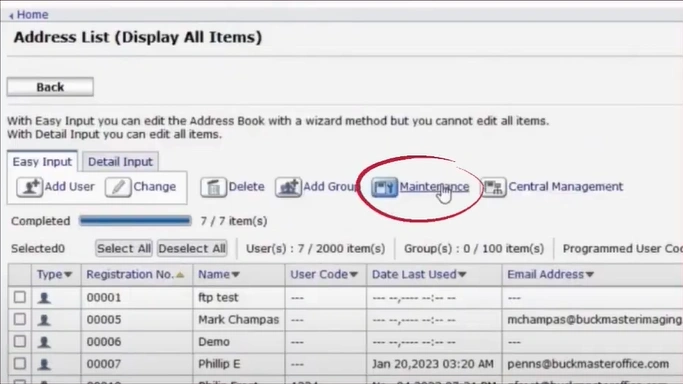
5. Then, click on the Maintenance option.
Also Read:- How to fix Ricoh Printer WiFi Setup?
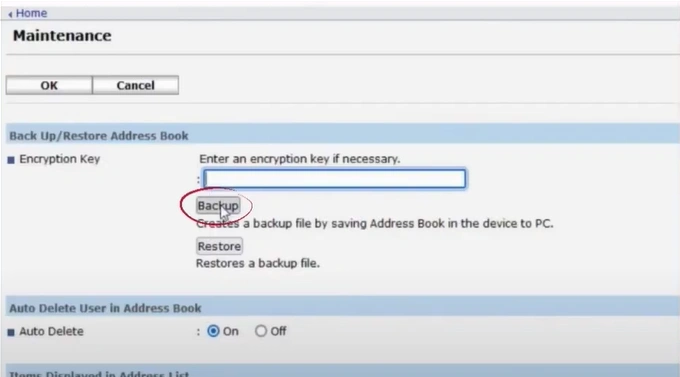
6. Now, in the Backup/Restore section, click on the Backup button.
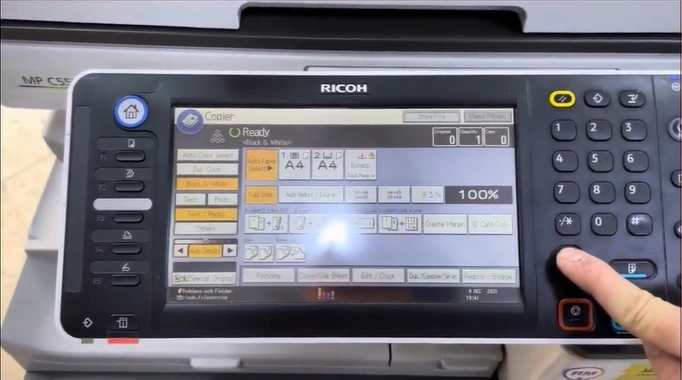
7. Press the Clear mode/Reset button.
8. After that, you should enter the code 806182.
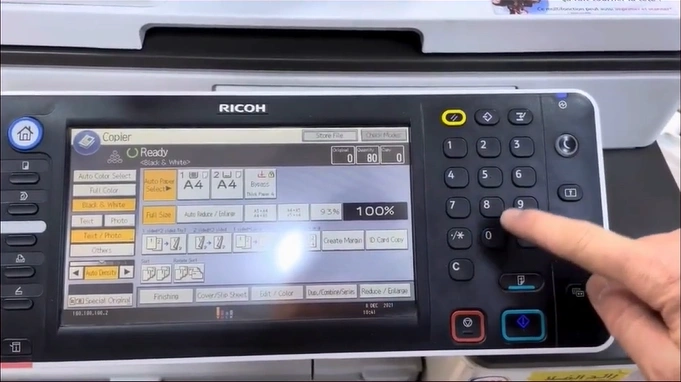
9. Press then hold the C/Clear for 5 seconds.
10. Then, choose the System SP option.

11. Next, press the code 5810#, then tap on Execute. (The code key might change depending on your SC reset.)
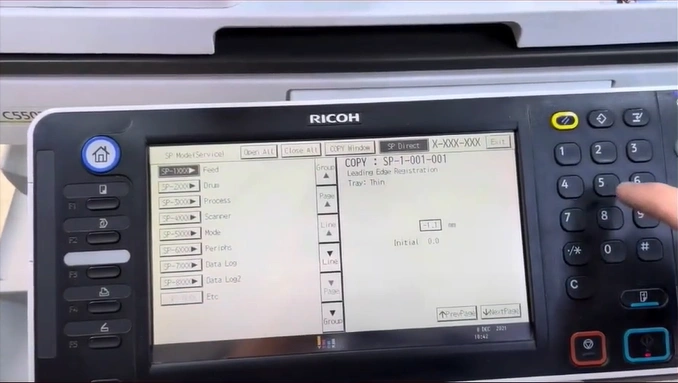
12. Now, the Ricoh printer factory reset process will be complete.
We hope you have easily performed the factory reset of your Ricoh printer. By following our simple procedure thoroughly, you can reset your Ricoh device quickly to the default settings and eliminate any problems with it. In addition, you need to remove all the cables of your printer and keep the device off for a couple of minutes if the reset is not complete. Besides that, make sure to look for more help if the process seems too complex to you.

