How to Connect Canon G3000 Printer to WiFi?

Canon G3000 is a robust all-in-one printer that provides high-volume document printing at minimal cost. The printer comes with a wireless connectivity option that allows it to be used easily with PC or smartphone devices. Anyone with a little knowledge of printer setup can quickly connect it to a network and start using it.
However, no need to worry for those who are unable to complete the WiFi connection; we are here to make things easier. Follow-up content explains the beginner-friendly methods to connect a Canon G3000 printer to WiFi.
Method 1: Connect During Initial Setup
Here is the quick process to complete the WiFi connection of the Epson printer during initial setup.
- First, power on your Canon G3000 printer.
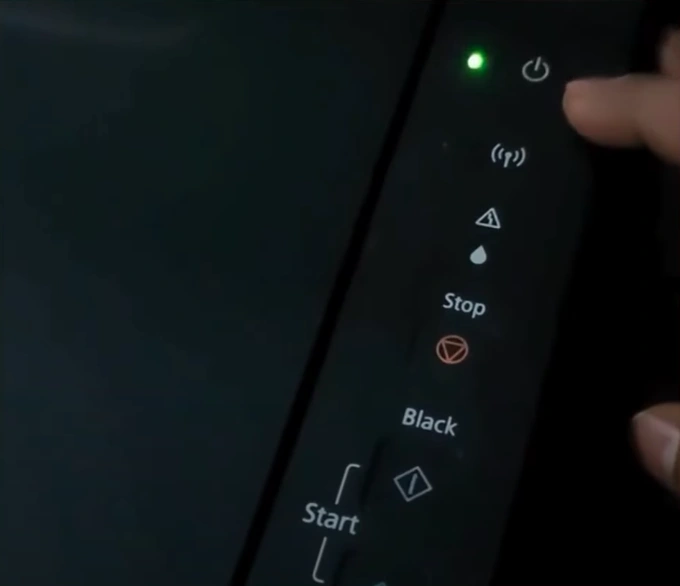
2. Press and hold the WiFi button until the power lights start flashing.
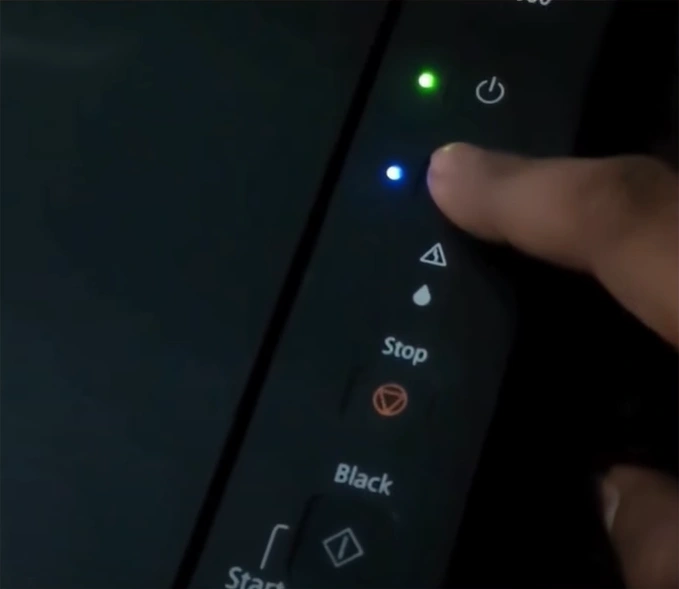
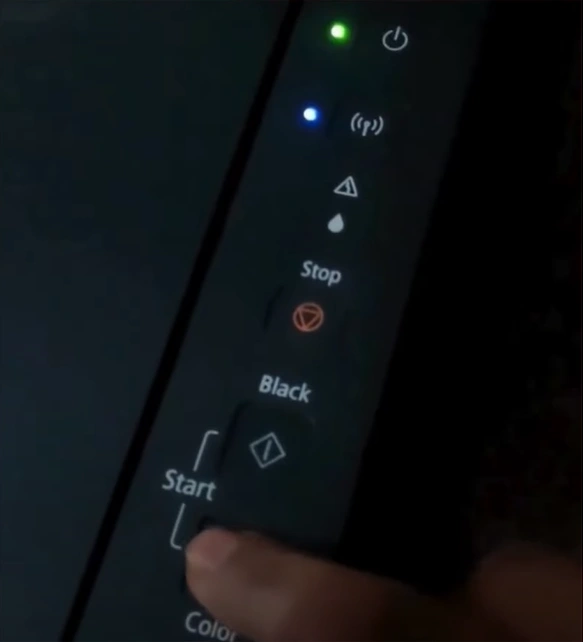
3. Next, press the color copy button, then press the WiFi button, and then press the WiFi button again, and the WiFi light will start flashing.
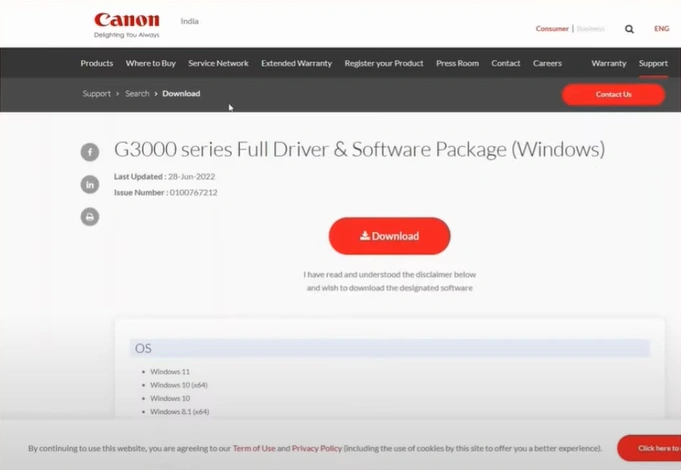
4. Open the web browser, visit the official Canon website, and install the suitable printer driver.
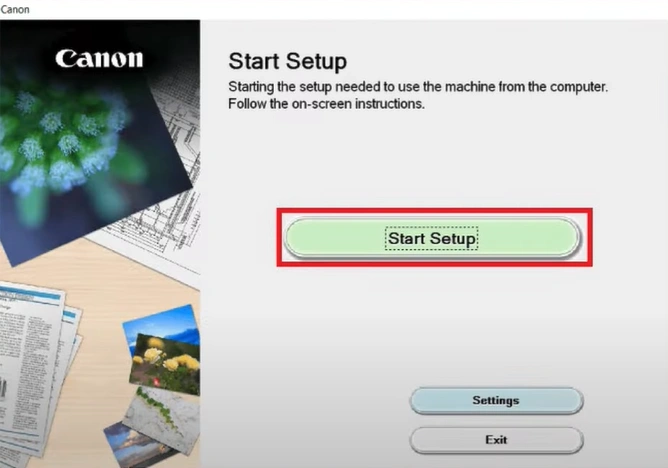
5. Now, open the downloaded file and click on the Start Setup option.
6. Specify your country, then agree with the License Agreement.

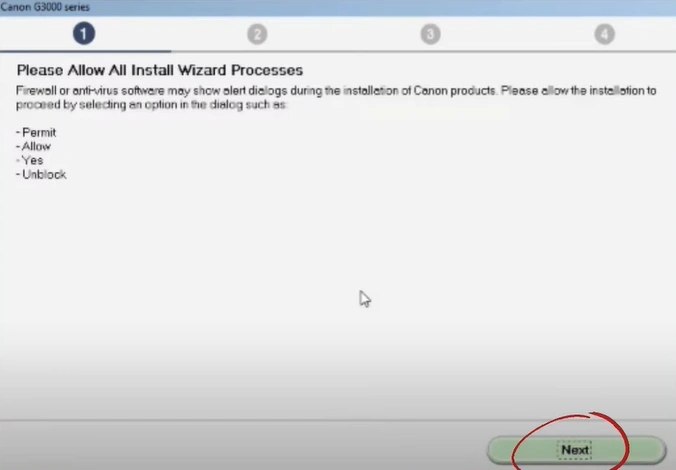
7. In the Please Allow All the Install Wizard Processes window, select Next.
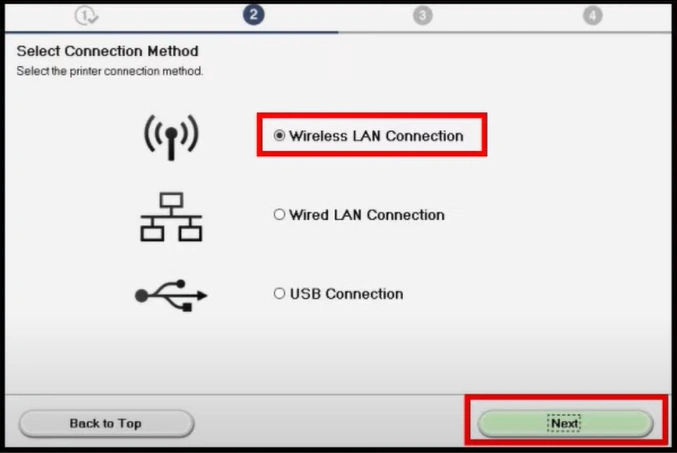
8. Select the Wireless LAN Connection method and select Next.
Also Read:- Fix Canon Print Jobs Stuck in Queue
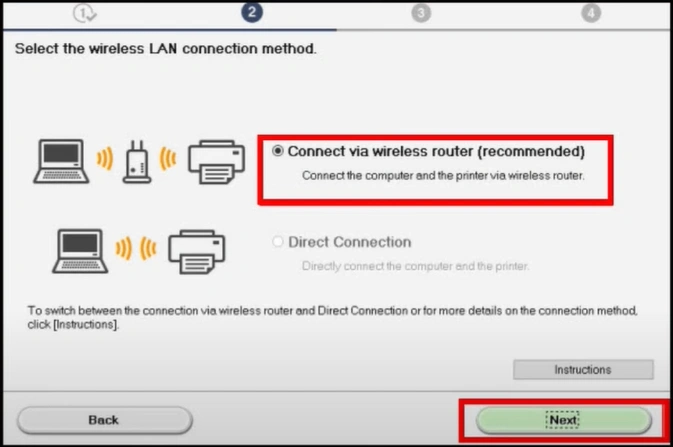
9. After that, choose Connect Via Wireless Router (Recommended) and click Next.
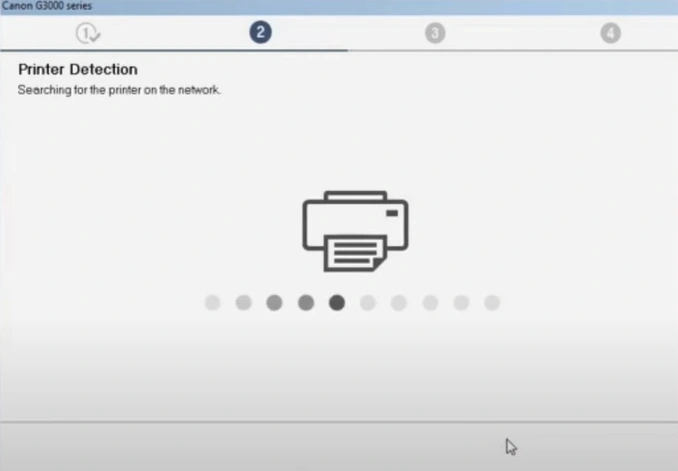
10. When you see the Check Power screen, click Next, and it will start looking for printers.
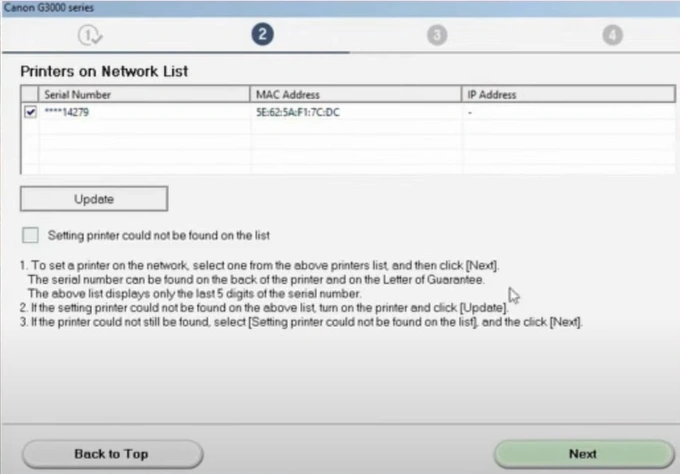
11. You should be able to see your printer name in the Printers on Network List; make sure that it’s selected and then click on Next.
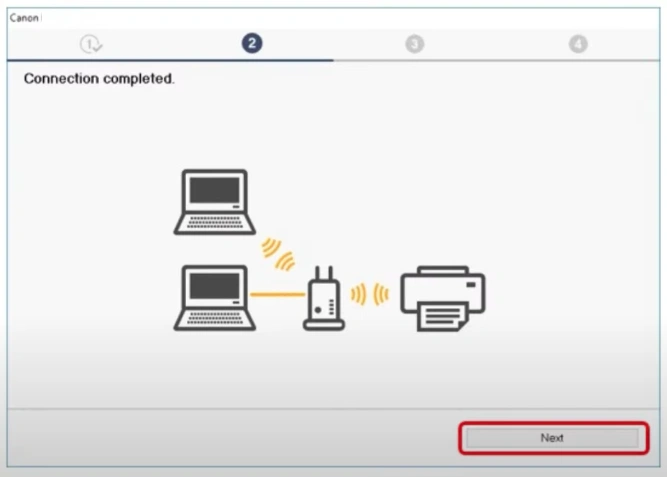
12. Select Next in the Connection Completed screen.
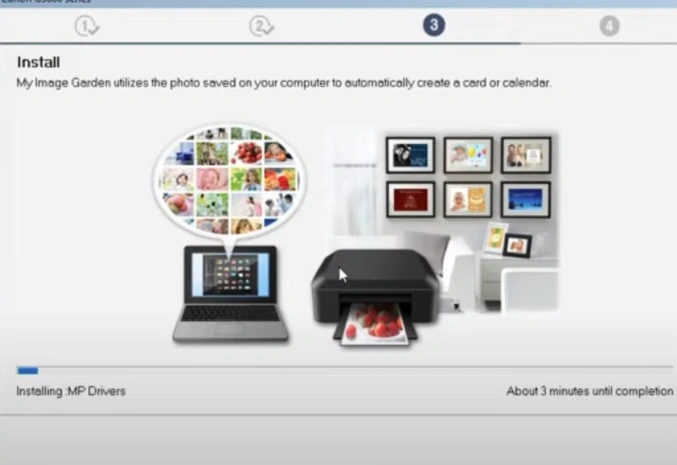
13. Now, follow the remaining on-screen prompts to install the program.
Method 2: Via WPS
With the WPS method, you can easily complete the printer connection process. Learn the steps below.
1. Begin by pressing the WiFi button until the power light starts flashing.
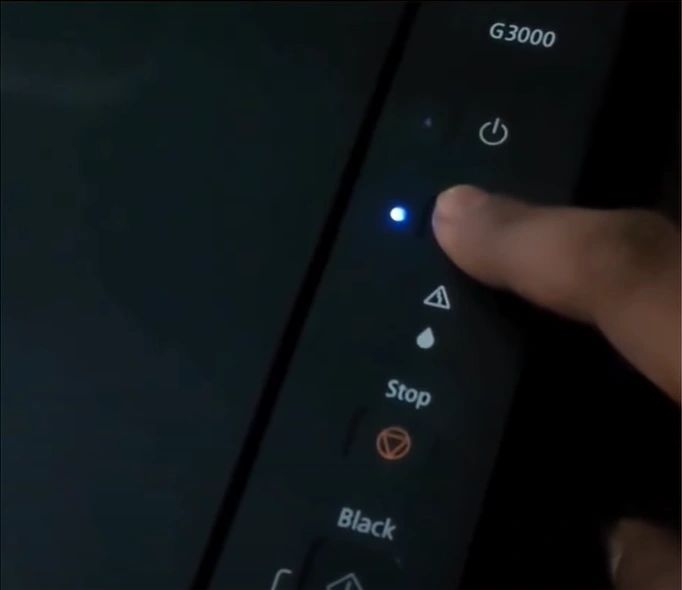
- Next, press the Black Start button and then press the WiFi button once again.
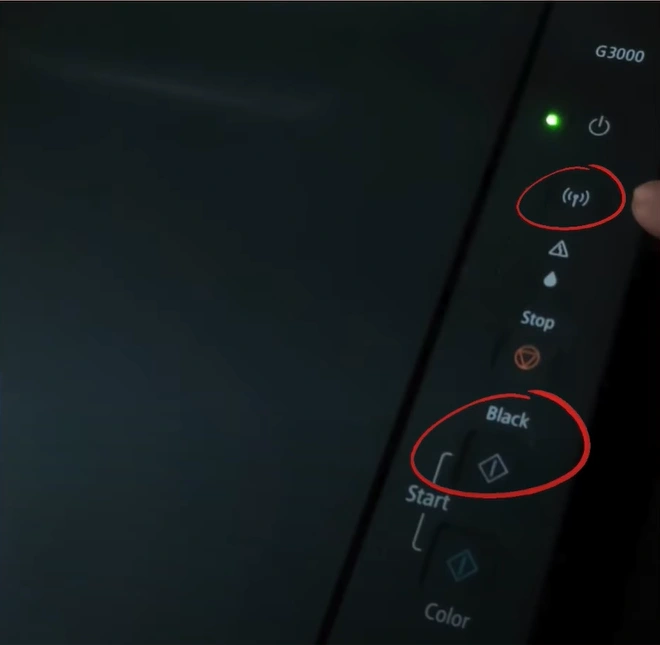
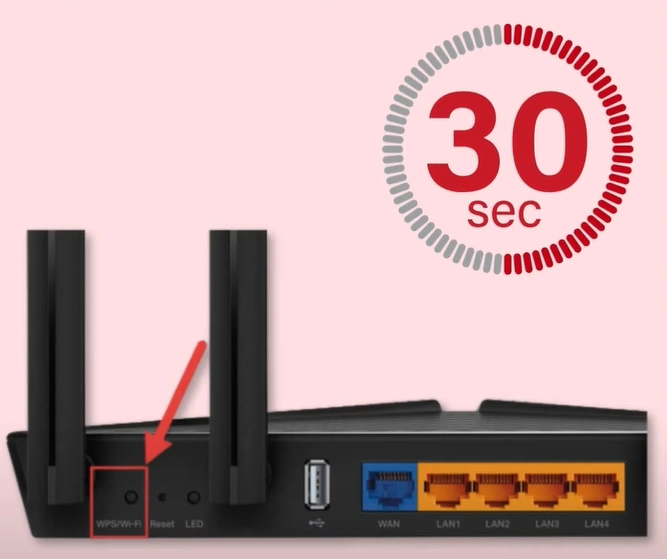
- Now, move to your router and press the WPS button for 30-40 seconds.
- Once your connection is established, you will notice that the WiFi light remains stable.
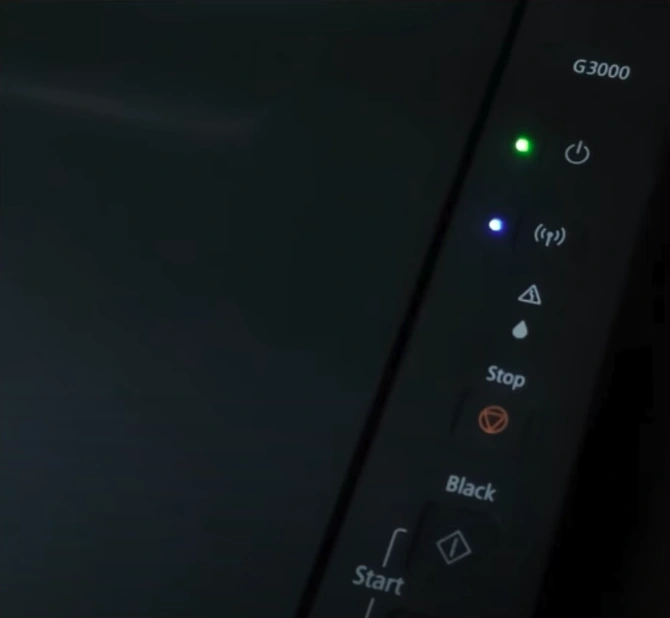
- Finally, start using your printer.
Wrap Up
With the help of these two well-researched methods we have shared here, you can easily complete your Canon printer WiFi setup. Make sure to place your printer and computer within the same WiFi connection range to avoid facing any connection issues. However, if you have any doubts or facing issues during the connection process, then make sure to look for additional guidance.

