How to Connect Xerox Printer to WiFi?
Connecting your Xerox printer to WiFi can help you avoid the struggle of managing a bunch of cords/cables. In addition, the printing and other tasks become seamless by allowing you to print from a tablet and smartphone. Also, connecting a Xerox printer to WiFi is a piece of cake unless you are having trouble or don’t know the exact process. In addition, you don’t need to stress out if you are also in a similar situation because we are about to make things easier. Here we explain the stepwise procedure to complete the WiFi connection of various Xerox printer models without any inconvenience.
For WorkCenter 6515 & Versalink B and C Series
With the help of the following procedure, you can complete your Xerox printer series of WorkCenter 6515 & Versalink B and C. Follow the steps carefully.
1. First, plug in the wireless adapter and power on the printer.
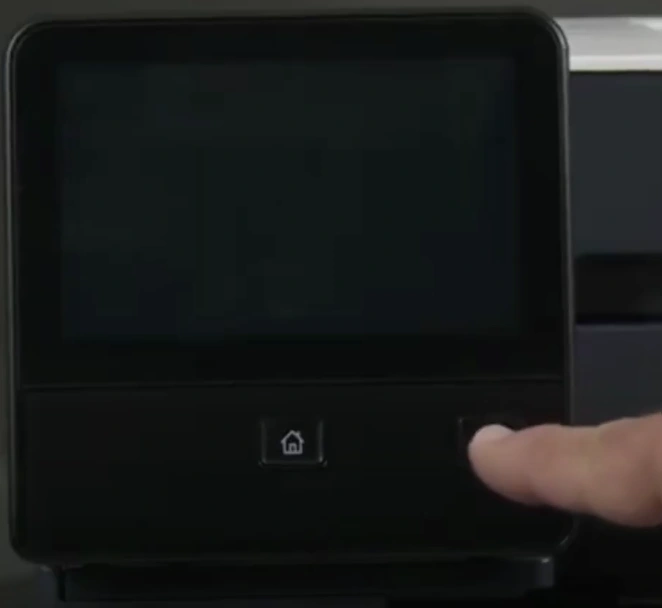
2. Tap on the Next option on the display screen and select WiFi in the Network Connection window.
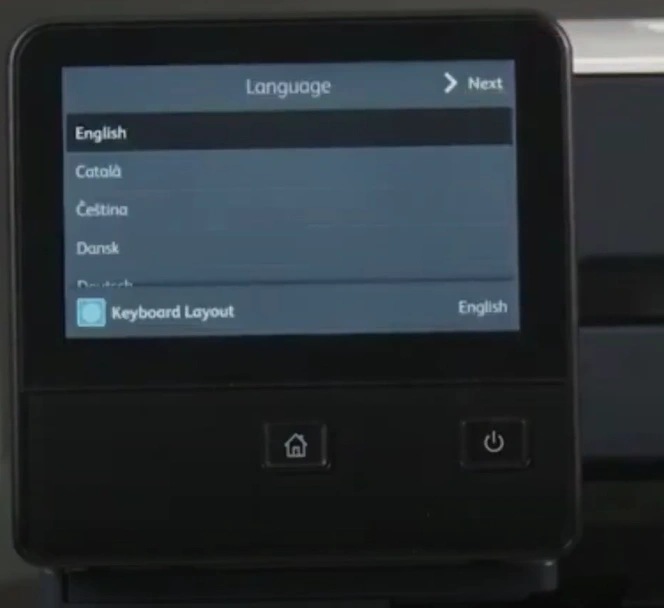
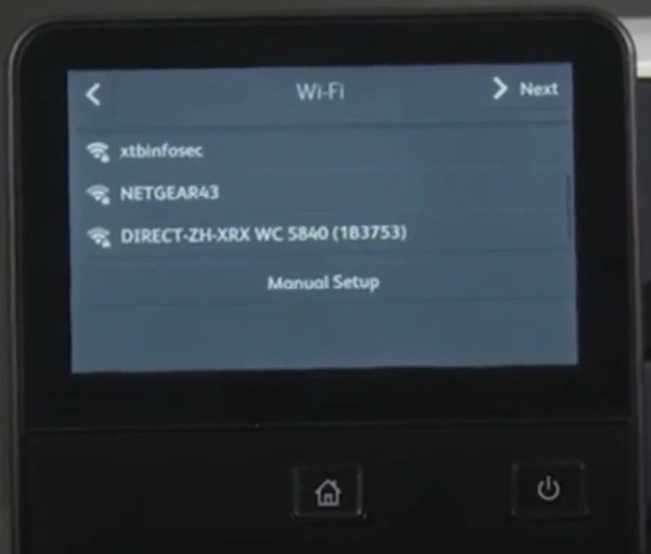
3. Select the correct wireless network name from the list.
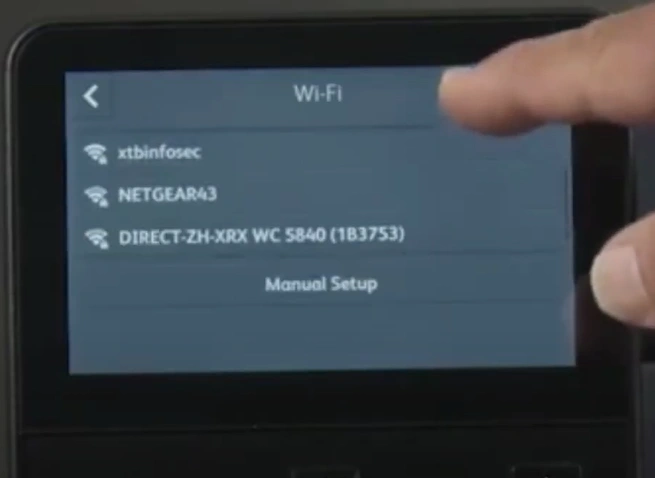
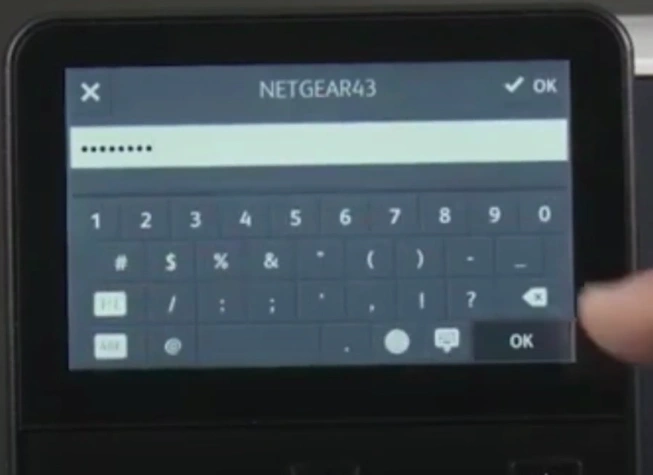
4. Then, enter the password and tap OK, and it will start connecting.
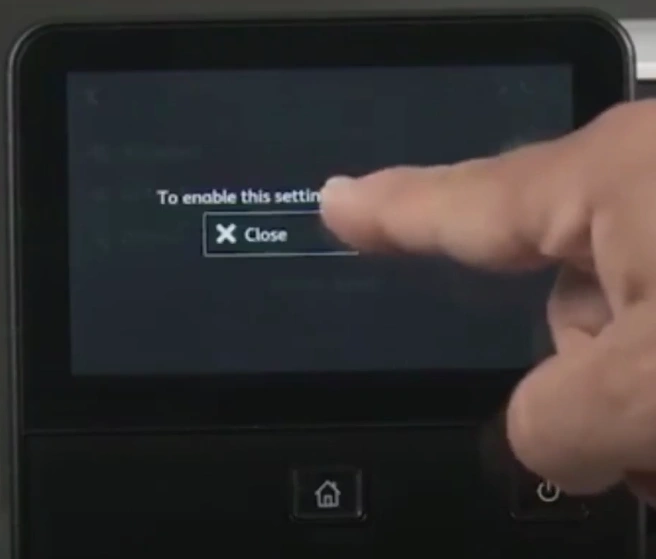
5. When you get a prompt telling you to restart the device, tap on Close.
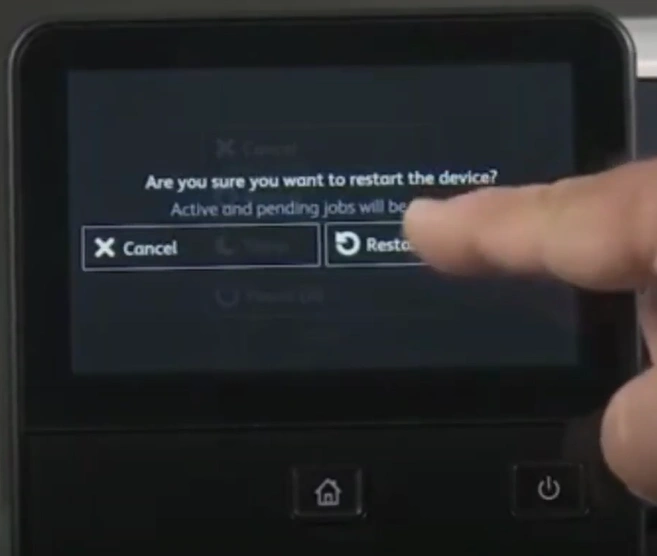
6. Press the power button, then select Restart.
7. Tap the Restart option once again to confirm the process and wait for the printer to restart.
8. Once the printer powers on, tap Next in the Language screen.
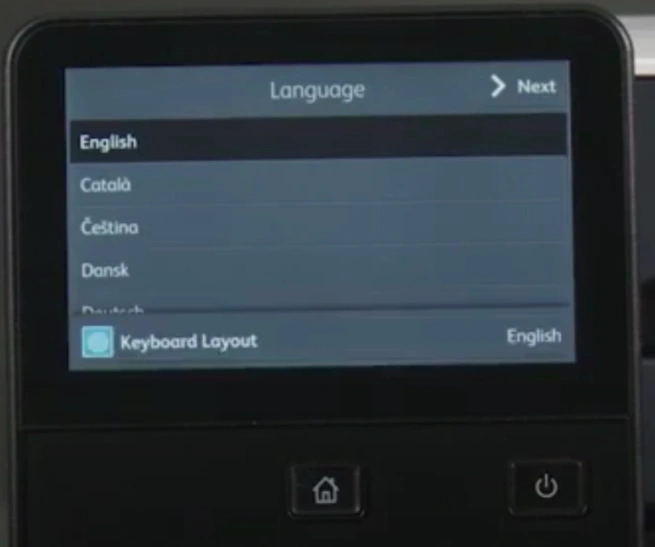
9. Select WiFi, and you will see Connected next to your wireless network.
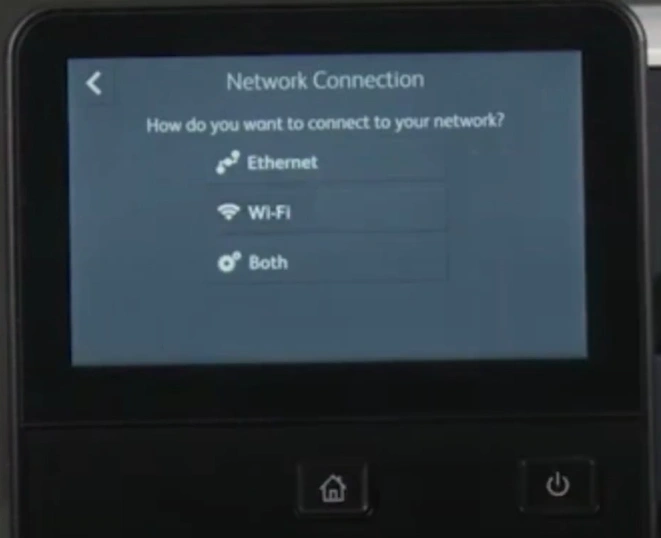
10. Confirm if the connection process is successful.
For MFP
These are the steps that will allow you to connect your Xerox MFP printer to a wireless network quickly.
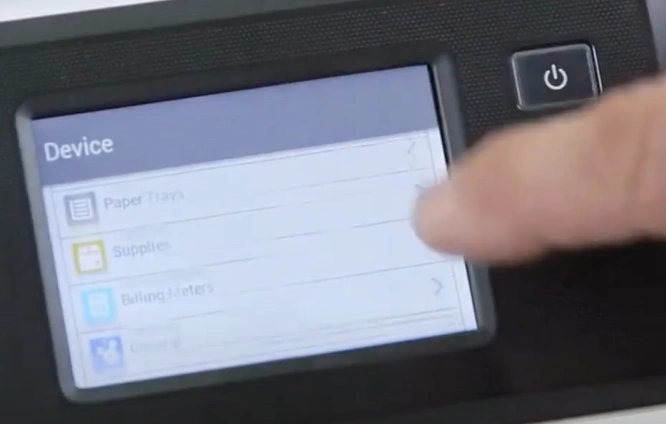
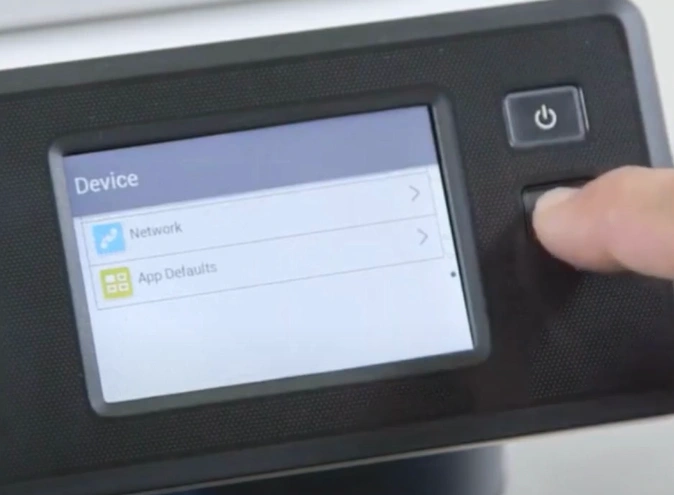
1. Go to the printer control panel, scroll up, and select Device.
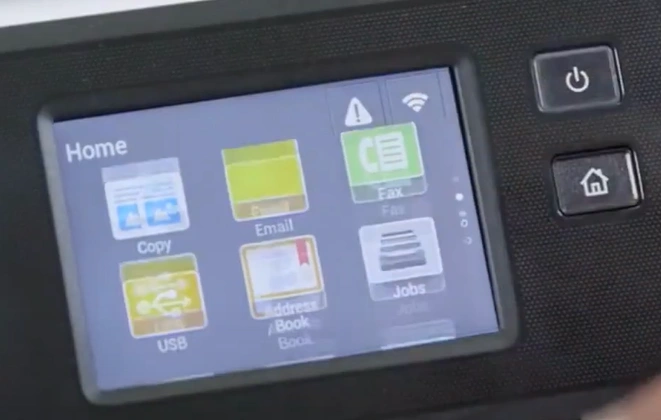
2. Scroll and select Network.
Also Read:- How to Fix Xerox Printer Not Printing Issue?
3. Select Network Connectivity Wireless, tap on Wireless, and it will start searching for the wireless network.
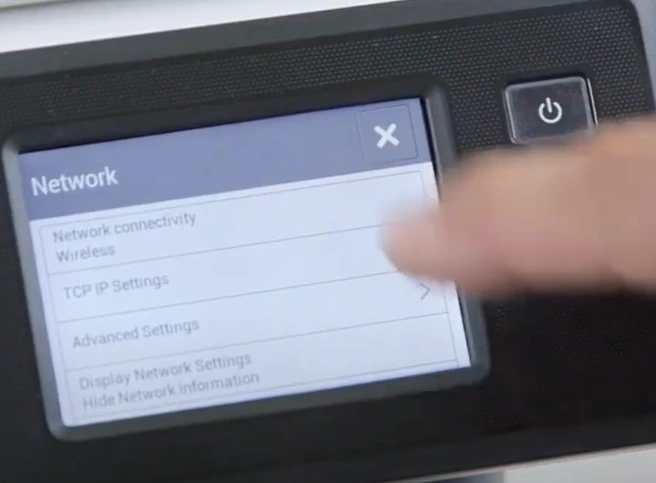
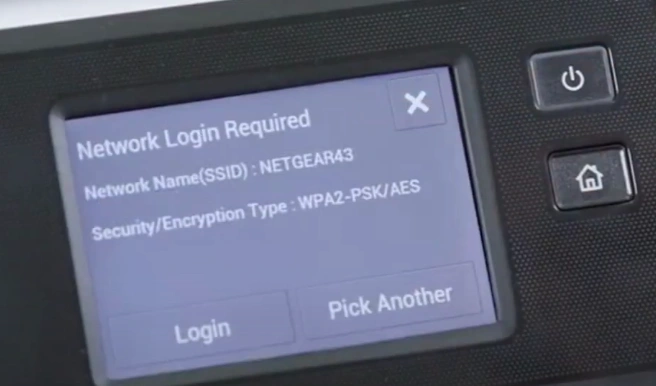
4. Choose your wireless network from the open list and tap on the Login button.
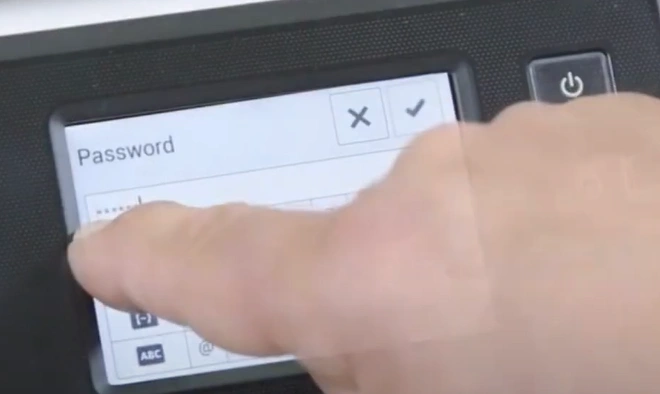
5. Next, type your wireless network password and tap on the right tick icon to proceed.
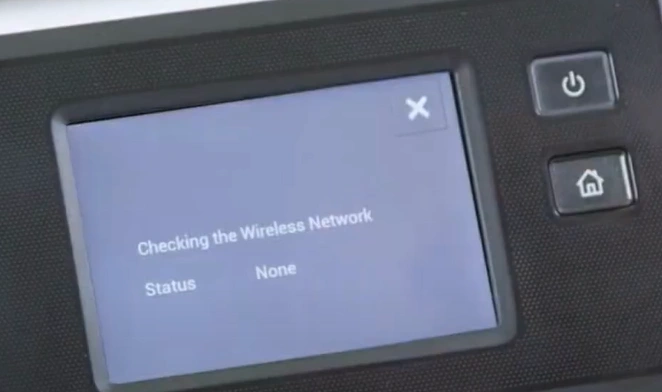
6. It will start checking the wireless network and will display Connected once the connection is established.
7. Press the home button to return to the home screen, and the wireless icon will appear on the home screen.
For Phaser 6510
If you are using the Xerox Phaser 6510 printer, then here are the instructions you need to follow to establish the wireless connection.
1. At the start, insert the wireless adaptor and power on the printer.
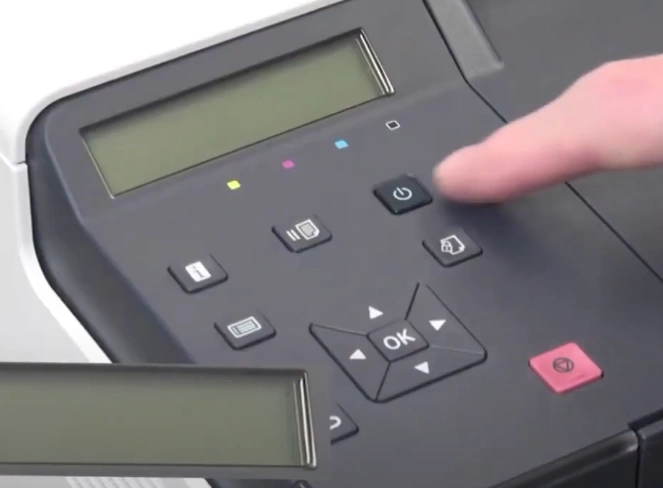
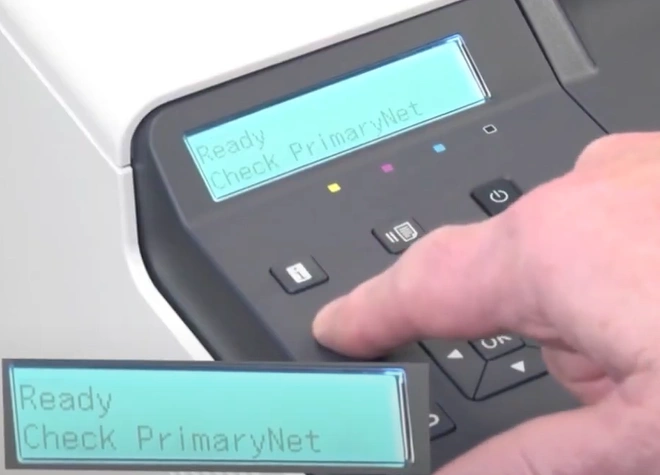
2. Next, press the menu button to go to Settings.
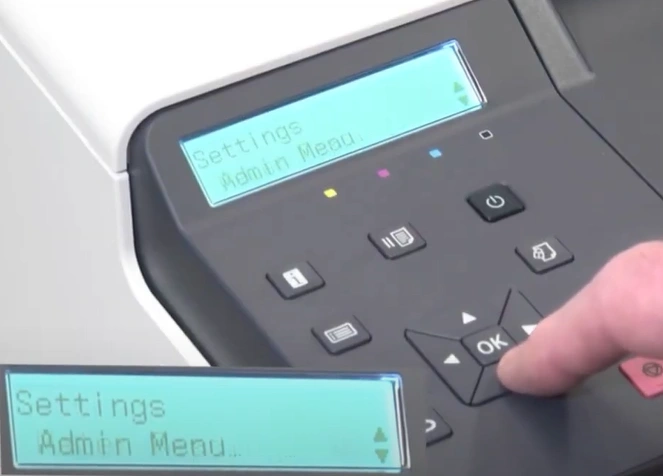
3. Using the arrow button, select Admin Menu and press OK.
4. Select the Network/Port option.
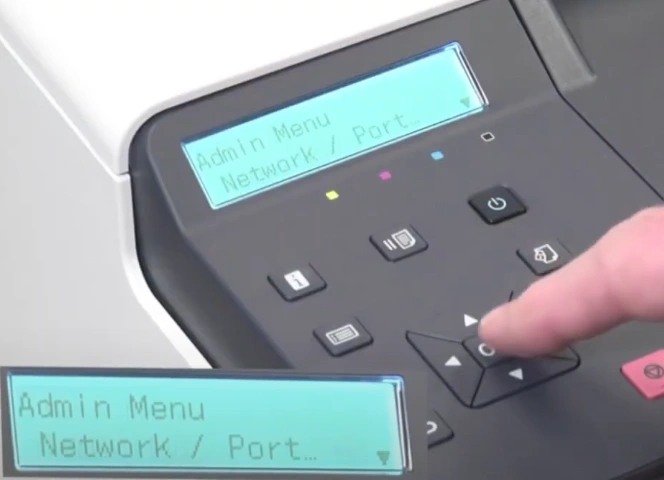
5. Next, choose WiFi settings and press the OK key.
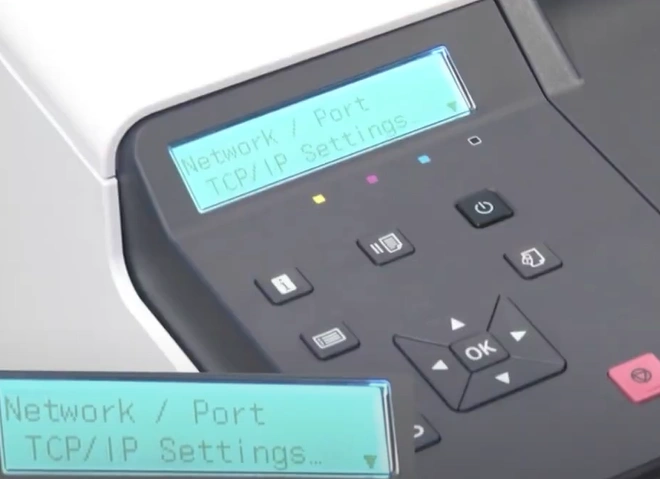
6. Using the arrow button again, select Access Point Search and press OK.
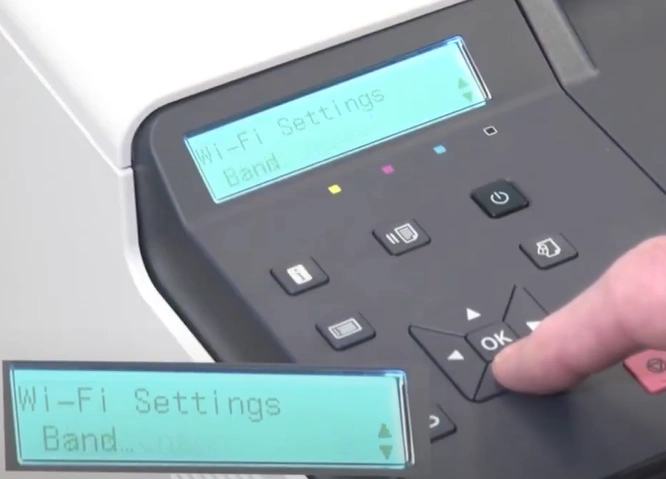
7. Select your network from the Access Point list, and then press OK.
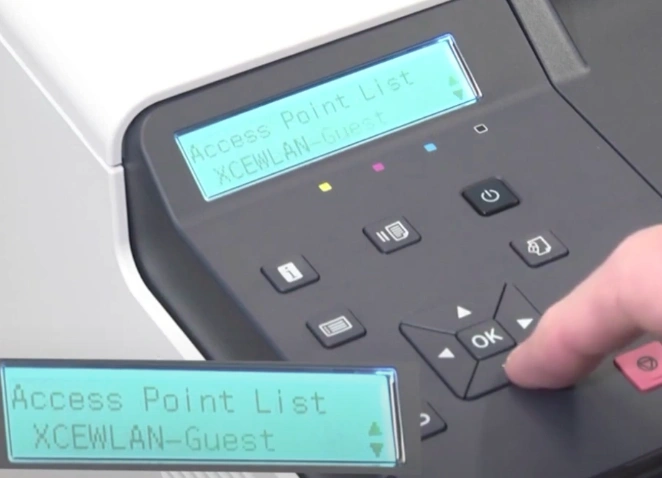
8. Press OK, then enter your wireless network password, and press OK, then it will start connecting.
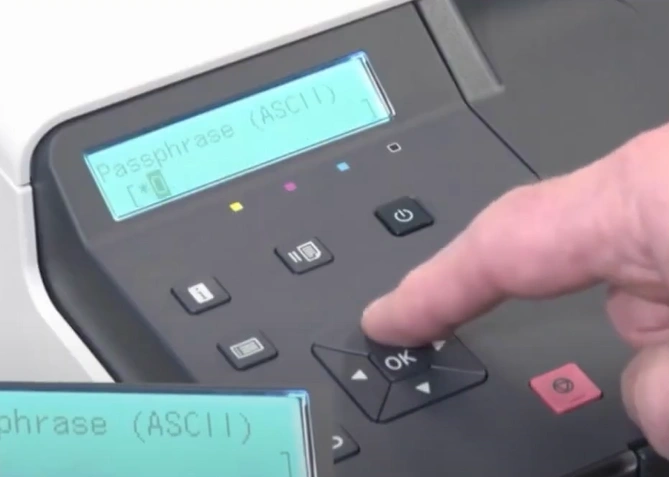
9. Once your printer to Wi-Fi connection is successfully established, it will display a Setup Completed message, and the display screen will turn off.
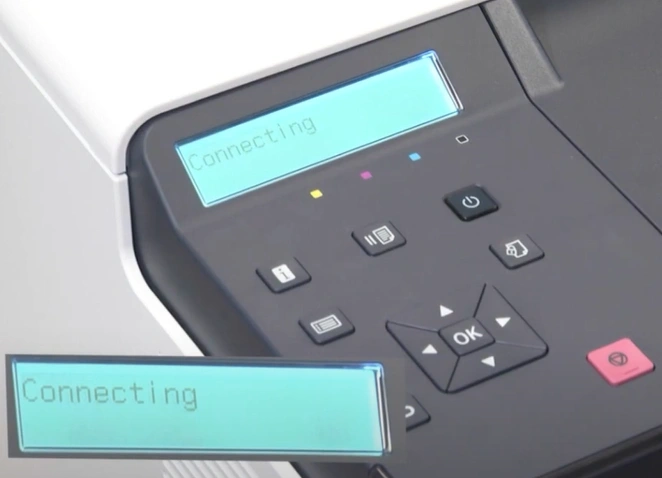
10. The display will turn back on, and the printer will print a start-up page to confirm the connection.
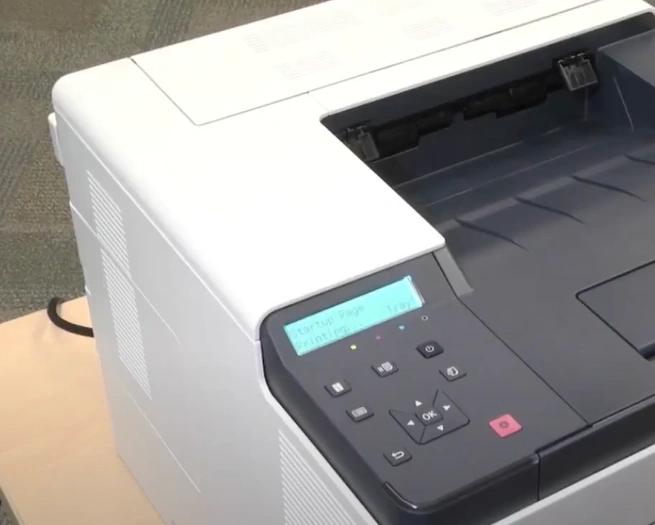
11. Once the connection process is successful, start completing your tasks.
Final Words
We hope you will be able to establish the connection between your Xerox printer and wireless network using these methods. However, you may encounter problems during the procedure, so make sure to follow every step carefully. If the connection process is not complete yet, look for more help and resources.

