How to Connect a Canon TS3522 Printer to Wi-Fi?
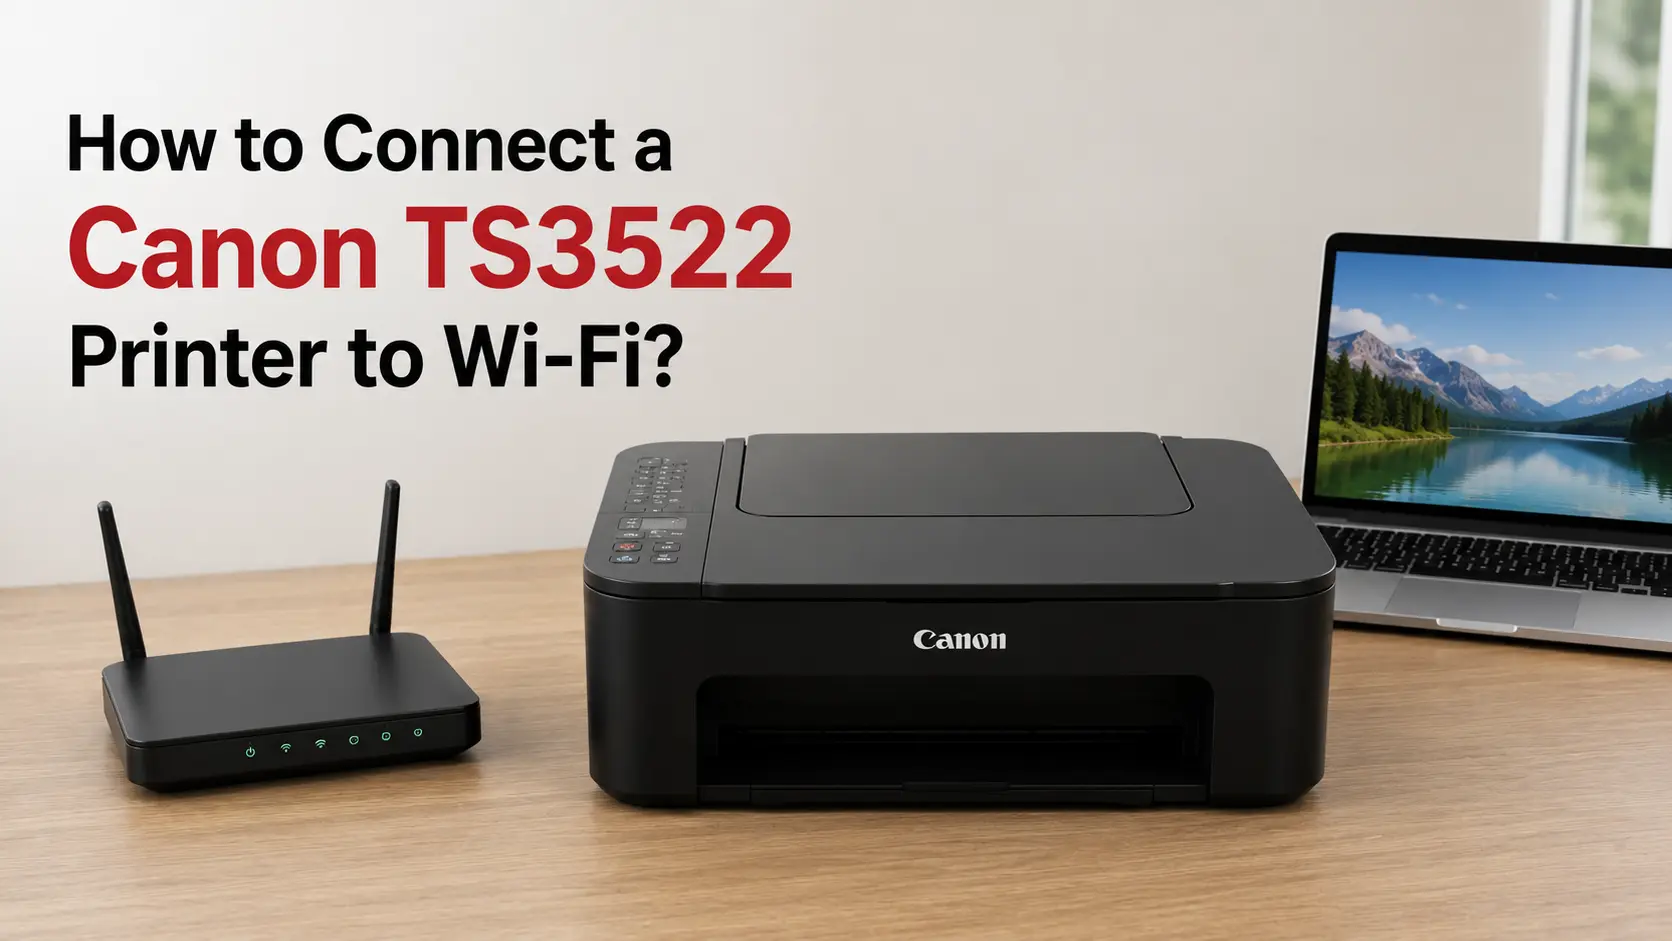
For most people, the fastest route is this: install the Canon PRINT app on your phone, put the printer into wireless setup mode by holding the Wi-Fi button on the control panel until the indicator starts flashing, then let the app find the printer and hand it your network password. On a plain, single-band home network, that whole process takes under five minutes.
The part that trips people up isn't the setup steps - it's the hardware itself. The TS3522 has a single 2.4 GHz radio (802.11b/g/n). It cannot see, join, or even detect a 5 GHz network. If you've swapped routers recently, a lot of the stuck threads in Canon's own community forum trace back to Xfinity, Verizon Fios, or T-Mobile Home Internet gateways that ship with 5 GHz turned on as the default or only band - that's very likely your actual problem, not anything you did wrong with the setup wizard.
Below are the three ways to get this printer online, in order of how likely each one is to work on the first attempt, followed by the specific reasons a TS3522 refuses to connect even when the steps were followed correctly.
Method 1: Canon PRINT App (Fastest, No Computer Needed)
The TS3522 has a 1.5-inch segment LCD - the kind of display that shows icons and numbers, not a scrollable menu. That's a deliberate design choice on Canon's budget all-in-ones, and it means the phone app isn't just the "easy" option; it's genuinely the intended interface for getting this printer onto a network.
- Download Canon PRINT from the App Store or Google Play and open it.
- Confirm the printer is powered on, both ink cartridges (PG-275 black, CL-276 color) are seated, and any orange protective tape is removed from the cartridges.
- In the app, choose "Add a printer" or "Printer registration."
- On the printer itself, press and hold the Wi-Fi button until the Wi-Fi and power lamps start flashing. This puts the printer into a searchable setup state.
- The app will list nearby printers - select your TS3522.
- Choose your Wi-Fi network (SSID) from the list and enter the password.
- Wait for the app to confirm the connection. On the printer, the Wi-Fi indicator will stop blinking and stay lit solid - that's your visual confirmation.
- Send a test print from the app to verify everything actually goes through, not just connects.
Method 2: WPS Push-Button (Skip Typing the Password)
If your router has a physical WPS button, usually on the back, marked with two curved arrows, you can pair the printer without touching a keyboard.
- On the printer, hold the Wi-Fi button until the power light blinks, then follow the printer's prompt sequence to enter WPS mode (the Wi-Fi light will blink blue when it's ready).
- Within two minutes, press the WPS button on your router.
- The printer searches for the router automatically. When paired, both the Wi-Fi and power lights stop flashing and stay on.
Two requirements people often miss here: your router has to be broadcasting on 2.4 GHz (not 5 GHz-only), and it needs to use WPA2/AES encryption. Networks still running WEP, or ones with security set to "open," will cause WPS to fail or the connection to drop shortly after.
Method 3: Set Up From a Windows or Mac Computer
If you don't want to use a phone at all, download the full driver package from canon.com/ijsetup, which includes the IJ Network Device Setup Utility. During installation, you can either connect the printer temporarily by USB to complete the wireless handoff, or select the wireless setup path directly if your computer is already on the same network. The utility will detect the printer, prompt for your SSID and password, and write those settings to the printer's memory. After that, you can unplug the USB cable entirely.
Why the TS3522 Won't Find Your Network
This is the section that actually resolves most "it just won't connect" situations, based on the recurring patterns in Canon's own support community.
Your router is broadcasting 5 GHz only
This is the single most common cause. The TS3522's spec sheet lists Wi-Fi as 802.11b/g/n at 2.4 GHz - there's no 5 GHz radio in this printer at all, and no firmware update will add one. If you recently switched ISPs or got a new mesh router, log into the router's admin page and confirm a 2.4 GHz band is actually enabled and broadcasting, not just present in the settings menu.
Both bands share the same network name
Many modern routers combine 2.4 GHz and 5 GHz under one SSID and let devices "auto-select" the best band - convenient for phones and laptops, but it confuses single-band devices like this printer, which can't tell which signal it's actually being asked to join. The fix is to log into your router and give the 2.4 GHz band its own distinct name (something like "HomeNetwork-2G"), then connect the printer specifically to that one.
The printer's old network profile is stale
If you replaced your router but kept the same network name and password, the TS3522 sometimes still tries to reconnect to a network it remembers by internal ID rather than name, and quietly fails. Resetting the printer's network settings (through the printer's device settings, or via a factory reset combo listed in the manual) clears that memory and forces a clean setup the next time you run through Method 1 or 2.
Signal strength and physical placement
The TS3522 doesn't have external antennas, so it's more sensitive to distance and obstructions than a modern router or mesh node. If it's sitting inside a cabinet, behind a monitor, or more than one room away from the router, move it closer for the initial setup - you can relocate it afterward once the connection is established, since most home routers hold that connection fine at normal desk-to-router distances.
Password typos
Wi-Fi passwords entered through the app or WPS handshake are case-sensitive, and characters like lowercase "l," uppercase "I," and the number "1" are easy to mix up on a small phone keyboard. If setup keeps failing at the password step, it's worth typing the password into your phone's notes app first, then copying it, rather than typing it directly into the setup screen.
How to Confirm the Connection Actually Worked
Don't rely on the app saying "Setup Complete" alone - confirm it two ways:
- Check the light, not just the app. A solid, non-blinking Wi-Fi indicator on the printer means it has an active association with your router.
- Print a network settings page. This shows the assigned IP address, SSID, and signal details directly from the printer, which is the most reliable way to confirm it landed on the correct network, especially useful if your home has more than one SSID in range.
If the printer shows connected but nothing prints, that's usually a separate issue: either your phone/computer is on a different network than the printer, or the printer picked up an IP address that conflicts with something else on the network.
Switching Wi-Fi Networks or Replacing Your Router Later
When you get a new router or change your Wi-Fi password, the TS3522 won't automatically pick up the change. Reset its network settings from the printer's control panel, then redo the setup process in Method 1 or 2 as if it were the first time. Trying to "edit" the existing connection instead of resetting it first is a common source of the printer showing as connected in the app while actually pointing at a network that no longer exists.
Setting Up Wireless Direct (Printing With No Router at All)
Separately from your home Wi-Fi, the TS3522 supports Wireless Direct, an access-point mode where the printer creates its own local network that a phone or laptop can join directly. This is useful for printing in a location with no router present, or as a fallback if your home network is down but you still need to print something now. It doesn't give the printer (or your device) internet access - it's strictly a direct, local link between your device and the printer, turned on from the printer's wireless settings menu.
What's Actually Behind the Wi-Fi Setup
Once connected, everything the TS3522 prints runs through Canon's FINE Hybrid Ink System - two cartridges, PG-275 (pigment black) and CL-276 (dye-based color), spread across 1,280 total nozzles (960 for color, 320 for black). Pigment ink sits on top of the paper fiber rather than soaking in, which is why text stays sharp and doesn't feather even at the printer's faster document speeds. The nozzle count directly supports the printer's maximum 4800 x 1200 dpi resolution - more nozzles firing in a coordinated pattern means finer droplet placement and smoother color gradients in photos, with less visible banding. None of that requires any special network configuration, but it's worth knowing when you're deciding whether print quality issues are a Wi-Fi problem or an ink/paper problem.
Related Guides
How to Connect Canon Printer to WiFi – Easy Wireless Setup: the general Canon WiFi setup guide, useful if a reader's model isn't the TS3522.
Canon TR4720 WiFi Setup: Connect Your Printer in Under 3 Minutes: same compact PIXMA all-in-one category, comparable single-band setup flow.
Canon PIXMA TR8620 WiFi Setup – Connect to Wireless Network Step-by-Step: video walkthrough for readers who'd rather watch than read.
How to Connect Canon G6000 Printer to WiFi? - video version of the computer/USB setup method (Method 3 in this article).
Frequently Asked Questions
Does the TS3522 support 5 GHz Wi-Fi?
No, and there's no workaround - it's a hardware limitation, not a settings issue.
Can I print without connecting to Wi-Fi at all?
Yes. The printer accepts a direct USB connection to a computer, and separately supports Wireless Direct for device-to-printer printing without a router.
Does it work with Alexa or Google Assistant?
Yes, the TS3522 is compatible with both, allowing voice-triggered print jobs once it's on your network.
How do I find the printer's IP address?
Print the network settings page from the printer's control panel, or check the printer's details inside the Canon PRINT app.
Will it work with an iPhone without installing anything?
Yes, once connected to Wi-Fi, it supports AirPrint for iOS and Mopria Print Service for Android, so you can print without the Canon app if you'd rather not install it.