How to Connect an Epson Printer to Wi-Fi?
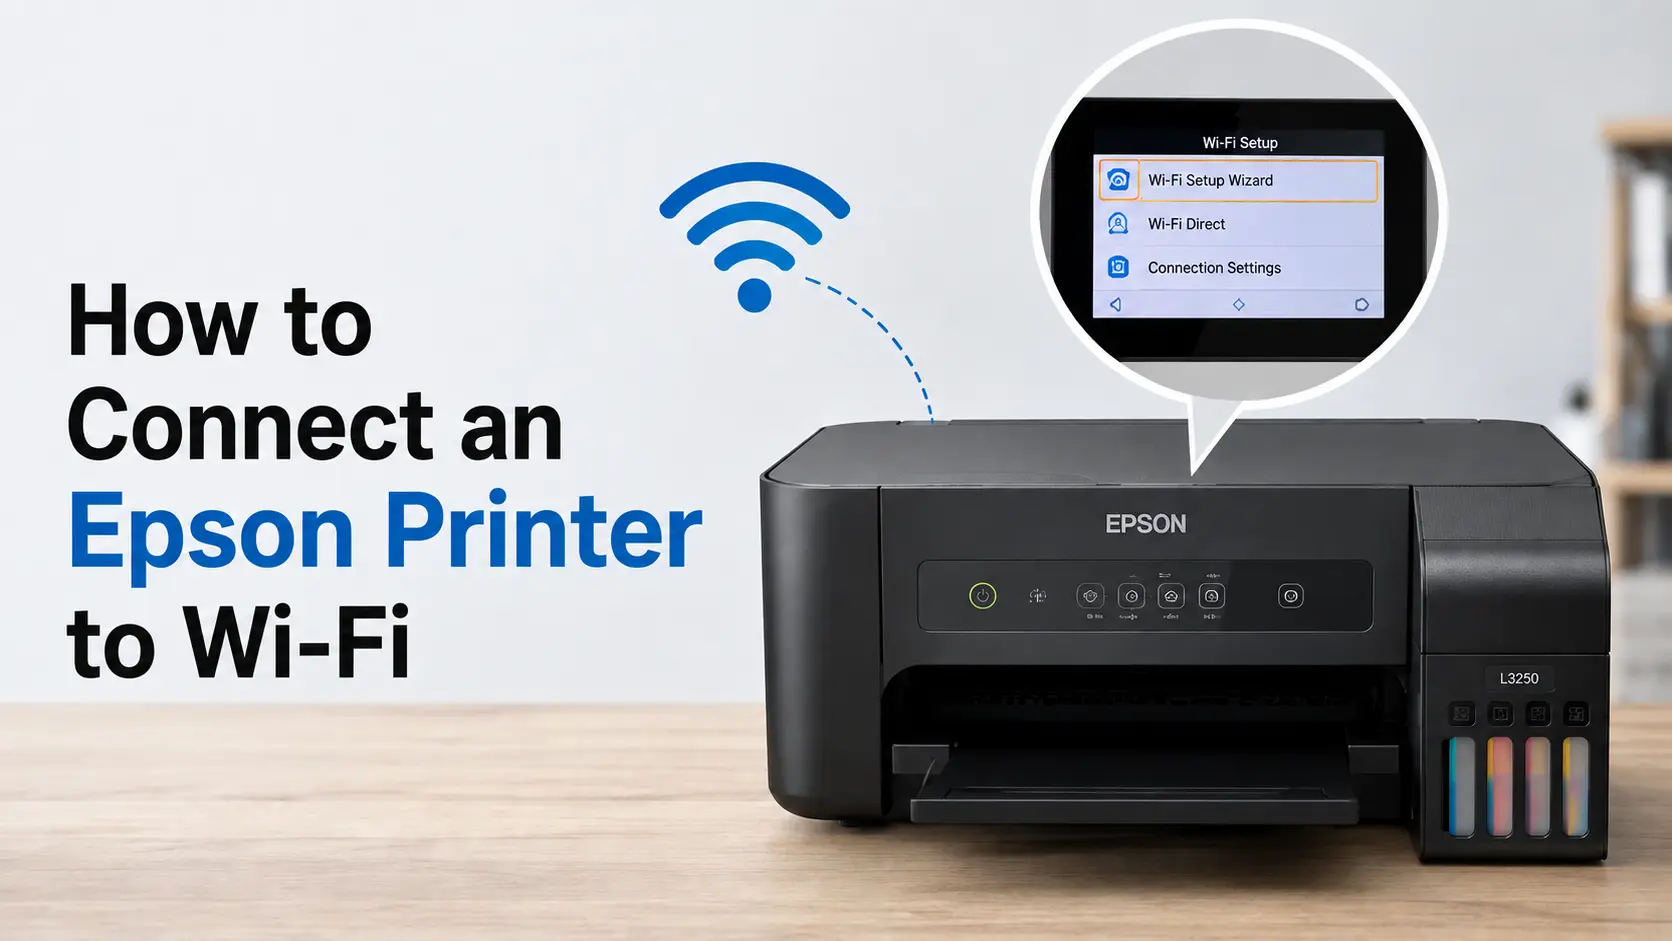
The fastest route for most current Epson printers is the Epson Smart Panel app on your phone: open it, tap the plus icon to add a printer, and let the app push your network's password to the printer over a temporary Wi-Fi Direct link. If you'd rather not touch your phone, printers with a control panel screen have a built-in Wi-Fi Setup Wizard that does the same thing with the arrow buttons. Either way, the process takes under five minutes on a stable network.
Where people actually get stuck isn't the app or the wizard, it's the network itself. The single most common cause of a failed setup is trying to join a 5GHz Wi-Fi network. Most Epson printers, including popular models like the EcoTank ET-4760 and the WorkForce WF-2960, only have a 2.4GHz radio. If your router broadcasts one combined network name for both bands (common with mesh systems like eero or Google Wifi), the printer may see the network but fail to connect, or connect and then drop, with no obvious error explaining why.
Below are the three real setup paths, in the order most people should try them, followed by how to confirm the connection actually worked and what to do when it doesn't.
What You Need Before You Start
- Your Wi-Fi network name (SSID) and password, exactly as they appear, since Epson's password entry is case-sensitive.
- The printer within reach of the router for setup. Signal strength matters more during initial handshake than it does for day-to-day printing.
- A 2.4GHz network available. If your router only shows one SSID and you're not sure which band it's using, check your router's admin page or temporarily split the bands into separate names (many routers, including Netgear and Google Wifi models, offer this as a setting).
- The printer powered on with no error lights blinking. A blinking power light usually means a paper jam or ink cartridge issue that will interrupt setup.
Method 1: Epson Smart Panel App (Recommended for Most People)
Epson retired its older Epson iPrint app in favor of Epson Smart Panel starting in 2021, so if you're following an old blog post or a printer's original quick-start card, disregard any mention of iPrint. Smart Panel is the current app across iOS and Android, and it's the setup path Epson steers most home users toward now.
- Install Epson Smart Panel from the App Store or Google Play.
- With the printer powered on, open the app. If it automatically detects the printer over Bluetooth or Wi-Fi Direct, follow the on-screen prompts.
- If it doesn't show up automatically, tap the plus icon, select your printer model, and choose Connect to Existing Product or the equivalent new-setup option.
- Enter your Wi-Fi password when prompted and tap OK. The app then pushes the credentials to the printer.
- Keep your phone near the printer during this step. Moving away or backgrounding the app mid-configuration is one of the more common reasons setup stalls partway through, since the temporary Wi-Fi Direct link between phone and printer breaks.
- Wait for the completion message before printing a test page from the app.
The one thing Epson's own instructions don't emphasize enough: Smart Panel only recognizes printers on its supported list, checkable on Epson's support site by model number. If you're setting up an older printer, more than a few years old, the app may never find it and you'll need Method 2 or 3 instead.
Method 2: Wi-Fi Setup Wizard on the Printer's Control Panel
Any Epson printer with an LCD screen, most EcoTank and WorkForce models, has this built in and doesn't require a phone or computer at all.
- From the home screen, find and select Wi-Fi Setup Wizard (sometimes nested under a Settings or Network icon, depending on the model's menu layout).
- The printer scans and lists nearby networks. Select your SSID from the list, or choose Enter Manually if it's hidden.
- Enter your password using the on-screen keyboard or the arrow and OK buttons, depending on whether your model has a touchscreen or a physical keypad.
- Confirm the settings summary and select Start Setup.
- The printer attempts to connect, which usually takes 15 to 60 seconds, and displays a success or failure message.
This method is more reliable than WPS for networks with hidden SSIDs or MAC address filtering, since you're entering the network name directly rather than relying on router-side broadcast.
Method 3: WPS Push-Button Setup
WPS (Wi-Fi Protected Setup) is a router feature that lets a device join the network by pressing a physical button instead of typing a password. It's the fastest option and the only one available on some low-cost, screenless Epson models, but it depends entirely on your router supporting and exposing a WPS button, which not all routers do, especially newer mesh systems that quietly drop WPS support for security reasons.
- Press and hold the Wi-Fi button on the router's WPS button (often labeled with a looping-arrow icon).
- Within two minutes, hold the Wi-Fi button on the printer for about 3 seconds.
- The printer's Wi-Fi status lights flash alternately while it negotiates the connection. This can take a couple of minutes.
- Setup is complete when both network status lights stay solid rather than flashing.
WPS skips password entry entirely, which is convenient, but it also means you can't target a specific network if your router broadcasts more than one. If your printer connects via WPS but to the wrong band or the wrong guest network, switch to Method 2 and select the SSID explicitly.
| Method | Best for | Needs a screen? | Typical setup time |
|---|---|---|---|
| Epson Smart Panel app | Most current printers, phone-first households | No | 3 to 5 minutes |
| Control panel Wi-Fi Wizard | Printers with an LCD, hidden or filtered networks | Yes | 2 to 4 minutes |
| WPS push-button | Screenless budget models, WPS-capable routers only | No | Under 2 minutes |
Getting Your Computer to See the Printer
Joining the network is only half the job. Windows and Mac still need the printer driver installed and the device added before it shows up in a print dialog.
On Windows, go to Settings > Bluetooth & devices > Printers & scanners, select Add device, and Windows should find the printer over the network automatically if it's on the same SSID as your PC. If it doesn't appear, download the driver directly from Epson's support page for your exact model number rather than relying on Windows Update's generic driver, which sometimes lacks scanner functionality on all-in-one models.
On a Mac, open System Settings > Printers & Scanners, click the plus icon, and select the printer from the list, which uses Bonjour to discover it automatically. Epson also offers the Epson Connect Printer Setup Utility, which handles both driver installation and cloud-printing registration (covered below) in one pass, and is worth using if you plan to print from outside your home network.
Confirming the Connection Actually Worked
Don't just trust the "success" message. Print a network status sheet, an option in the printer's Settings or Network menu, which lists the SSID it's connected to, its assigned IP address, and signal strength as a percentage or bar graph. This one sheet answers the two questions people usually message support about later: whether the printer joined the correct network (not a neighbor's open one, or your router's guest network) and whether the signal is strong enough to hold a connection reliably.
For IP addressing, leave it on Auto unless you have a specific reason not to. That setting tells the printer to request an address from your router's DHCP server, which is what almost every home network expects. Manually assigning a static IP only makes sense if you're doing something like configuring the printer's IP in router-level port forwarding, which the average household never needs to touch.
When It Won't Connect: What's Actually Going Wrong
| Symptom | Likely cause | Fix |
|---|---|---|
| Printer finds the network but fails to connect | It's seeing a 5GHz-only SSID | Connect to the 2.4GHz band, or split your router's bands into separate network names |
| Setup completes, printer drops offline within a day | Weak signal, printer too far from router | Check signal bars on the network status sheet; relocate printer or add a Wi-Fi extender |
| Smart Panel app never finds the printer | Model isn't on Epson's supported list, or Bluetooth is off on the phone | Confirm model support on Epson's site; enable Bluetooth even though the final link is Wi-Fi |
| WPS times out | Router's WPS window closed before the printer button was pressed, or router has WPS disabled | Press both buttons within the 2-minute window; check router admin page for a WPS toggle |
| Printer connects but computer can't find it to print | Printer and computer are on different networks (e.g., one on a guest Wi-Fi) | Confirm both devices are on the same SSID via each one's network settings |
Printing From Outside Your Home Network
Once the printer is on your Wi-Fi, it's worth setting up Epson Connect, a free service that assigns the printer its own email address for print-by-email and enables mobile printing when you're away from home over cellular data rather than the local network. It's registered through the Epson Connect Printer Setup Utility mentioned above, or through Smart Panel's settings menu, and it's a separate step from the Wi-Fi connection itself, not something that happens automatically once the printer joins your network.
For a household that only ever prints from a laptop sitting on the same Wi-Fi, Epson Connect isn't necessary. It earns its setup time for anyone who wants to send a boarding pass to the printer from a work trip or let a kid submit a homework file from a phone on cellular data.
Related Guides
Epson Printer Not Printing or Printing Blank Pages? Here's What Actually Fixes It
How to Connect an Epson Printer to Mac (Wi-Fi & USB)
How to Clean an Epson Printer Head (Without Making the Clog Worse)